
I’ve just put up 21 blog posts on our companion maintenance site, where we list all the upgrades and maintenance we’ve done to Syzygy. The 21 posts concern all the maintenance that I’ve done over the last five months since Matt and Karen left me to my own devices aboard Syzygy. They are mostly not particularly interesting stories, but for those of you who enjoy all things Syzygy, I thought I’d share.
Category: boat work
stories about sailboat maintenance, repair, and projects
-
Temporarily Indefinitely
“How long are you going to be in Bundaberg?” asked Ducan over some beers at a pub in Bundaberg. Justin replied, “temporarily, indefinitely.”
The three days prior to arriving in Bundaberg, a city renowned for brewing an exceptional rum, we had been running our engine for five or six hours a day. There was just no wind or we were in a place so narrow that I didn’t want to be sailing. The Great Sandy Straights just south of Bundy, while serenely beautiful, were tough to navigate, so the engine was on the entire time. More posts later about fun we had there. At least we knew the engine fabulously.
Until the day after we got to Bundaberg and tried to move away from the obscene $50 a night marina we were staying at. Then our engine decided not to start. Two hours of investigation revealed nothing and at that point Kate, our supremely gracious and generous friend here in Bundy, arrived to take us back to her place for hot showers and beds. Another $50 to the Bundaberg port marina. They would get at least another $150 dollars when all is said and done.
The next morning Justin and I arose early and headed back to boat. Since the engine was cranking but wouldn’t fire, I suspected air in the fuel lines, something Matt confirmed in some e-mails I traded with him.
Getting air out of the lines is supposed to be relatively straight forward. Follow a few steps and they should be cleared of air and the engine should start. Air may however, leak back in once the engine is turned off. Finding and permanently fixing an air leak is a confounding, vexing, frustrating and all-together potentially miserable experience. But I digress…. simply getting air out of the lines is supposed to be a relatively straight forward process.
First: open the bleed screw on the primary filter currently being used (we have two of them) and use the pump on the primary filter to pump fuel though the filter. Air bubbles should come out of the bleed screw and when they stop then there is no air from the tank to the primary filter.
First problem: fuel began leaking out of the other primary filter bleed screw.
This was not surprising or unexpected as the bleed screw on said filter is a plastic piece of shit bolt that is basically stripped and deserves to melted down and turned into a children’s toy where it can cause joy instead of the frustration and ire it caused me. I had temporarily fixed this six months ago by wrapping it with plumbers tape and I again painstakingly cut some plumbers tape in half and wrapped it around about a dozen times all the while mumbling under my breath curses at it. Two days later I would buy a nice new metal bolt and declare victory on something Matt and I knew we should have done two years ago.
Simultaneous first problem: fuel began leaking from above my head.
This was surprising and unexpected. Instead of mumbling curses under my breath, this elicited an audible, “where the fuck is that coming from?” I was apparently too eager on the pumping at the primary fuel filter and was forcing fuel out via our vacuum gauge. There is a line running from the fuel system to the back of this gauge so that it can measure fuel pressure. There was no hose clamp on the line for some reason, just a tube pushed onto a nipple in the back of the gauge. I zip-tied it for now, and should hose clamp it later.
Second step: open nut on fuel line exit at secondary fuel filter and using lift pump, pump diesel out until any air bubbles go away.
Second problem: fuel began streaming out of the secondary fuel filter, which I had just changed. I must now mash and squeeze and contort my body over the engine so that I can better see the secondary fuel filter and put the o-ring and the filter on correctly. My head is now inches away from where two years ago I had jump started the engine via my body when I connected the alternator to the starter motor or solenoid, (I’m still not entirely sure what happened back then). Having the engine start unexpectedly, with me lying on top of it, because current had gone through either me or a tool I was holding, was not an experience I wanted to repeat. Thirty minutes later, the secondary fuel filter is finally on appropriately with a mild stream of obscenities.
Third step: open fuel line leading to fuel injection pump and using the lift pump, pump diesel out until any air bubbles go away.
Third problem: No fuel will come out. I can hear fuel running through the system and returning to the fuel tank, but no fuel comes out here. I give up and move on, with a pointedly loud set of damnations for the engine.
Fourth step: open bleed screw on fuel injection pump and using the lift pump, pump diesel out until any air bubbles go away.
Fourth problem: The bleed screw is located in another screw, lets call it the ‘stupid screw’ which goes into the pump. When I try to loosen the bleed screw, it seems to be seized to the stupid screw, and instead the stupid screw loosens. The bleed screw is specifically made so that when loosened, only a small amount of fuel comes out. The stupid screw is not. Lots of diesel now comes out as I fumble around trying to find the wrench that will appropriate tighten the stupid screw and not just tighten the bleed screw further into the stupid screw. I get it to work right with additional wrenches as I ponder what cancer I am bringing upon myself with diesel dousing my hands. I am also cognizant that neighboring boats might have head the stream of invectives I direct at the engine.
Fifth step: Crack open each injector nut, there are four, and crank the engine with the throttle open. If bubbles appear, the engine has not been appropriately bled and the process must be repeated.
Fifth, six, and seventh problems: The fifth and sixth problems are that two injector nuts leak air, so I have to repeat everything. The seventh problem will vex me for three more days. Instead of the injector nut opening, the injector adapter (some stupid adapter piece between the injector nut and the injector) comes loose and will not retighten. The injector nut will also not break free. Over the next two days this illicit roars of hell-fire, and I begin to scare Justin with a series of imitations of an 8 year old’s temper tantrums. I should be mildly embarrassed but the engine has gotten the better of me.
So we are now in Bundy, the rum city of Australia temporarily, but indefinitely. At least I can drown my sorrows in rum.
post script: The problem was finally fixed upon pulling off the fuel line, purchasing a new injector nut, reassembling, and bleeding the engine multiple times. The engine has now been running perfectly for the last month. You can read a different take on this and more about the resolution on our maintenance blog here.
-
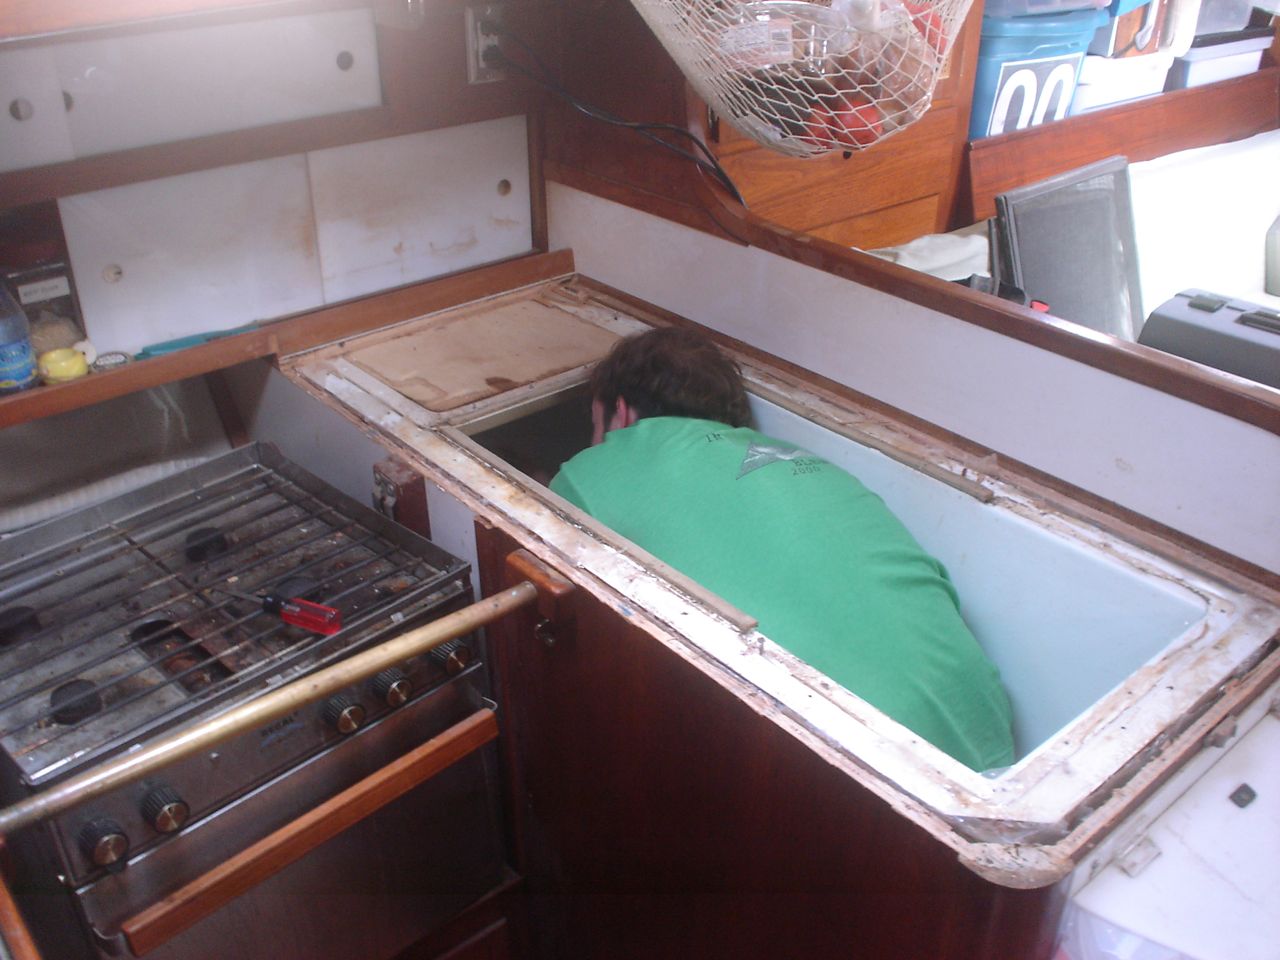
Agh, that’s disgusting
Justin and I managed some last minute work on the boat. I worked. Justin filmed. O.K., he did some work. Off camera of course. Here we battle a small issue in the galley.
Note: Of Matt, I only make fun. It is only because of the thousands and thousands of hours that Matt labored on Syzygy that I am able to sail her here in Australia. I jest because it is so obviously hilarious to think Matt somehow did not maintain Syzygy to the highest of standards.
-
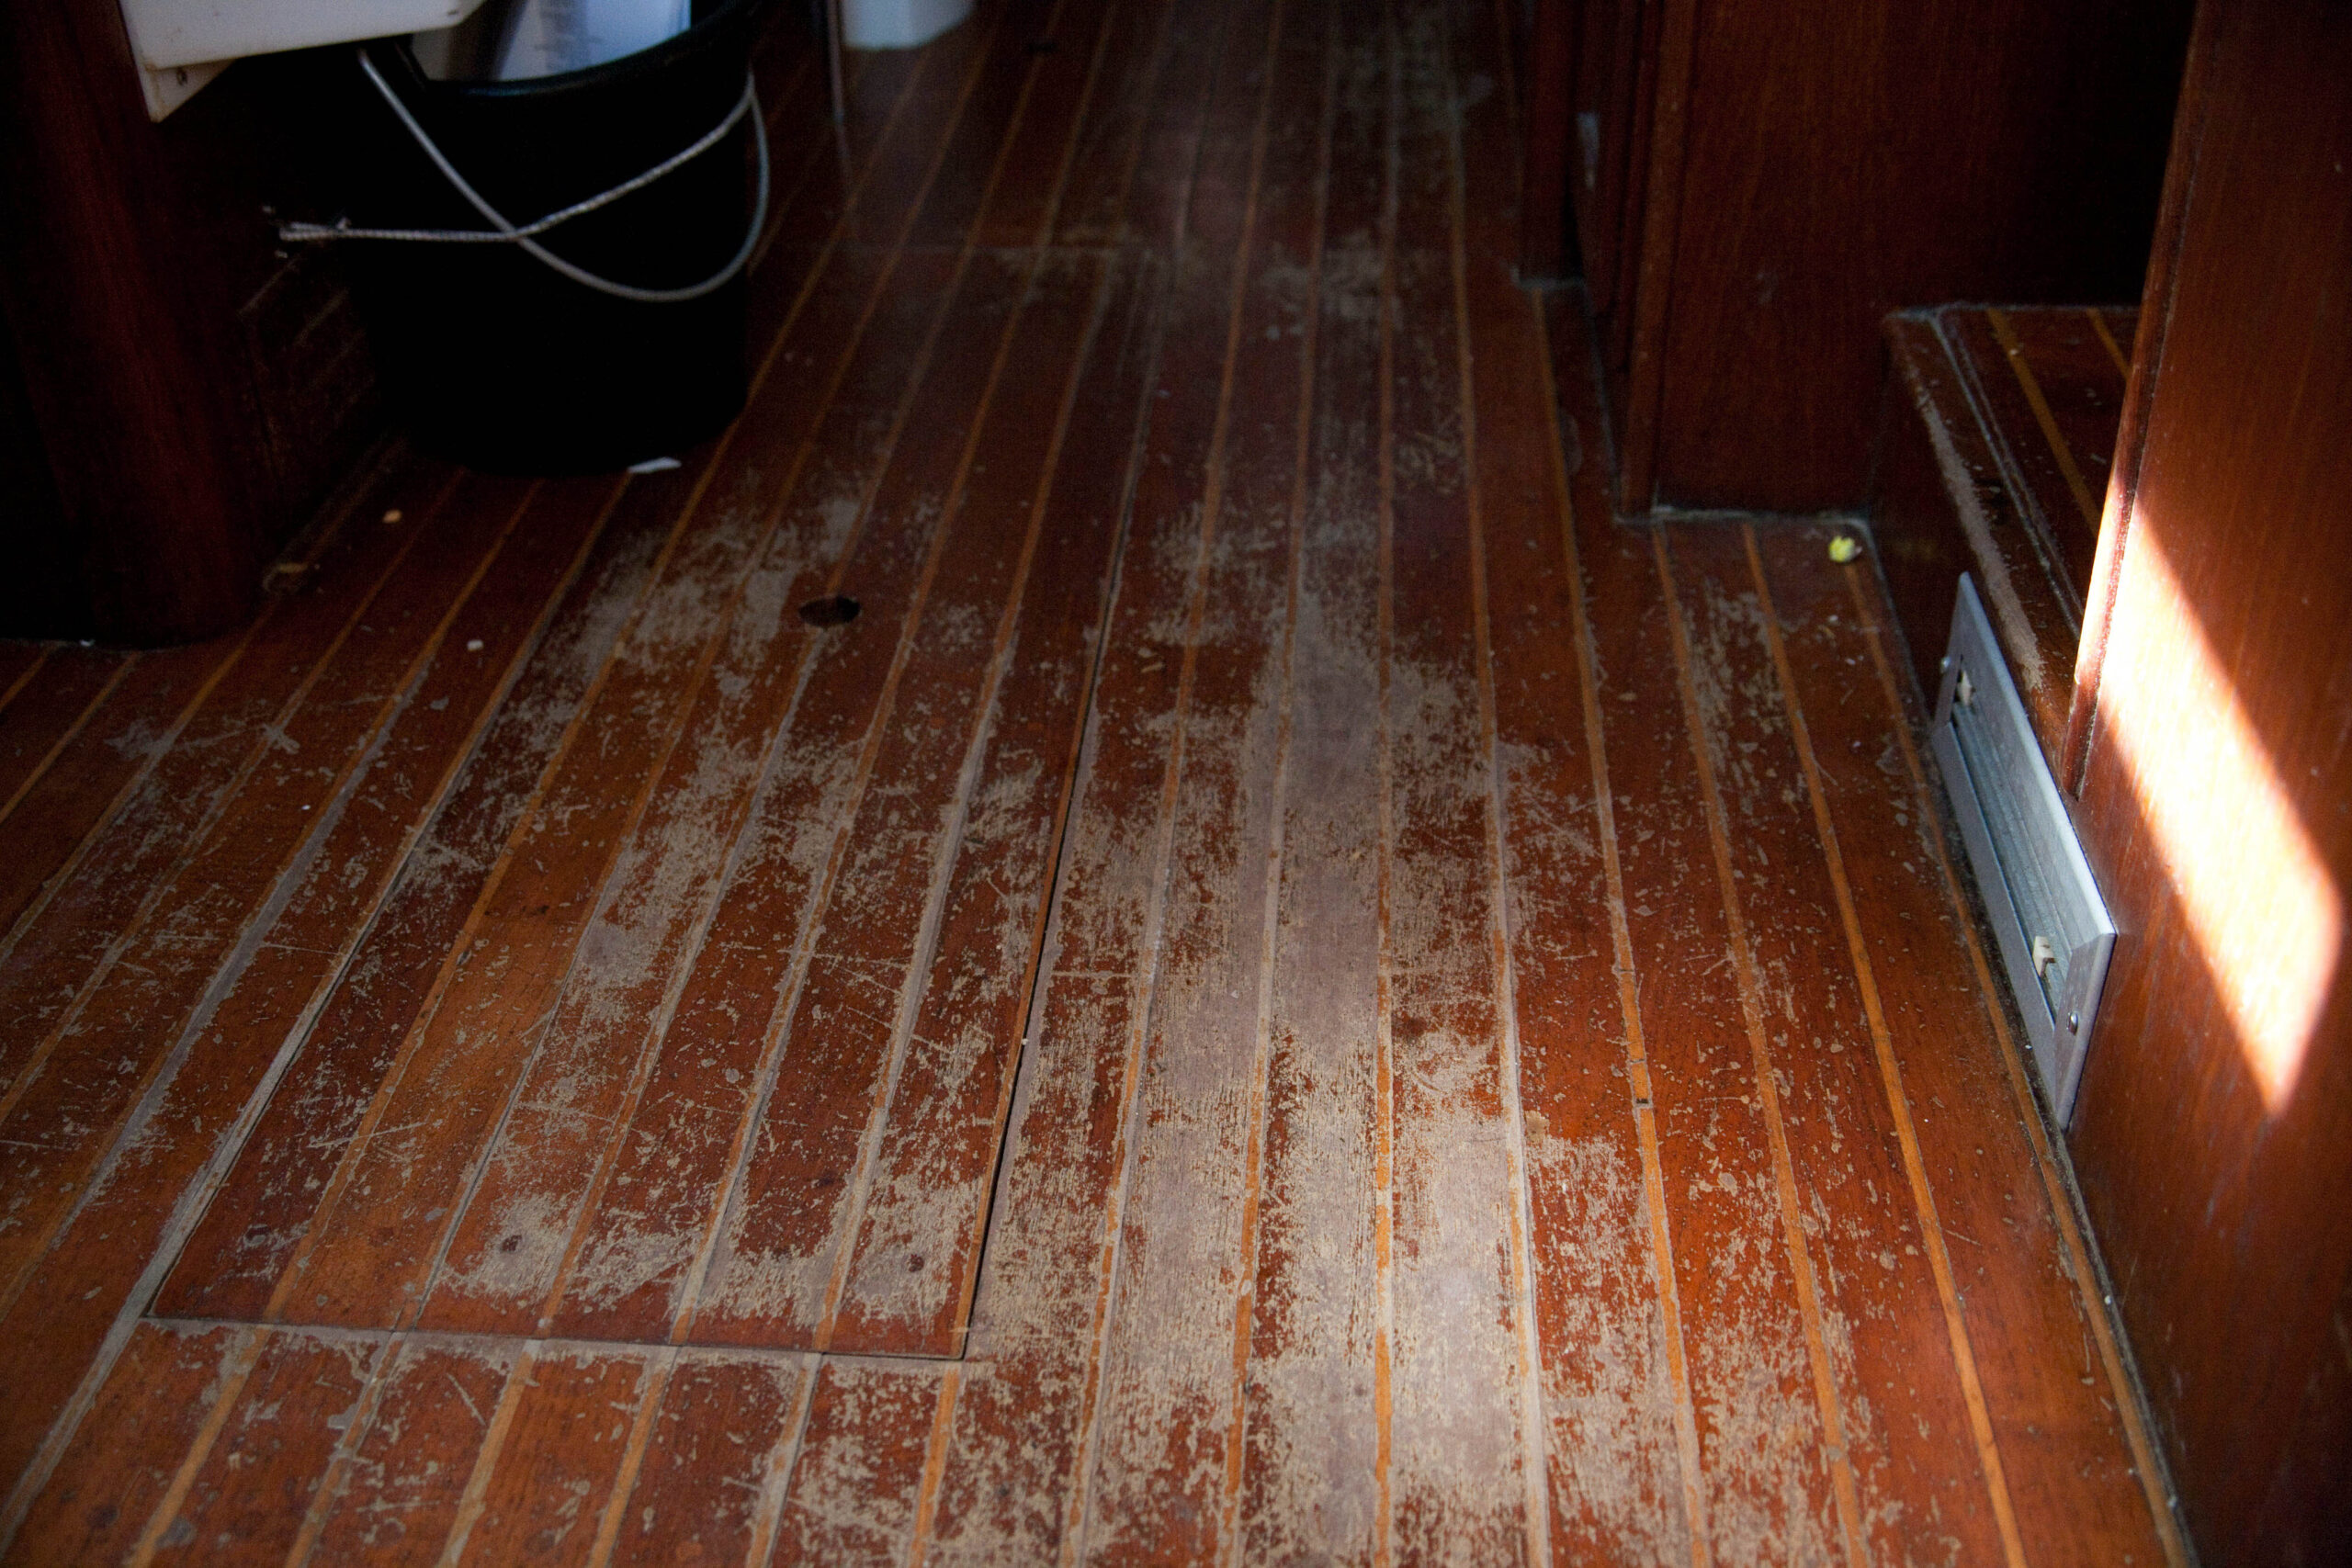
New floors
(refers to events that happened August 2nd – 6th)
After spending eight days just outside of Papeete, we were ready to move on. The anchorage we were in had warm showers, but this was about the only up side. The water was dark, cloudy and stank with sewage from runoff from Papeete. You could almost see the rate at which stuff grew on the underside of our boat.
Matt and I sailed the boat over to Moorea, a short 25 mile sail. He then went off to meet his and Karen’s moms who were visiting for a week. Matt and Karen would stay that night at the hotel and the subsequent three or four nights. I had the boat to myself!! Let the party start!
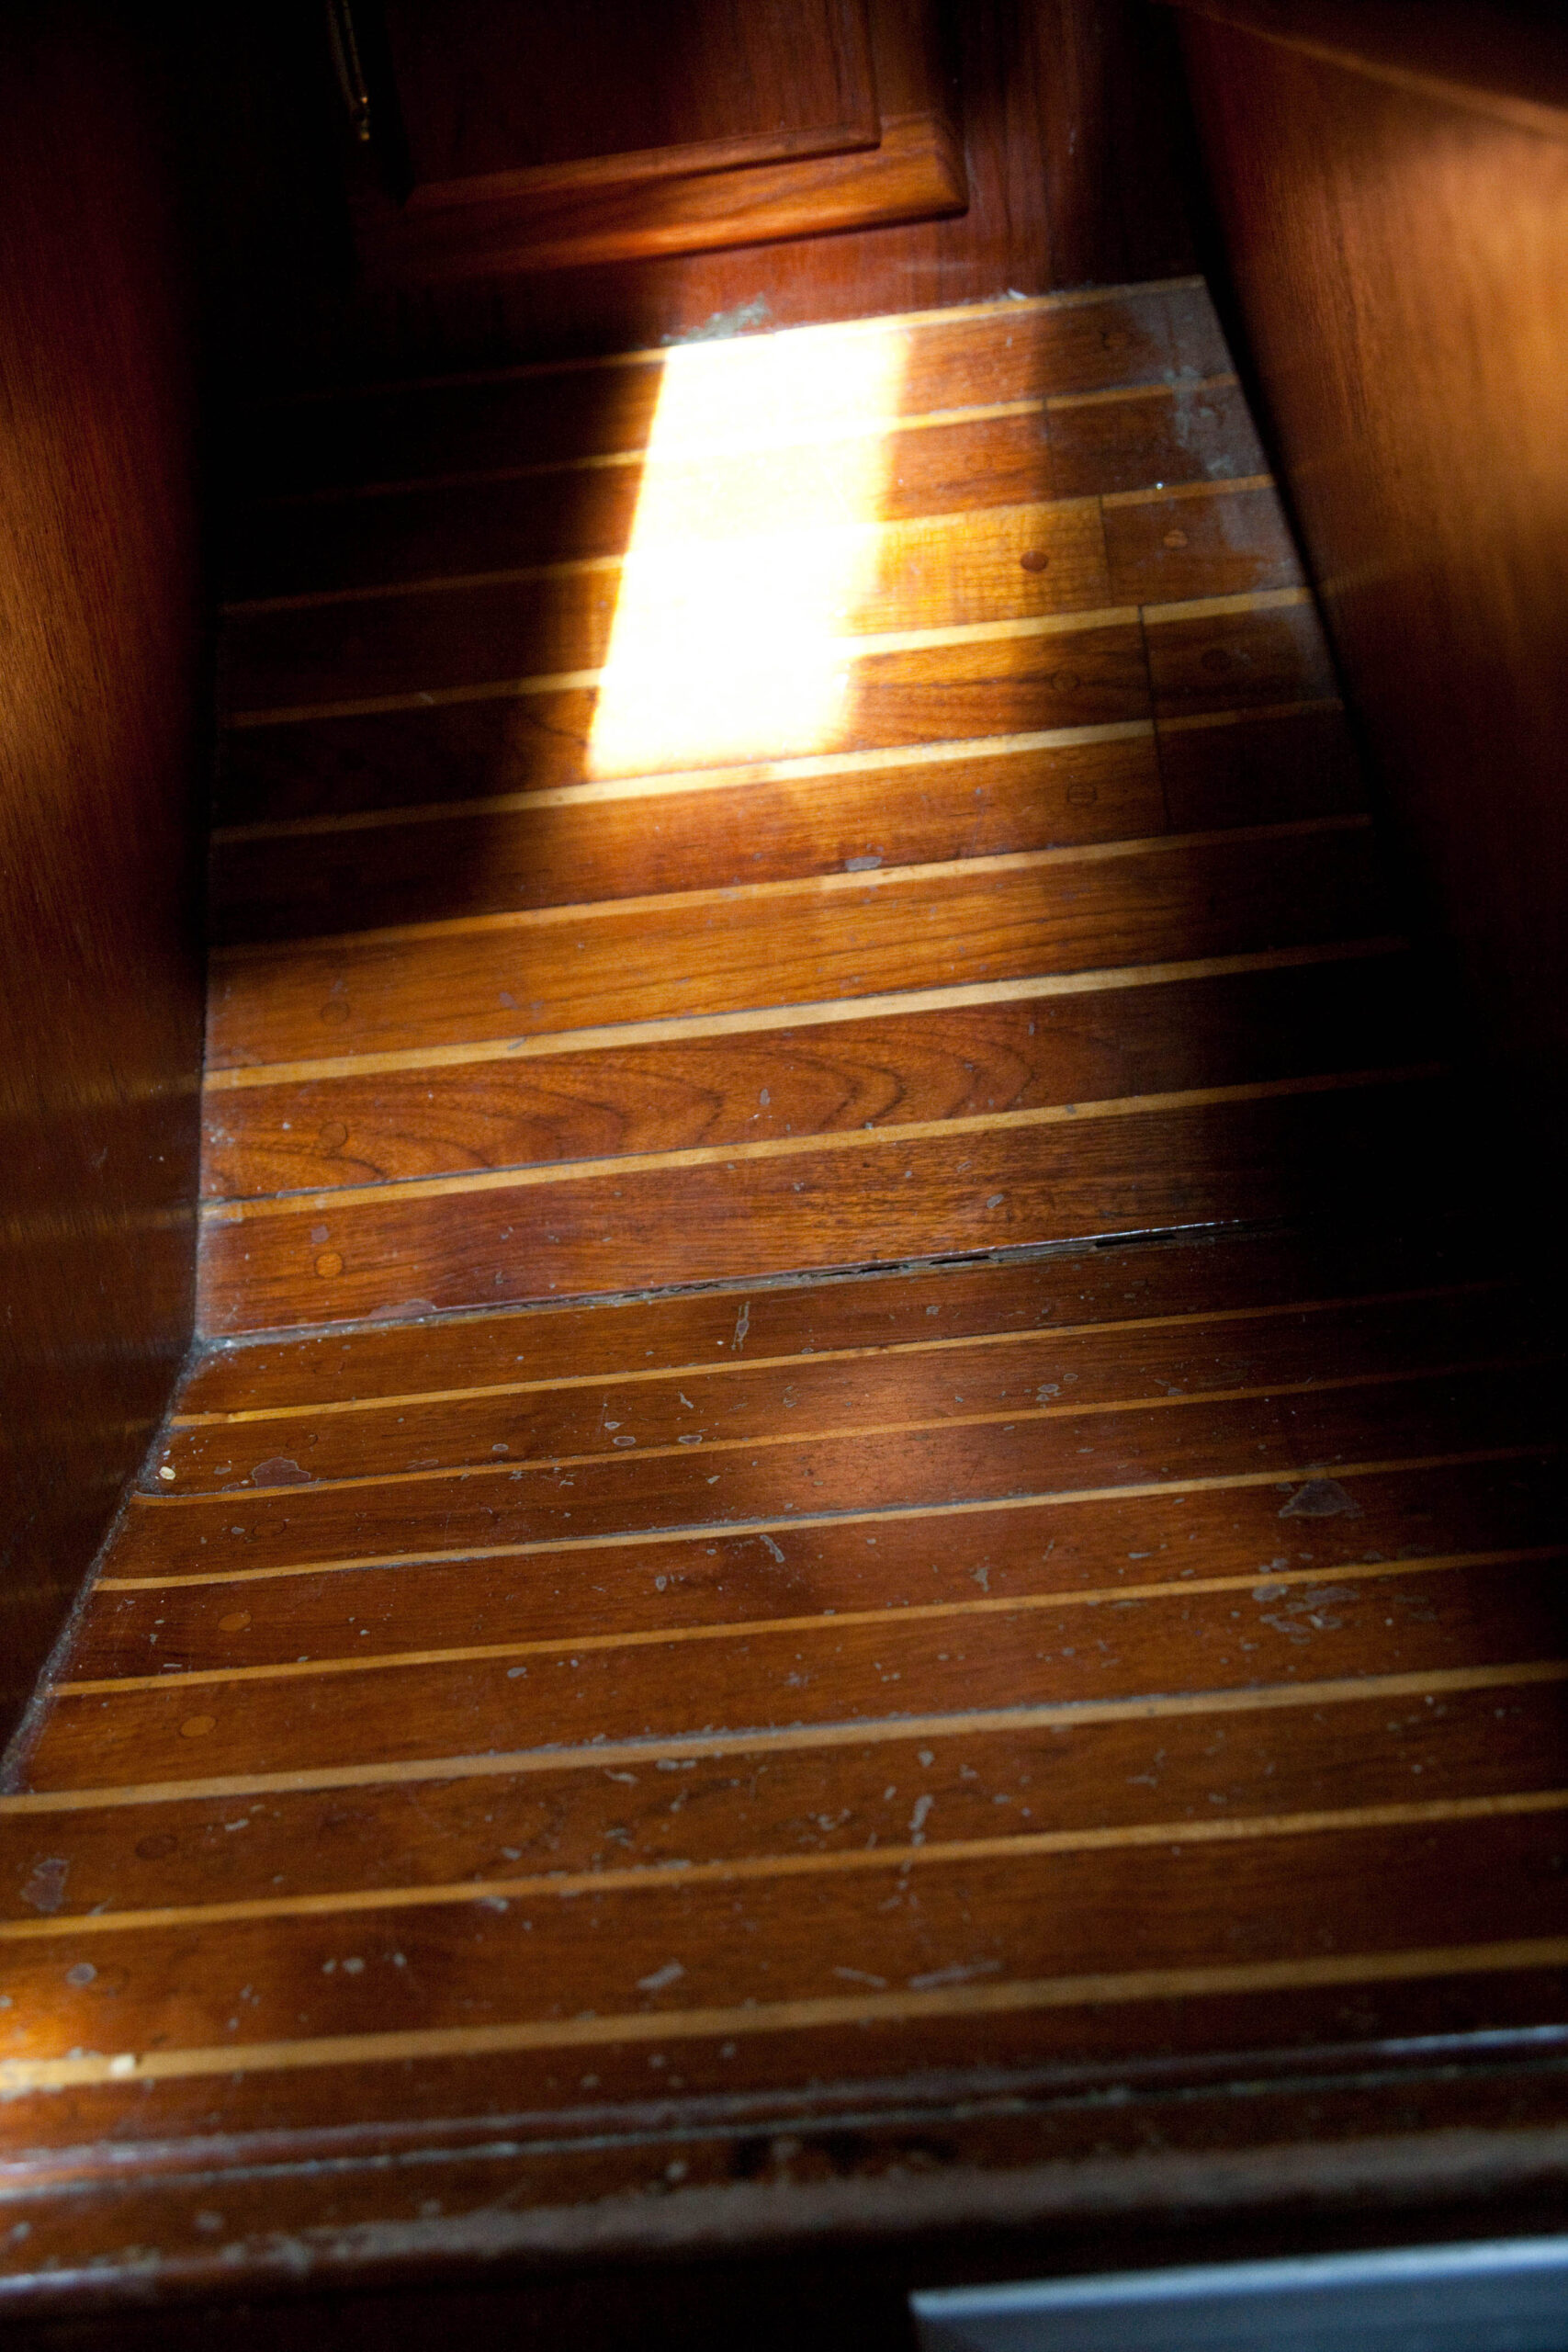
Before the party could start though, Matt had given me a list of jobs to accomplish. The list had one item on it. Redo the wooden floors inside the boat.
O.K., that’s melodramatic. Matt and I discussed and we both wanted a nice newly polyurethaned floor. Matt felt any more wear in certain spots would cause permanent damage. It would look great and be a huge bang for our buck in terms of enjoyment and resell value.
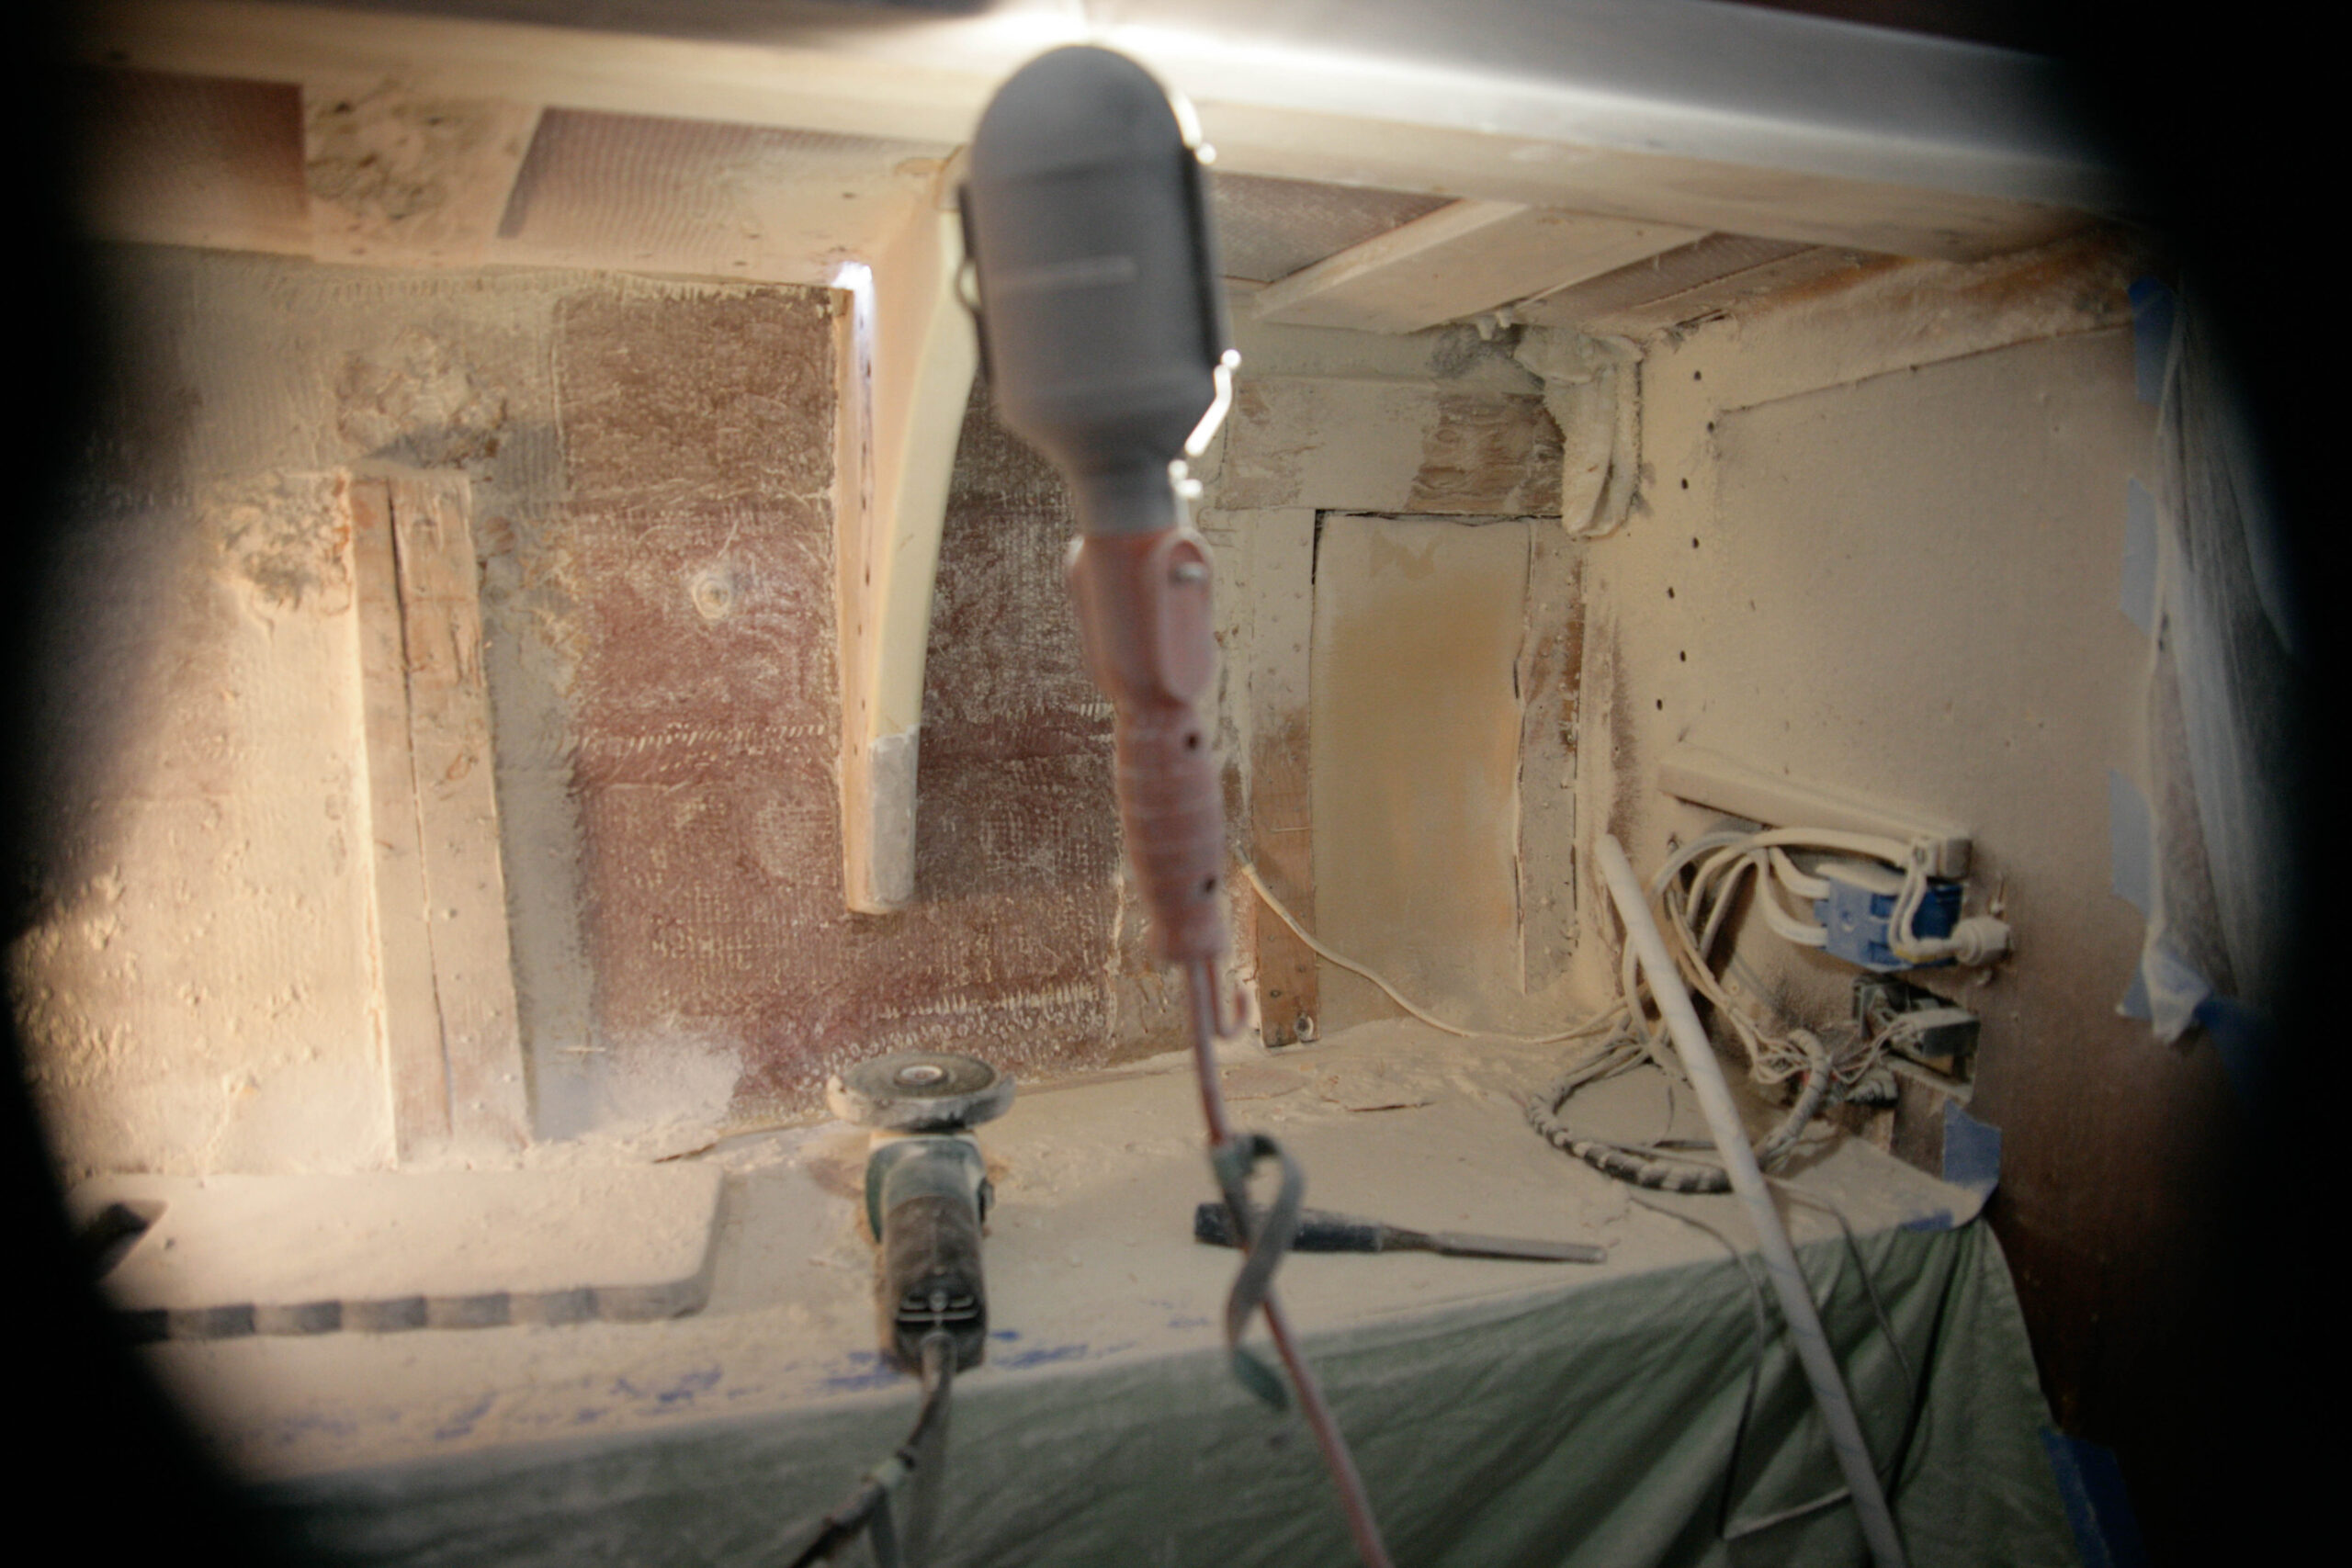
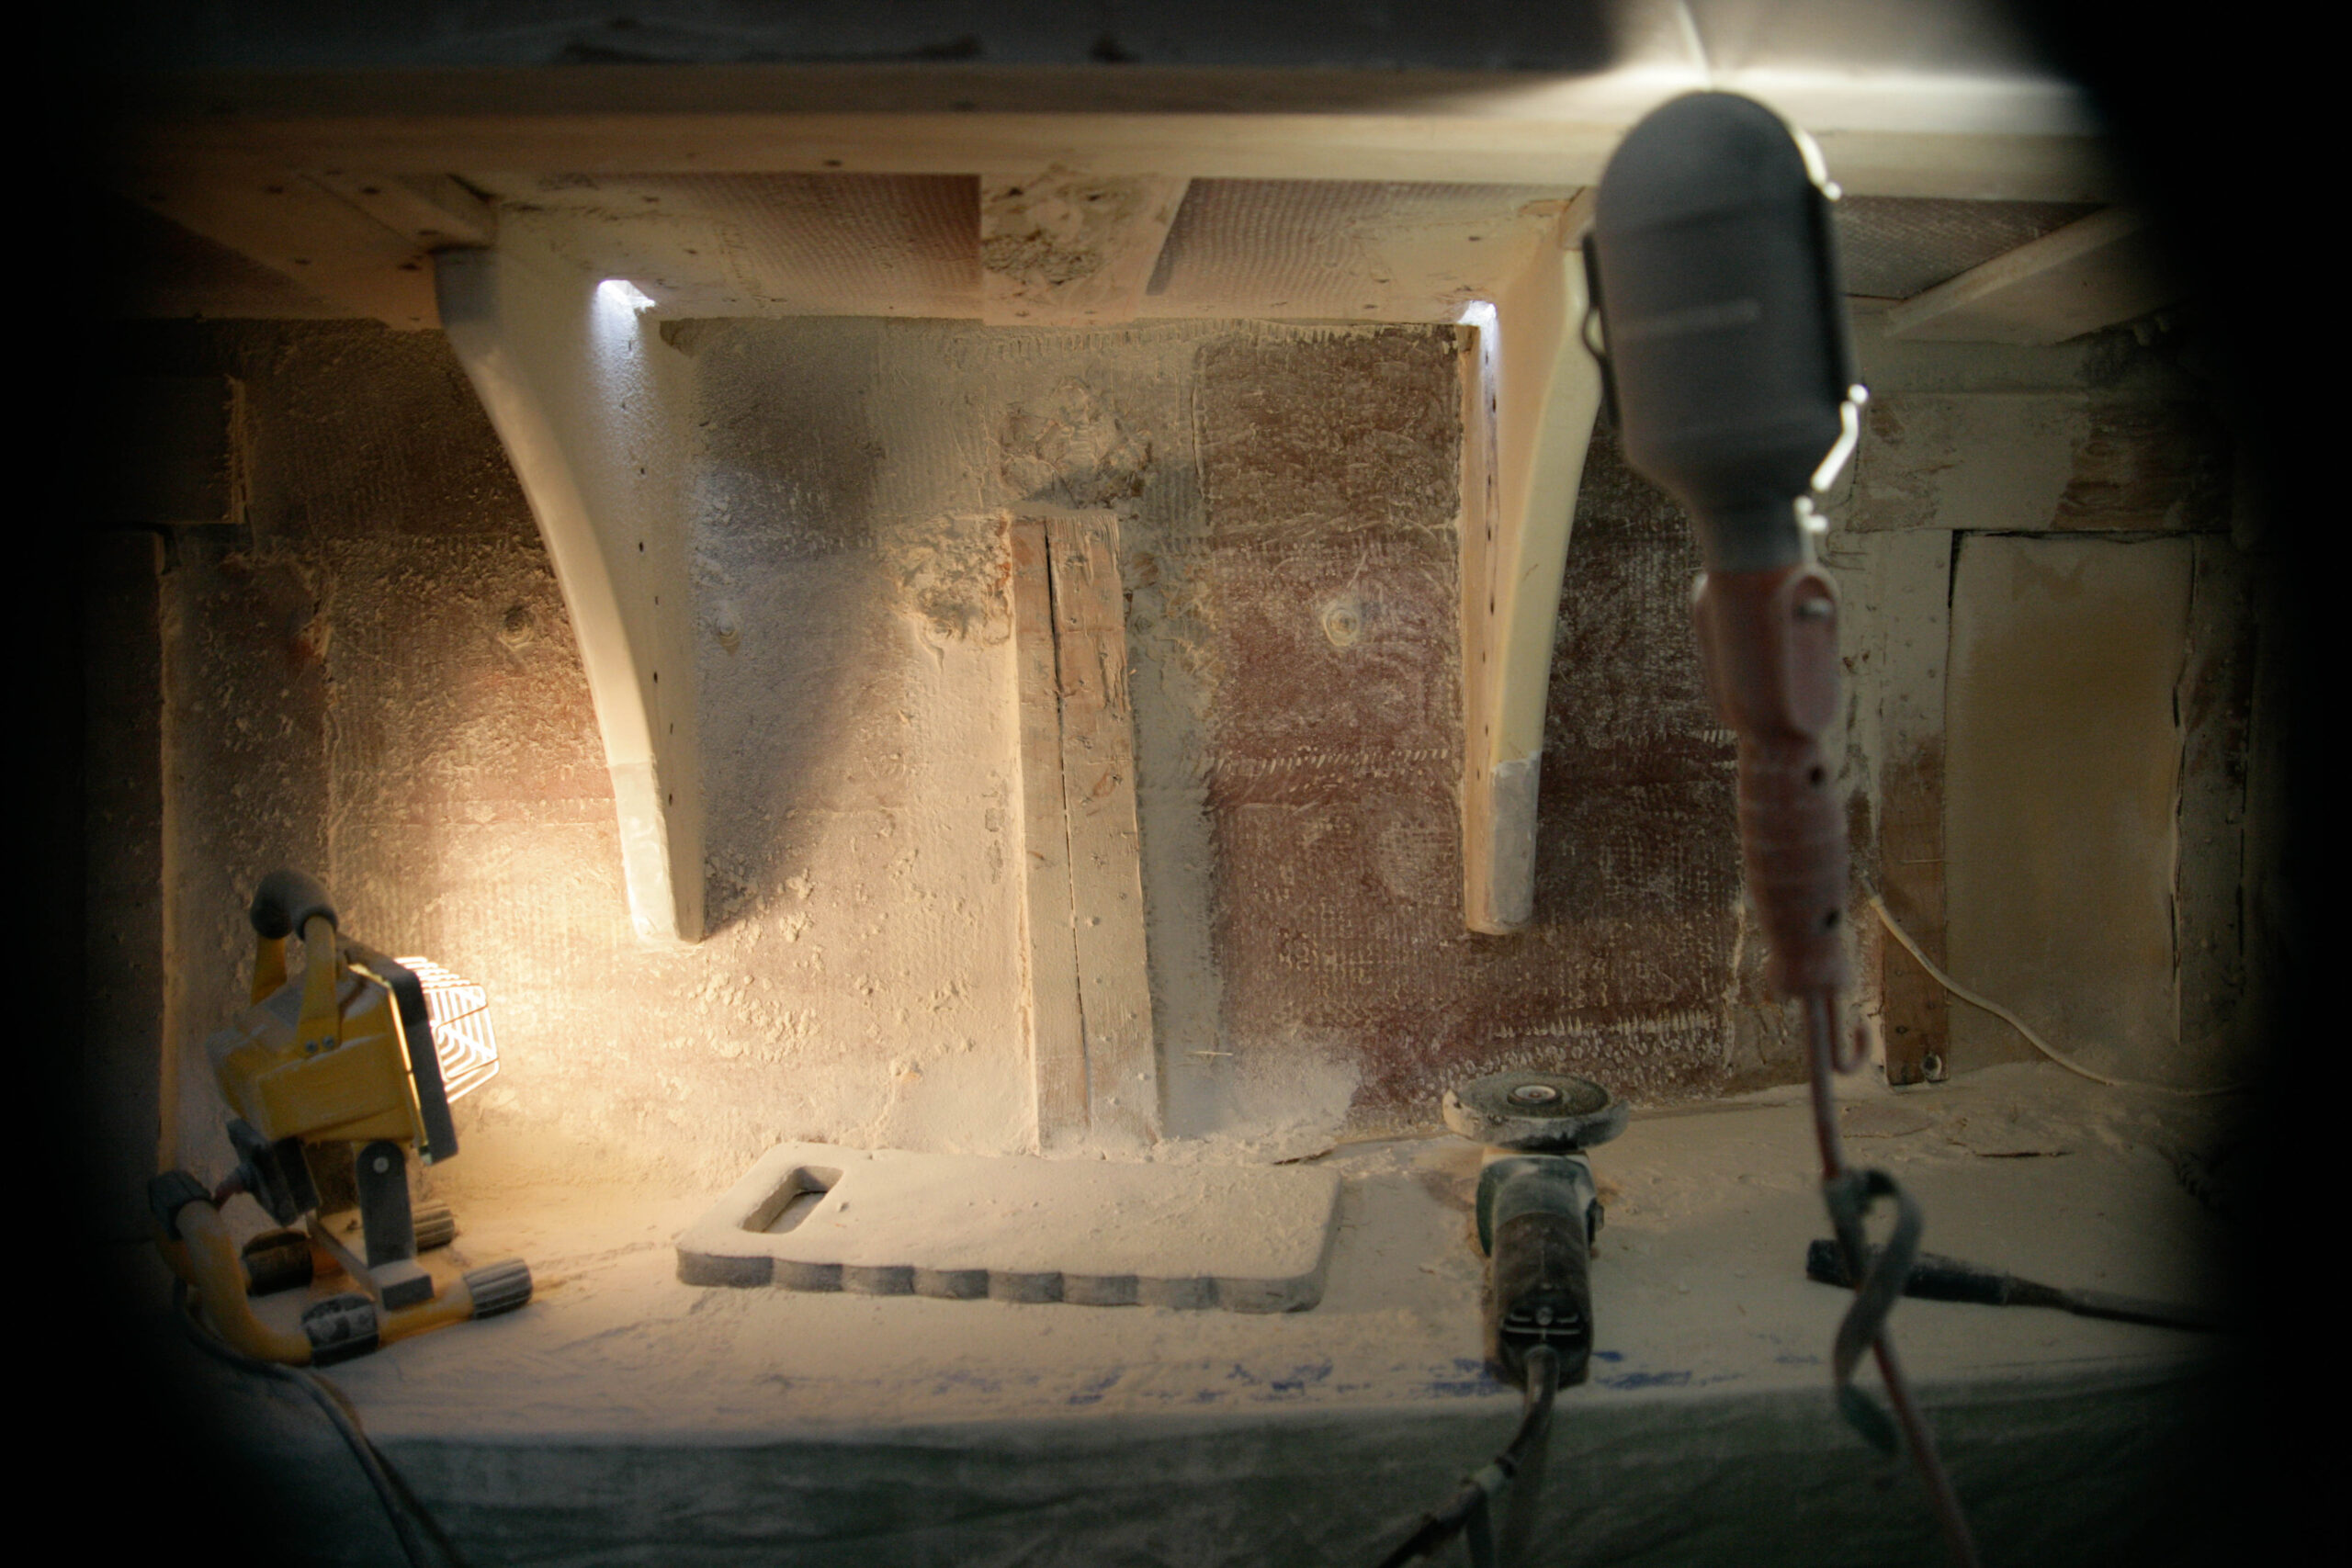
Step one: Scrape. Using a scraper take off most of the old polyurethane over the entire floor. Time required: 6 hours. Sweat level: high. Battery power requirements: none.
Step two: Use Orbital Sander on 80 grit over half of the floor. Time required: 12 hours. Sweat level: moderate to high. Battery power requirements: moderate.
Step three: Use Belt Sander with vacuum attached over entire floor. Time required: 5 hours. Sweat level: low. Battery power requirements: enormous.
Step three should have been step one and would have saved the time required to do step one and step two. But Matt had initially suggested the scraper and orbital sander route. After a couple of days of this, I met up with Matt, described the progress, and realized the belt sander was the way to go. That it took three days of work before I made the switch is a testament to some stubbornness and my oft detailed lack of handiness experience.
Step four: Redo entire floor with Orbital Sander on 80 grit. Time required: 6 hours. Sweat level: moderate. Battery power requirements: moderate.
Step five: Use Fein tool with triangular sander tool to get into the corners and edges. Time required: 3 hours. Sweat level: moderate. Battery power requirements: low. Frustration level: Enormous.
The Fein tool is a beautiful instrument, but this was not its calling. The sandpaper we had for the Fein tool gummed up quickly, in about 5 minutes, and would then need to be changed. Extraordinarily frustrating.
Step six: Entire floor with Orbital Sander on 200 grit. Time required: 4 hours. Sweat level: moderate. Battery power requirements: moderate.
The floor was now bare wood, light and baby bottom smooth. It was impressive to run my hand across after I had used the belt sander and think ‘oh that’s pretty smooth.’ Then after the 80 grit orbital sander was used, I’d think, ‘wow, THAT’s smooth.’ Finally, after the 200 grit sand paper, I was thinking, ‘This is better than the sexiest pair of smooth woman’s legs I’ve ever felt.’ That’s not true, but you get the point.
Step seven: clean. Time required: 2 hours. Sweat level: low. Battery power requirements: none. Frustration level: high.
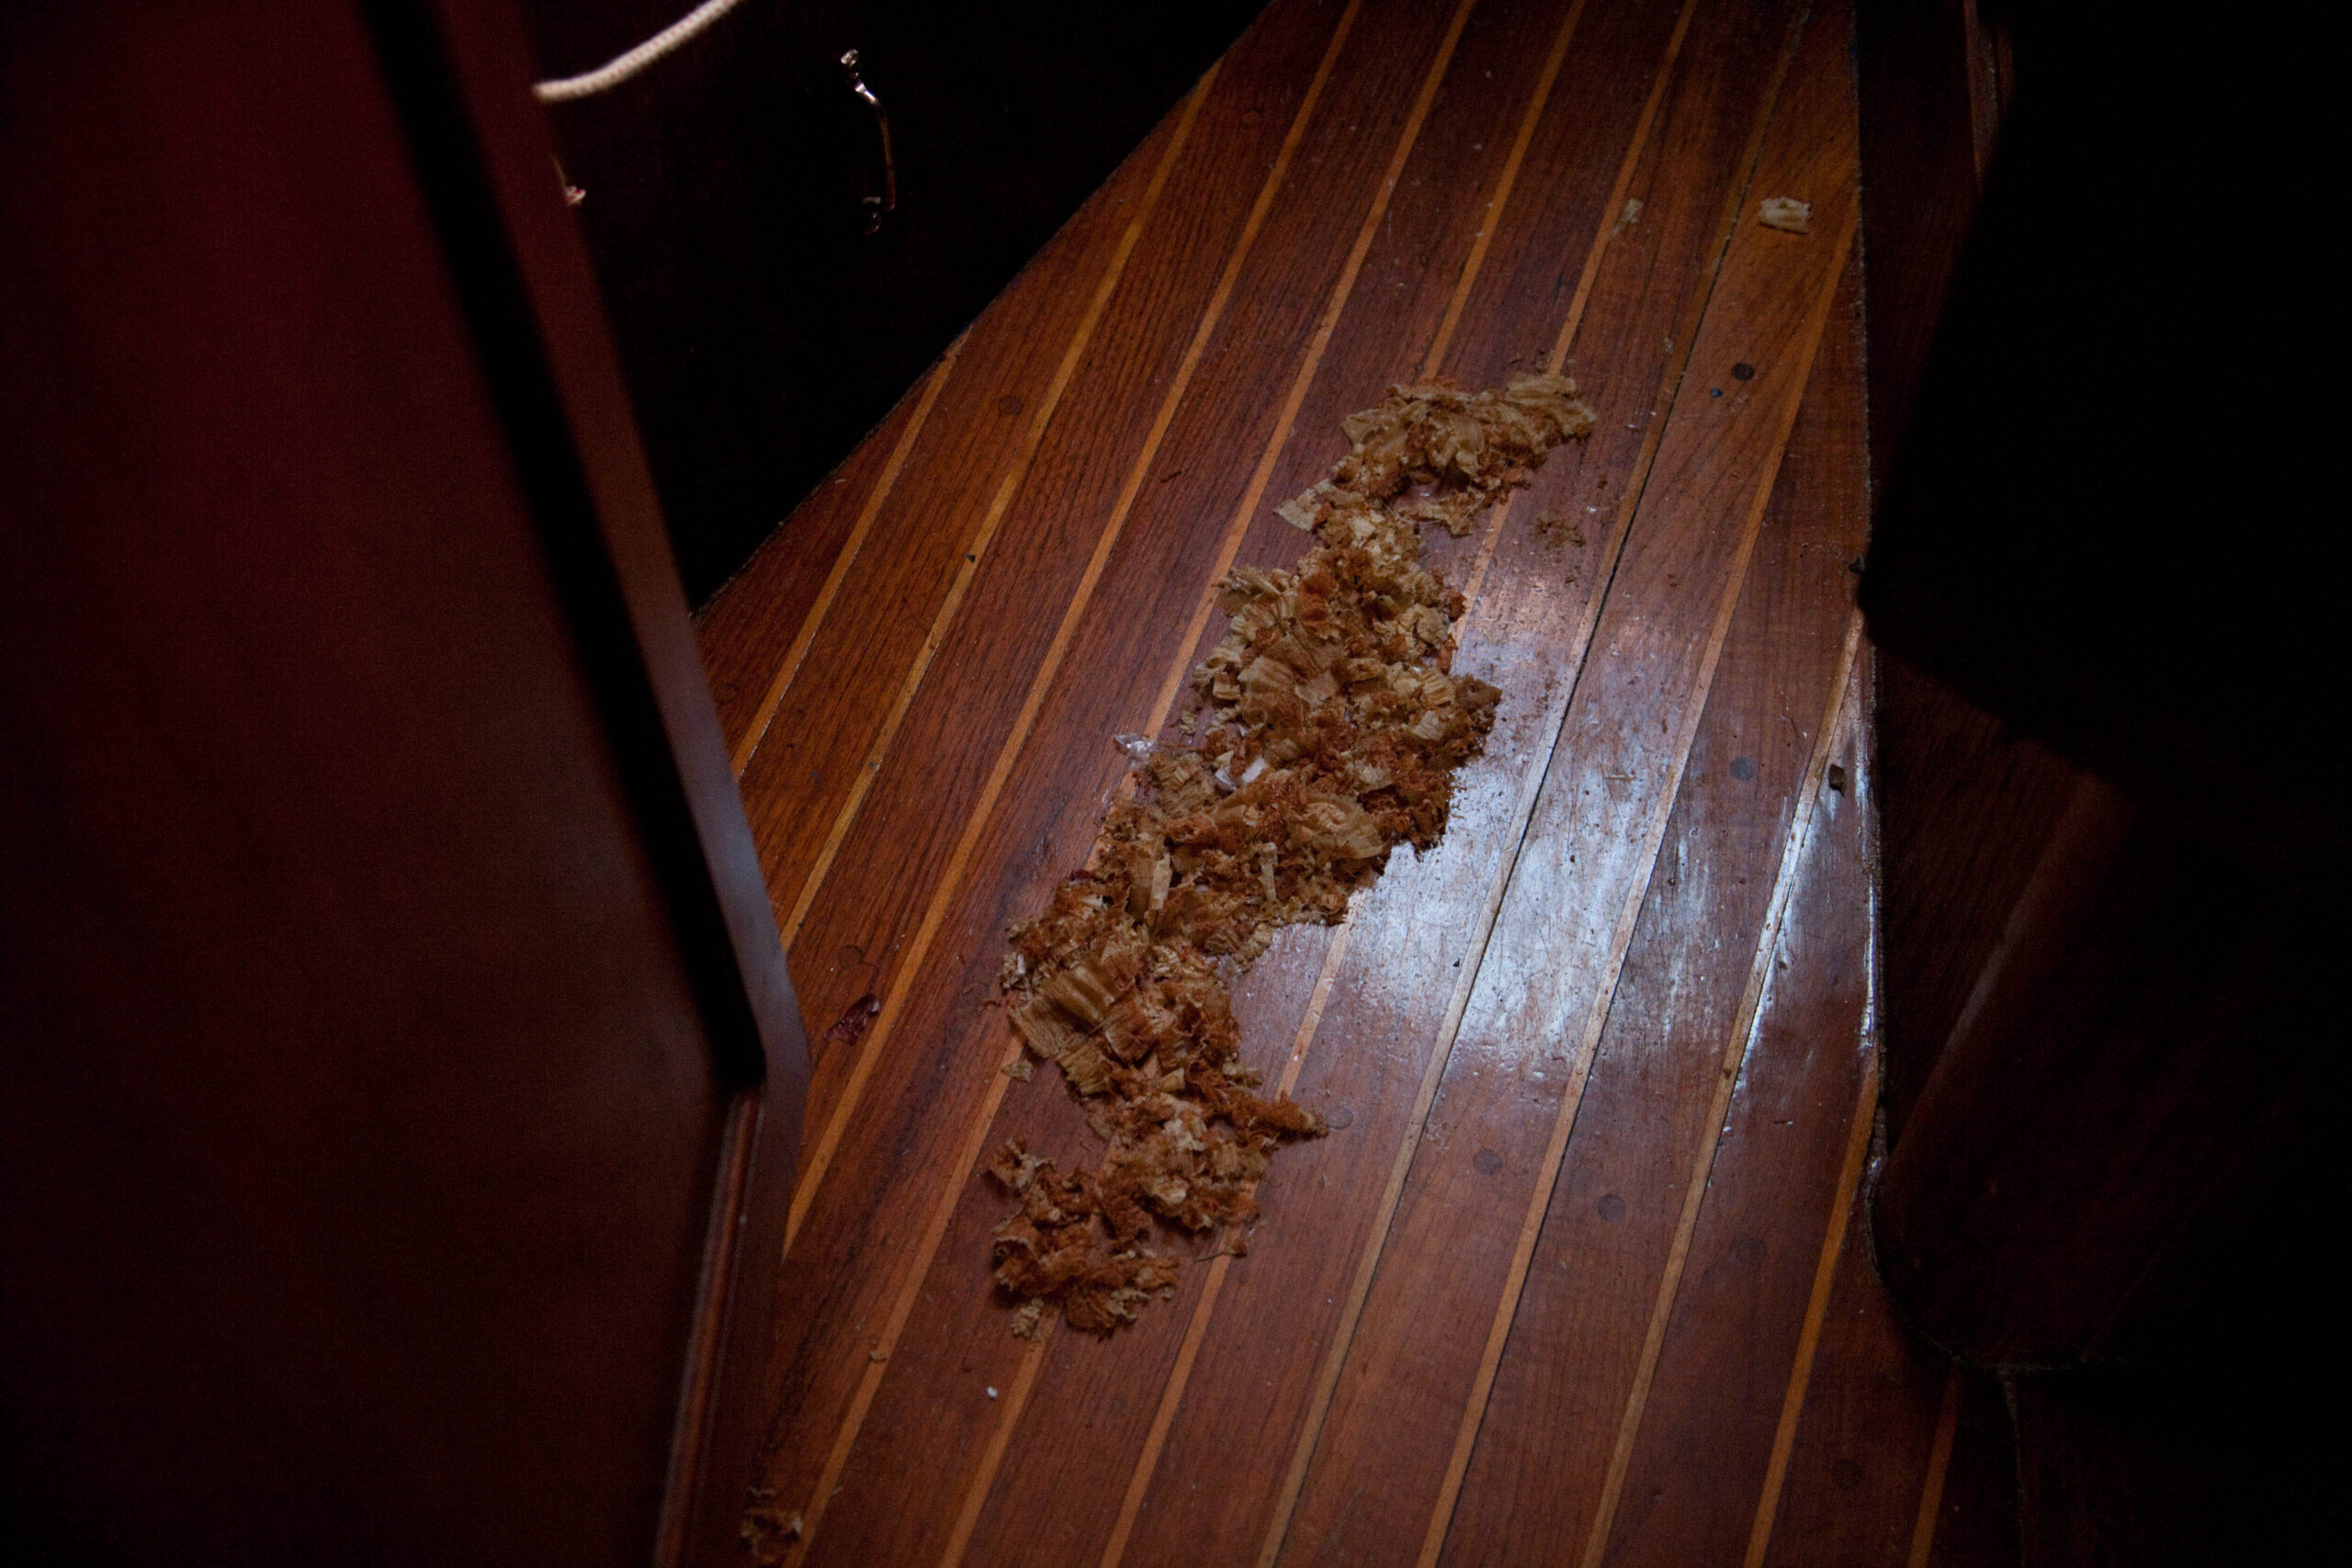
There was now sawdust everywhere. I had failed to use the vacuum attachment in steps two and four. This was a colossal mistake. Sawdust was everywhere. I had taped off Matt and Karen’s bedroom, but everywhere else had a thin to thick layer of sawdust. Before laying down layers of polyurethane, which if the the sawdust got airborne and settled onto, would hold it fast like fly-stick paper, the boat needed to be cleaned. I got to probably 90% of it. Karen, bless her heart, spent an additional few hours cleaning up my mess a week later, getting to all the more smaller nooks and crannies of the boat. A month later there is still sawdust visible in a myriad of places.
Step eight: wipe down floor with rubbing alcohol to clean. Time required: 3 hours.
Step nine: repeat. I went through six rags coating them in sawdust that had settled on the floor.
Step ten: Finally the first layer of polyurethane was ready to be applied. Time required: 2 hours. Brain cells killed: some. Satisfaction level: high. I wore a respirator while applying because the polyurethane has a terrible headache inducing odor that forced me to sleep outside that night. This step, by the way, was finished after a 16 hour work day ending at 4 am.
Step eleven: Wake up in the morning and bask in the glory of a beautiful floor. Take pictures of your exquisite work. Drink multiple beers in the morning toasting your success. Then prepare for another coat of polyurethane. The directions say to apply two coats. Matt, in his infinite wisdom, and constant striving for anal perfection, wants four. (In his defense, in hind sight, each layer was necessary and improved the floor markedly)
Step twelve: Lightly sand with the orbital attached to vacuum. Wipe down with rubbing alcohol to clean. Time required: 2 hours. Battery power requirements: colossal. It will be necessary to run the engine in order to charge the batteries. This is the first time EVER this has been necessary.
Step thirteen: Next layer of polyurethane. Time required: 2 hours. This time making sure, once an area is covered in poly, to ever so gently run the brush across the area. Like tickling someone with a feather…
Step fourteen through nineteen: Repeat steps eleven through thirteen twice more.
A week worth of work later, and now we have a beautiful floor.
 OLYMPUS DIGITAL CAMERA
 -
Misadventures with the dinghy: Part 4
(refers to events that happened July 12th -July 20th)
We have never been happy with our outboard engine for our dinghy. It sat on the rail of Syzygy for over a year before anyone bothered to start to tinker with it. And what they found was not particularly encouraging. It didn’t run particularly well. We rarely used it.
Fast forward three years and once Matt and Karen left San Francisco, the dinghy actually started getting used. And yet again, the outboard was not particularly reliable.
It puttered at higher RPM’s. It was difficult to start. It cut out randomly. It seemed to be overheating. Old supposedly adjustable plastic parts would break upon adjustment. It looked old and ugly.
Then, once I arrived, shortly thereafter we did not tie up the dinghy well enough. It came loose, and on its drift away, flipped over, submerging the engine in salt water. When I say ‘we’ did not tie up the dinghy well enough, I mean ‘I’, but choose to use the royal ‘we’ in an attempt to lesson my embarrassment. Submerging an outboard engine in salt water is not good for it. In fact, it effectively dooms it. Salt gets onto the piston walls, immediately begins to corrode them, which causes all sorts of bad things.
But really, my action only hastened what Matt has wanted to do for the last six months. He even joked about purposely wanting to lose the dinghy not two days before it drifted away. So after tinkering around and cleaning some of the salt off, I came around to Matt and Karen’s point of view. It was time to spend serious money on our outboard, either a large overhaul on ours, buying a used one, or buying a new one.
A few days later, we arrived into Papette, Tahiti from Rangiroa after one long overnight sail. First thing the next morning, I was up and motivated. If we wanted to do something about our outboard, we needed to get started right away because it would take a few days and none of us wanted to be in Papette very long. Matt supported, but did not share, my enthusiasm and so I struck off alone early Saturday morning around 8 am. That it was Saturday was unlucky, as I knew many places would close at noon and some would not be open at all. This is how they do business in paradise, ‘island time’.
Since I had wandered around Papette for a week before flying to meet Matt and Karen, I knew of at least one outboard engine store and so started there. At each place I went, I had three questions. Do you fix outboards? Do you sell used outboards? What are your prices for new outboards?
The first place, Evinrude/Suzuki Outboards, said: “No. No. $1800.”
This was not particularly promising.
The salesman was extremely courteous however, and did direct me to the authorized Evinrude repair shop and other outboard engine retailers. I spent the rest of Saturday wandering around, asking questions, saying “I am sorry I don’t speak French, do you speak English?” and trying to determine what to do about our engine situation.
Repeatedly I heard, ‘there are no used outboards for sale anywhere. Tahitians run them until they disintegrate.’
On Monday, Matt and I went to the repair shop and on Tuesday returned with our engine. I visited them again on Wednesday to hear their prognosis.
The owner gave me the gist: “Pas possible,” he said. Not Possible. He then began telling me what might be wrong, but they weren’t exactly sure. And to fix what might be wrong would take over a month to get the part and cost $500 just for that part. With no insurance that would fix all our problems. He was right. Pas Possible.
Resigned to the fact that we would have to by a new engine, I asked him if he was interested in buying ours for the parts. He crossed his arms, rubbed his chin and appeared in thought. The head mechanic walked over and the owner asked him if he thought they should buy it for the parts. The head mechanic was not so diplomatic and simply scoffed! Laughing out loud. This was embarrassing. I left saying we would be back to pick up the engine in a couple of days. We never did return.
One of the shops I had contacted, Mercury, had quoted me a price of 130,000 Pacific Francs, about $1,300. Matt had talked to them separately at a different location and they offered him a price of $1200. I called back to confirm Matt’s price, he gave me a slightly higher price, I sort of paused on the phone, hedging, and then he gave me a final price of $1125. Done.
We now have a brand new, shiny, 5 hp, 2-stroke Mercury outboard It purrs. It starts with one pull. It easily goes up to its maximum RPM. It planes over the water with ease. Did I mention it purrs?
We are very happy. We had to spend some money, but we are very happy. Who says money can’t buy happiness? Misadventures part 4: success!
OLYMPUS DIGITAL CAMERAOLYMPUS DIGITAL CAMERA -
Misadventures with Slurpy Part 3
Part 3
(refers to events on July 11th)
“Syzygy, Syzygy, this the Gendarmarie.” cracked the VHF in a heavy and thick French accent. So thick, it was almost impossible to tell they were calling us. My heart quickened as I glanced at Karen while answering.
“Gendarmarie. this is Syzygy. Want to go up one?” I said, asking if they wanted to go to another channel. They didn’t understand.
There was only one reason I thought they could be calling however. They must have our dinghy!
“Syzygy. We haz yur zodiac.” Sweet!!!!!
The gendarmarie wanted us to report to them immediately. Apparently, we were supposed to check in with them four days ago when we arrived in Rangiroa. Technically we were outlaws. Outlaws in the land of Rangiroa. But they were pretty laid back about it. They were, however, now effectively holding our dinghy hostage until we officially checked in.
We went ashore at 1 pm, the gendarmarie meeting us at the docks. We were 30 minutes earlier than our scheduled arrival time. They were a little too in a hurry for me. We piled into the back of the car, and I couldn’t help but think we must look like fugitives to those whom we passed on the drive. But they were pleasant enough and once we had officially checked in, the police chief himself took us to the restaurant/pension where our dinghy was.
And there it was! Looking perfectly fine. The engine was still there, though the fuel tank had mysteriously gone missing. The oars were still there, as was snorkeling gear. But no fuel tank. Odd we thought, but if that’s the price, we easily acquiesce to that finder’s cost.
After a round of drinks, we began to contemplate our return. There was the matter, however, of how to get the dingy back to our boat. With no fuel, we couldn’t run the engine, and well, our outboard is a piece of shit anyway and probably couldn’t handle that. Matt however, thought we could easily row back on our own. Karen came down on the side of deflating the dinghy and getting a taxi. I sided with Matt encouraged by appeal that it would be a fun team building exercise. He seemed jazzed about the idea and so I was for it simply because he was jazzed about something. So we pushed the dinghy into the water and began to row.
We rowed and rowed and rowed. It quickly became apparent this was not going to be an exercise in team-building, but an exercise in futility. We were taking on more water than we used to; there must be a leak somewhere. There was no seat through the middle so the rower couldn’t sit properly. We have miserable oarlocks and soft bottomed dinghy, both of which reduce the ability to row effectively. We were fighting the current. We were going against the prevailing wind. This was a terrible idea.
After thirty minutes, we had made maybe 100 yards of progress. I think that is generous. Karen was the first to get out of the dinghy and try to swim along and push the dinghy. This didn’t work so well. I took a turn at rowing. It was miserable. So then I hopped out, tied the painter line around me and began swimming in front of the boat pulling it along. With Matt rowing and Karen bailing, this was our best method and we managed to increase our speed to about 300 yards per 30 minutes. At this rate, it would take us over eight hours to get back to our boat. Clearly, we were bumfuzzling idiots. Well, maybe just Matt and me who originally thought this would be fun. Karen, smartly, had never thought this was a good idea.
Luckily for us, another couple was motoring nearby in their dinghy looking for someplace to eat. They took pity on us, and told us they would tow us back to our boat. THANK YOU!
It still took us nearly an hour to get back. Matt insisted we row to help us along. I’m not sure how much it helped, though it made me feel more in control and helpful. It also made me feel ridiculous.
Back at our boat, we begged them to let us thank them with some gift and ended up promising to deliver some movies and books to them in thanks sometime in the next couple of days. We plopped down in various places on our boat, exhausted both mentally and physically from the ordeal. The dinghy had yet again gotten the better of us. So despite that we got the dinghy back to our boat, and could be happy at not having to buy a new dinghy, (the P.O.S. engine might be another thing) it still didn’t feel much like a victory.
Misadventures part 3: monetary success. emotional failure.
OLYMPUS DIGITAL CAMERAOLYMPUS DIGITAL CAMERAOLYMPUS DIGITAL CAMERAOLYMPUS DIGITAL CAMERA -
Misadventures with Slurpy: part 2
(refers to events on July 10th)
I felt like a champ after having found the VHF. Back at the boat, cold but ecstatic, we hurriedly tied up the dinghy and enjoyed a sweatshirt and beer in celebration.
I wish we had not hurried. In the middle of the night, our dinghy decided to float away. The knot somehow slipped. Matt told me in the morning that he woke up at 3 am to pee and the dinghy was gone. He then went back to sleep. What else could he do?
I found out at 6 am when I woke up. The prospect of a new dinghy was not pleasant. A minimum of $1000 for an engine. Another $2000 for the dinghy itself. This was an expensive problem. Getting to shore was now a major challenge, involving swimming, paddling the two-person kayak, or hitching a ride.
It slowly dawned on my through the morning that it was I who had tied up the dinghy. In my rush and because I was cold, I apparently did a poor job. Perhaps it wasn’t as tight as it needed to be on the cleat. It is doubtful that I went back over the knot, and I clearly did not tie up the dinghy with the second painter line that has now become mandatory but at the time was rarely used.
Matt was always magnanimous as we talked to various people about the incident. Careful to never blame me or express anger towards me. I had in fact, watched a knot of his nearly come undone just two days before. You would think this might have made me more wary and it did in the moment. I did not remember to be wary when I was cold and wet and exhausted from searching for over an hour for the VHF.
We discussed what to do. It was clear this was a blow to Matt and had effectively resigned to buying a new dinghy and engine. He didn’t really like either anyway. I thought we should go looking for it, for which I received a ‘Yep, you should do that.’ I radioed the anchorage intent on getting a ride to shore, and relayed my embarrassing sob story over the VHF. “Good morning Rangiroa. You know its a good day when you wake up and discover your dinghy has floated away in the middle of the night,” I began. A couple of our yachty friends replied and two hours later I had a ride into shore.
There, my miserable French tried to describe to people on the dock what happened and ask them if there was any hope. This was not easy and I certainly wished for Matt and Karen to help with the language. My vocabulary is limited to “Des sole, je ne parle pas francais. Parlez-vous englais?” However, with the help of a local dive operator, I managed to talk to one person who was insistent that our dinghy would be on sure somewhere. Just walk the shore he said. It will be there. I am positive it will be there. This was encouraging! Others however were not so enthusiastic. But I had to try.
So walk the shoreline I did. It was six miles between Passe Tiputa and Passe Avatoru. at which point I would have to stop. Walking along the shore was not like some stroll along a beautiful white sandy beach. Or even a kinda crappy beach. There was no beach. It is all bits of coral, usually only 3 feet wide before land starts. At the land were peoples’ houses, schools, restaurants, a police station: the gendarmarie, other businesses and dogs. Lots of dogs. I am not a dog lover in the United States, though I lived with one for 8 months and quite enjoyed it. In French Polynesia, I strongly dislike dogs. They’re mangy, dirty, underfed, bark randomly and bark protectively when coming near a home.
I filed a police report. I a couple dozen people. Walking through peoples backyards will do that, and they frequently eyed me suspiciously. Particularly the couple I came across whose wife was sunbathing nude in her backyard. The husband was quite nice about it, despite my intrusion. Each time I would tell swallow my pride and relate my story, often in short keywords with much pantomiming, as the person I was talking to did spoke only a little English. Yet again, having Matt or Karen along would have been nice to try and communicate. Frequently, the people would exclaim something, walk closer to the shore, look either way and say something to the effect of, ‘i do not see it!’ Yes, I know. I wouldn’t ask be asking or talking to you if I could see it. My patience was growing thin.
One person would say it probably went out the western pass. Another would say it might be at the school where the land bends south. Another reiterated some of the people on the dock by saying it might be at the blue lagoon. Each time I said merci, asked them to tell the gendarmarie, the police, if they heard of anyone finding it, and continue trudging on my way.
At about 5 pm, I had made it to the other pass. Resignation beset me, Our dinghy was lost. Misadventure part 2: failure.
-
unromantic update
I don’t have the energy or passion for a well-written update this time, but I know there are at least a few people out there who are curious about us. Full disclosure: I just finished reading an idiotic book and drinking a cup of jonny walker following a full 10 hours of stupid fiberglassing so my mood is shitty.
We moved out of our studio apartment over the holidays, while four friends visited and slept in our living room. Our guests were perfectly fine with the furniture and bed disappearing from underneath them (no kidding). Jon and Rishona came out to see the boat, work a bit, and meet us, because they are planning on joining us in the south pacific this summer, if all goes according to plan. Gary and Anna came out to california because they are awesome.
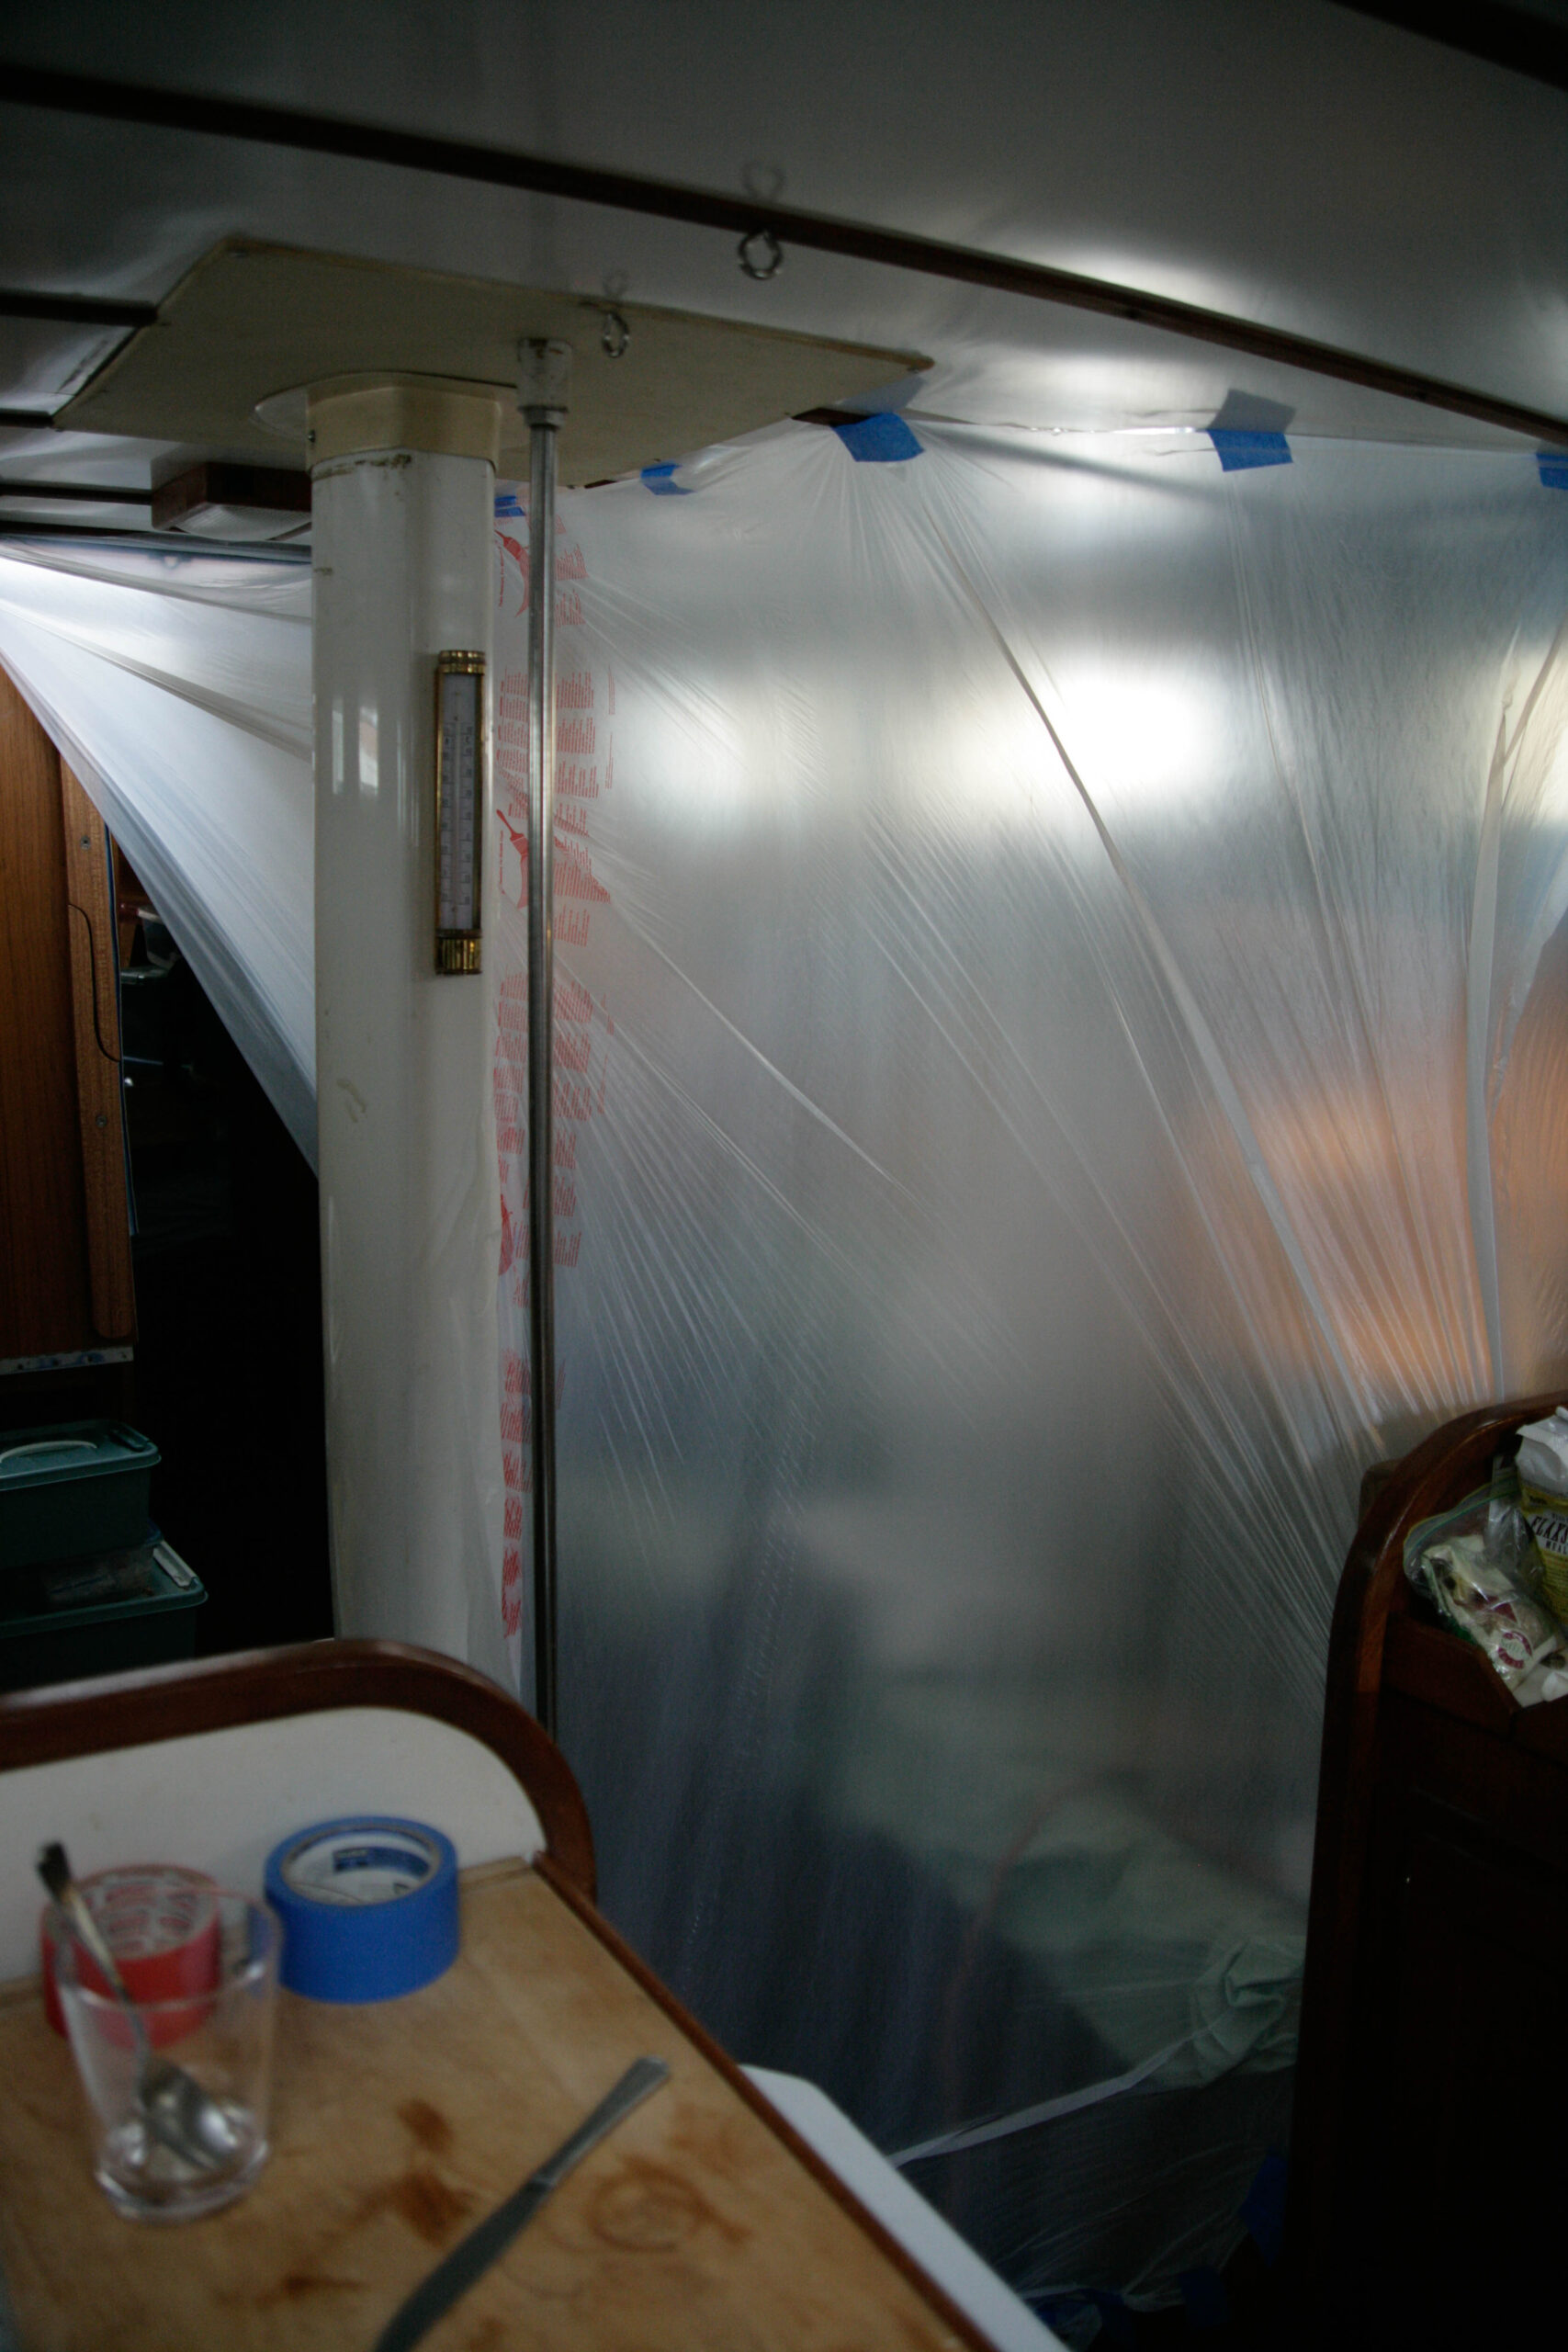
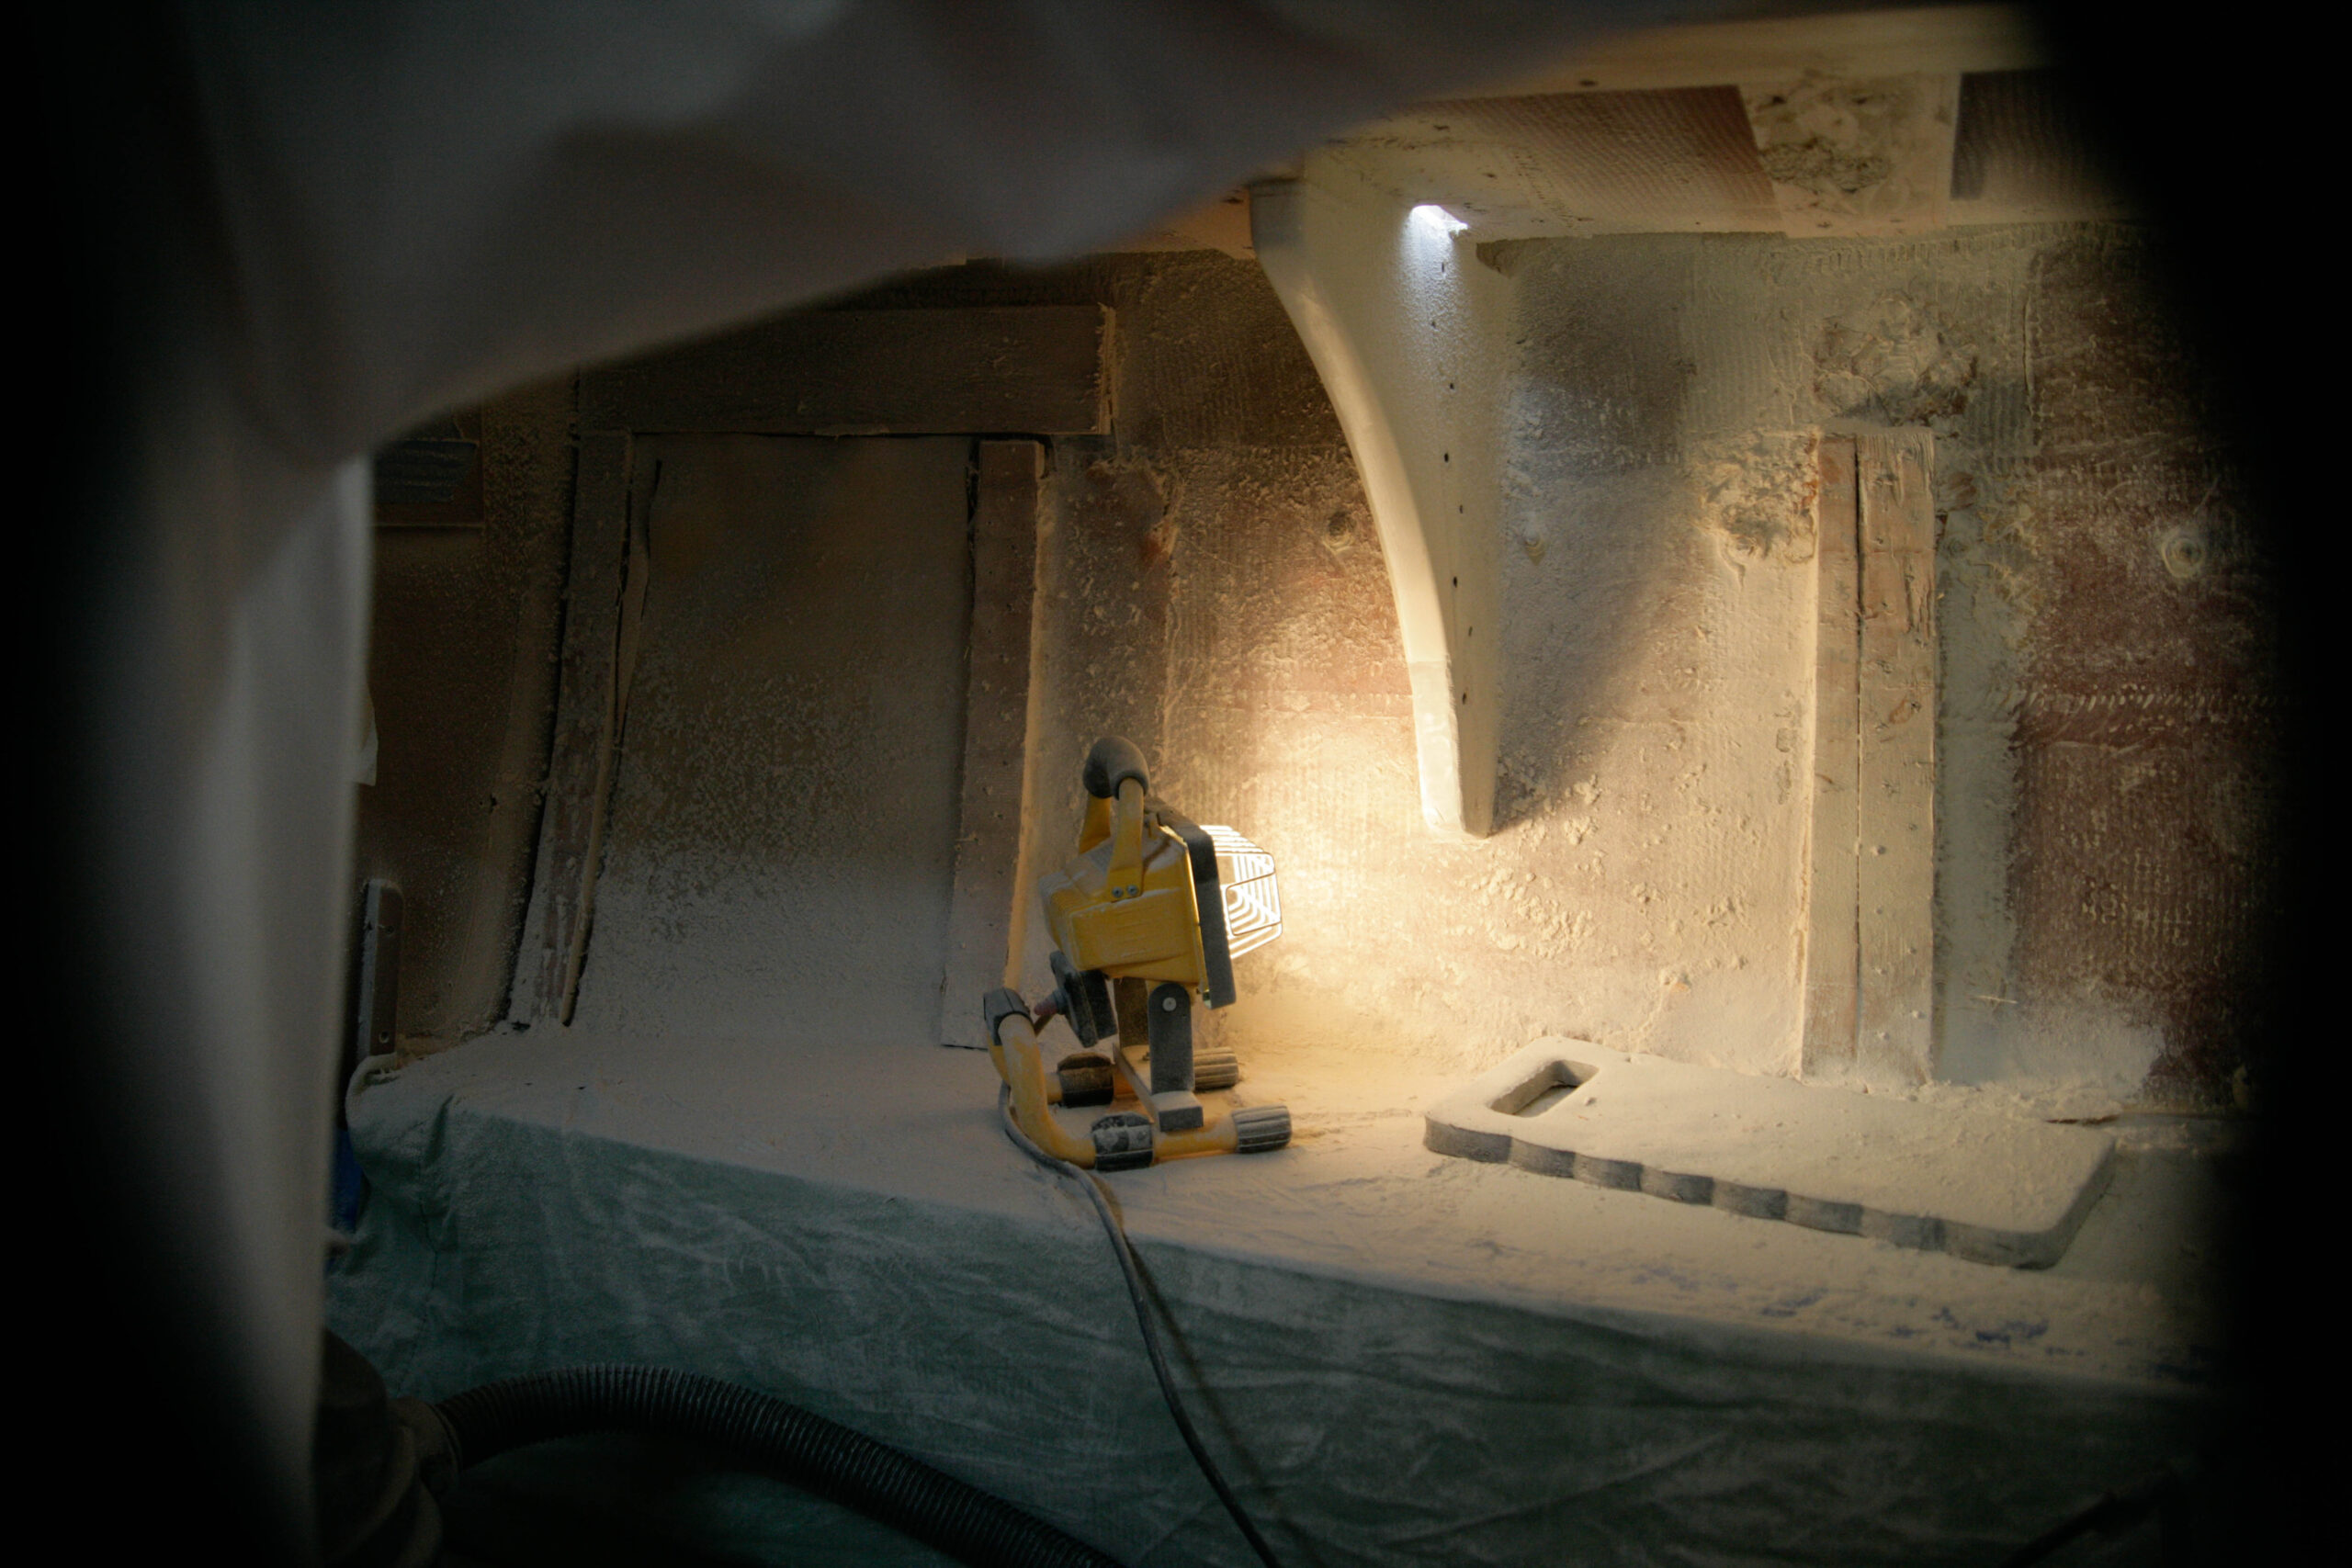
We moved onto the boat, though half of the boat is intermittently unlivable (and I mean 1/4″ fiberglass dust snow all over everything toxic air to breathe unlivable). Our belongings get shuttled around on an hourly basis like all those tiles in that hand held game where there is a grid of jumbled number tiles that you have to move around to put them in order but there’s only one blank space to use so you have to move all of the other tiles that you don’t want out of the way to move the number you want into place and it turns out that that process is difficult enough that they invented a game around it. Fully 10% of my waking hours are occupied by moving the same stuff back and forth and around and around.
As reported in the previous post, the knees of the boat came unbonded from the hull, a situation which justifies me giving a big middle finger to the fucking assholes who built this supposedly indestructible boat. The bomber reputation of the Valiant 40 is bullshit. Glassing the knees to the hull is second in importance only to actually having a hull in the first place, and the peons that glassed my knees to my hull did a shitty ass job of it and now I’m busting my ass to fix something that should have been included in the first 2,000 dollars of the much higher price of this boat.
We were planning on leaving January 14th, and our good friends Pete and Ray bought plane tickets to fly out and join us (the only reason for the very specific jan 14th date) and help us sail down the coast for a month. Since it’s down to just Karen and I and a busted boat, I am incredibly grateful to have their experienced assistance to do the first (wet cold worst) month. Well, now that the boat is sucking a big fat one, I mailed Pete one of the chainplates that needs to be replaced and he’s making a new set for me. How’s that for a friend, right? I screw up their plans and as an apology he gets a hunk of metal in the mail to duplicate 8 times over for me and they don’t even give me a hard time for it? Damn good friends, that’s for sure. (I even called him this morning and greeted him with a “so I have this windlass, and the threads on the shaft are crossed . . .”) I owe them big. So now Pete and Ray changed their flights and we’re planning on leaving February 7th now. All I have to do is rebuild the boat before then, no biggie.
Karen is being much more productively outspoken about our current situation in her booming blog, so please visit her site to get cheered up after reading this post.
I’m actually not all that bummed out as I sound, I’m just super exhausted and it just started raining and all I can think of is how many places it is undoubtedly leaking into the boat this very moment. A-we need to catch a break and B-we need to get the hell of out of this place, prontospeed.
-
Sail update: Finished (back in December)
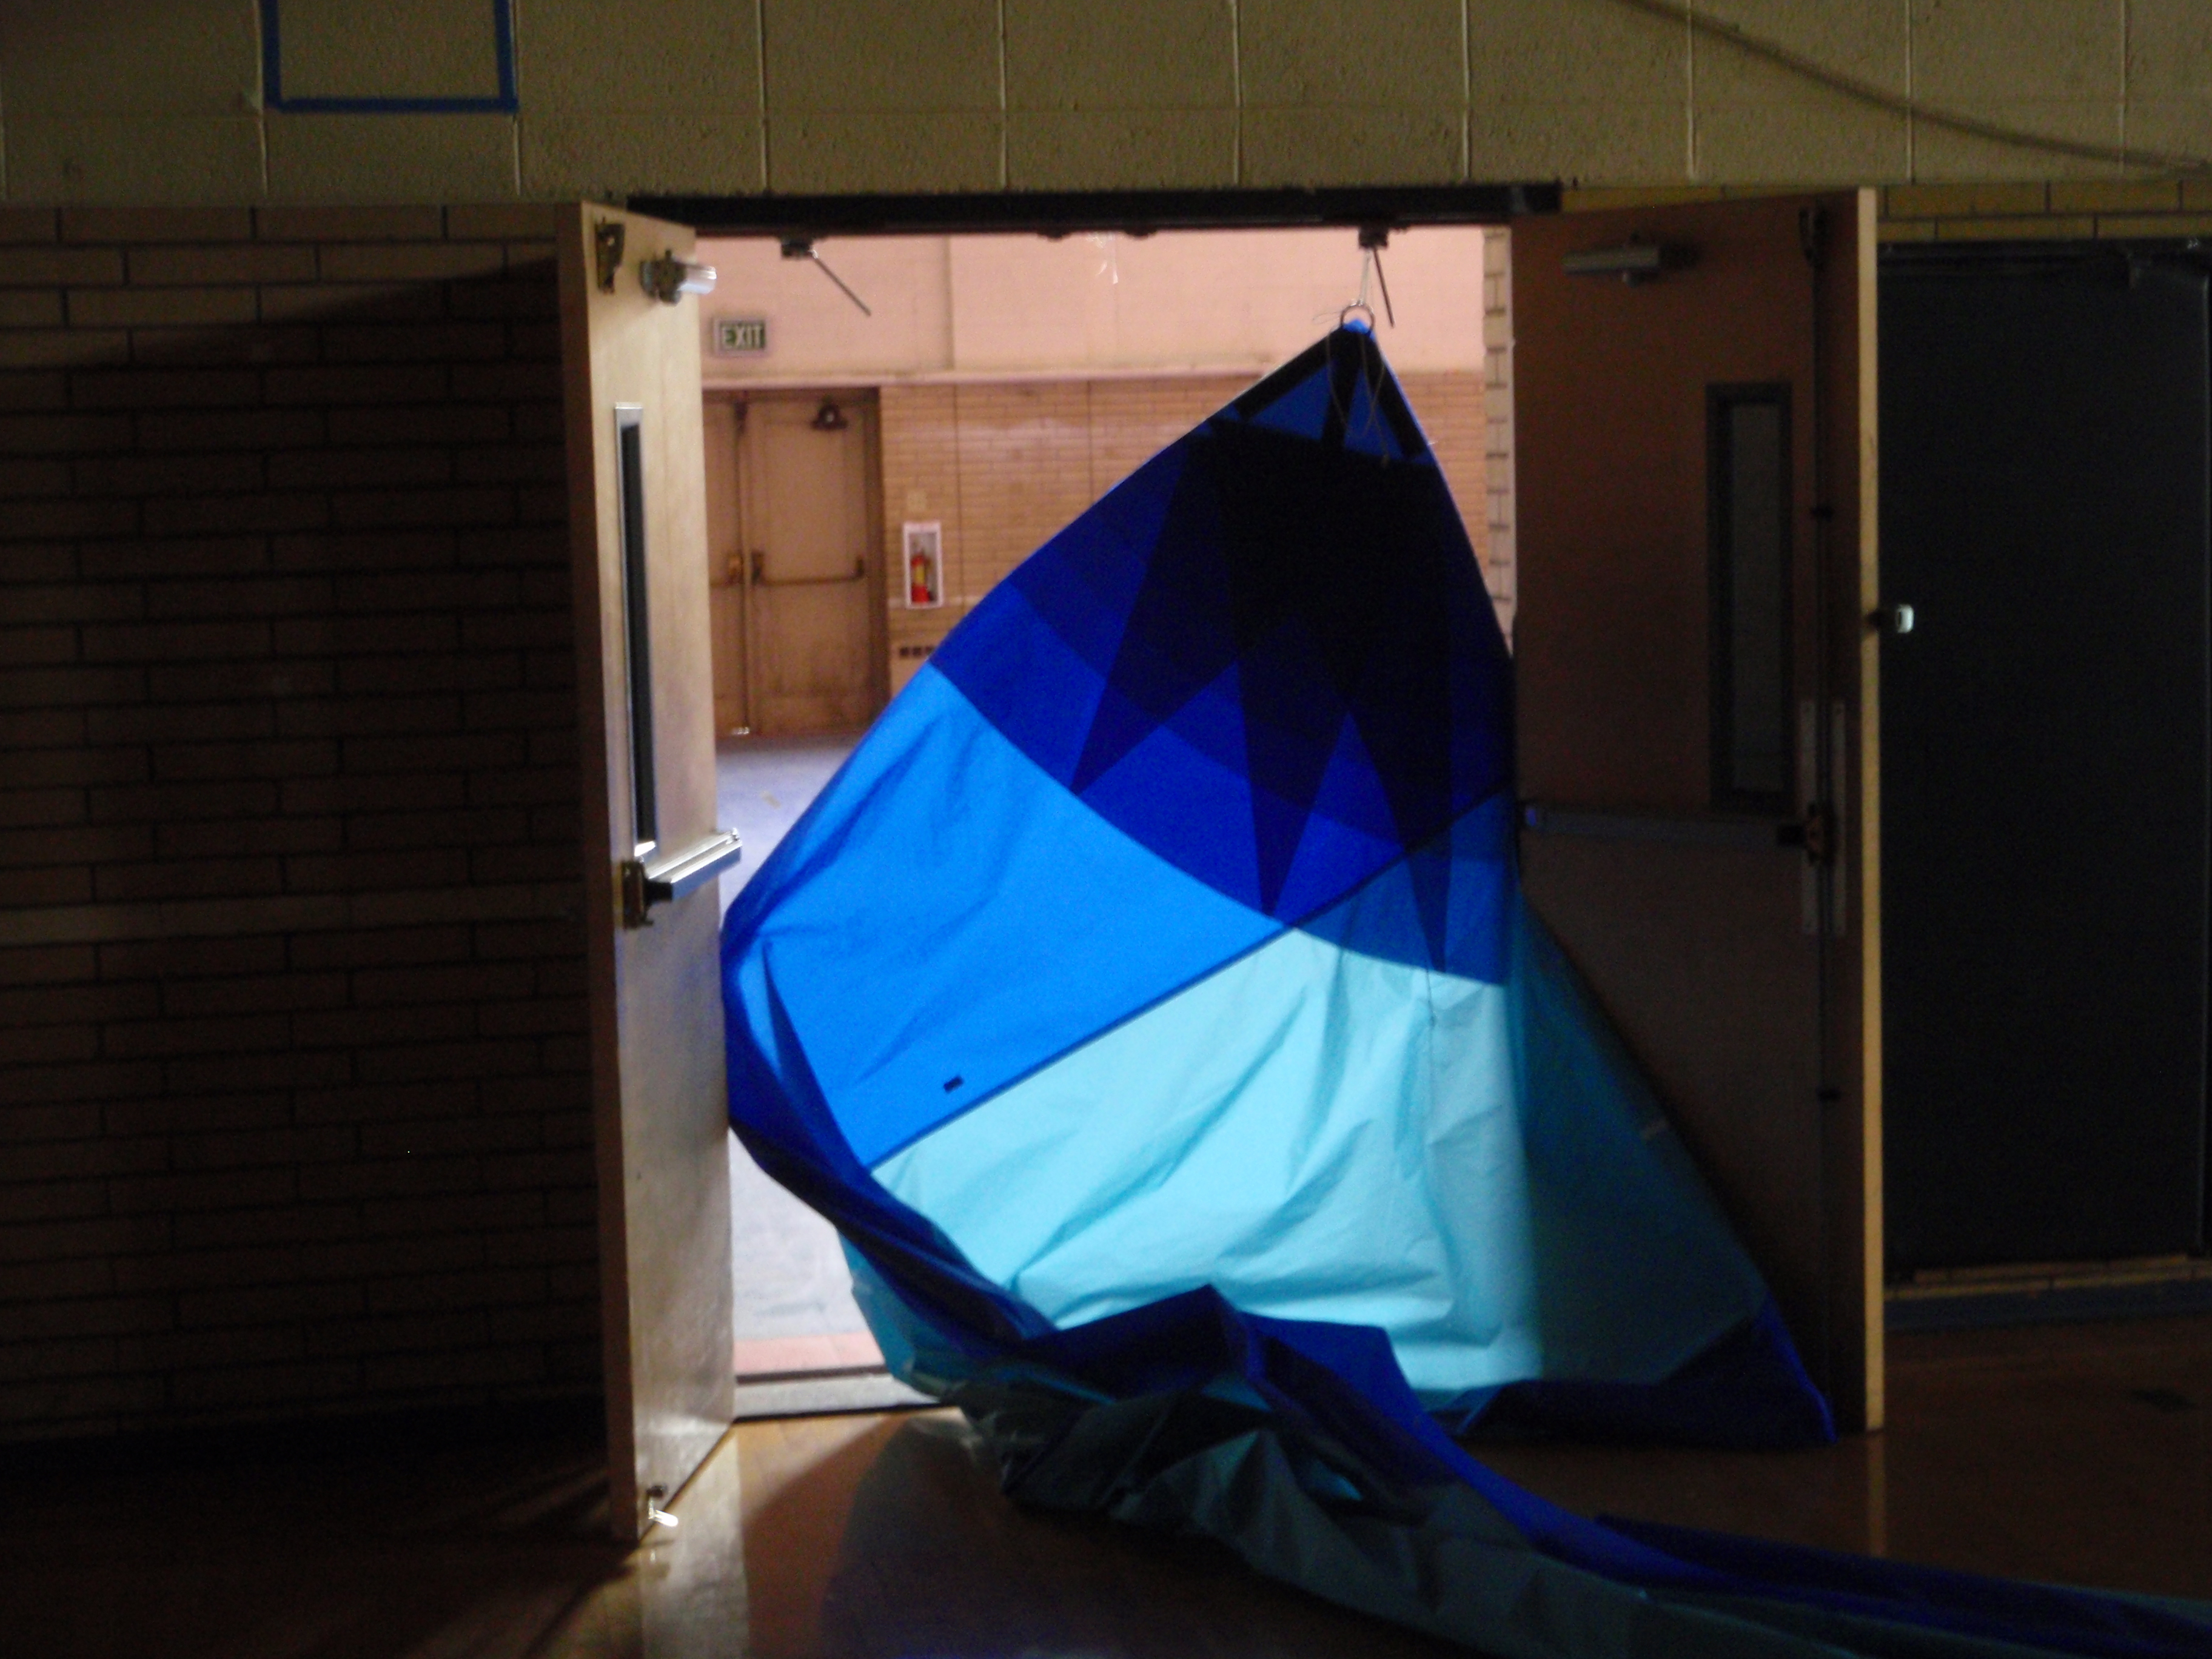
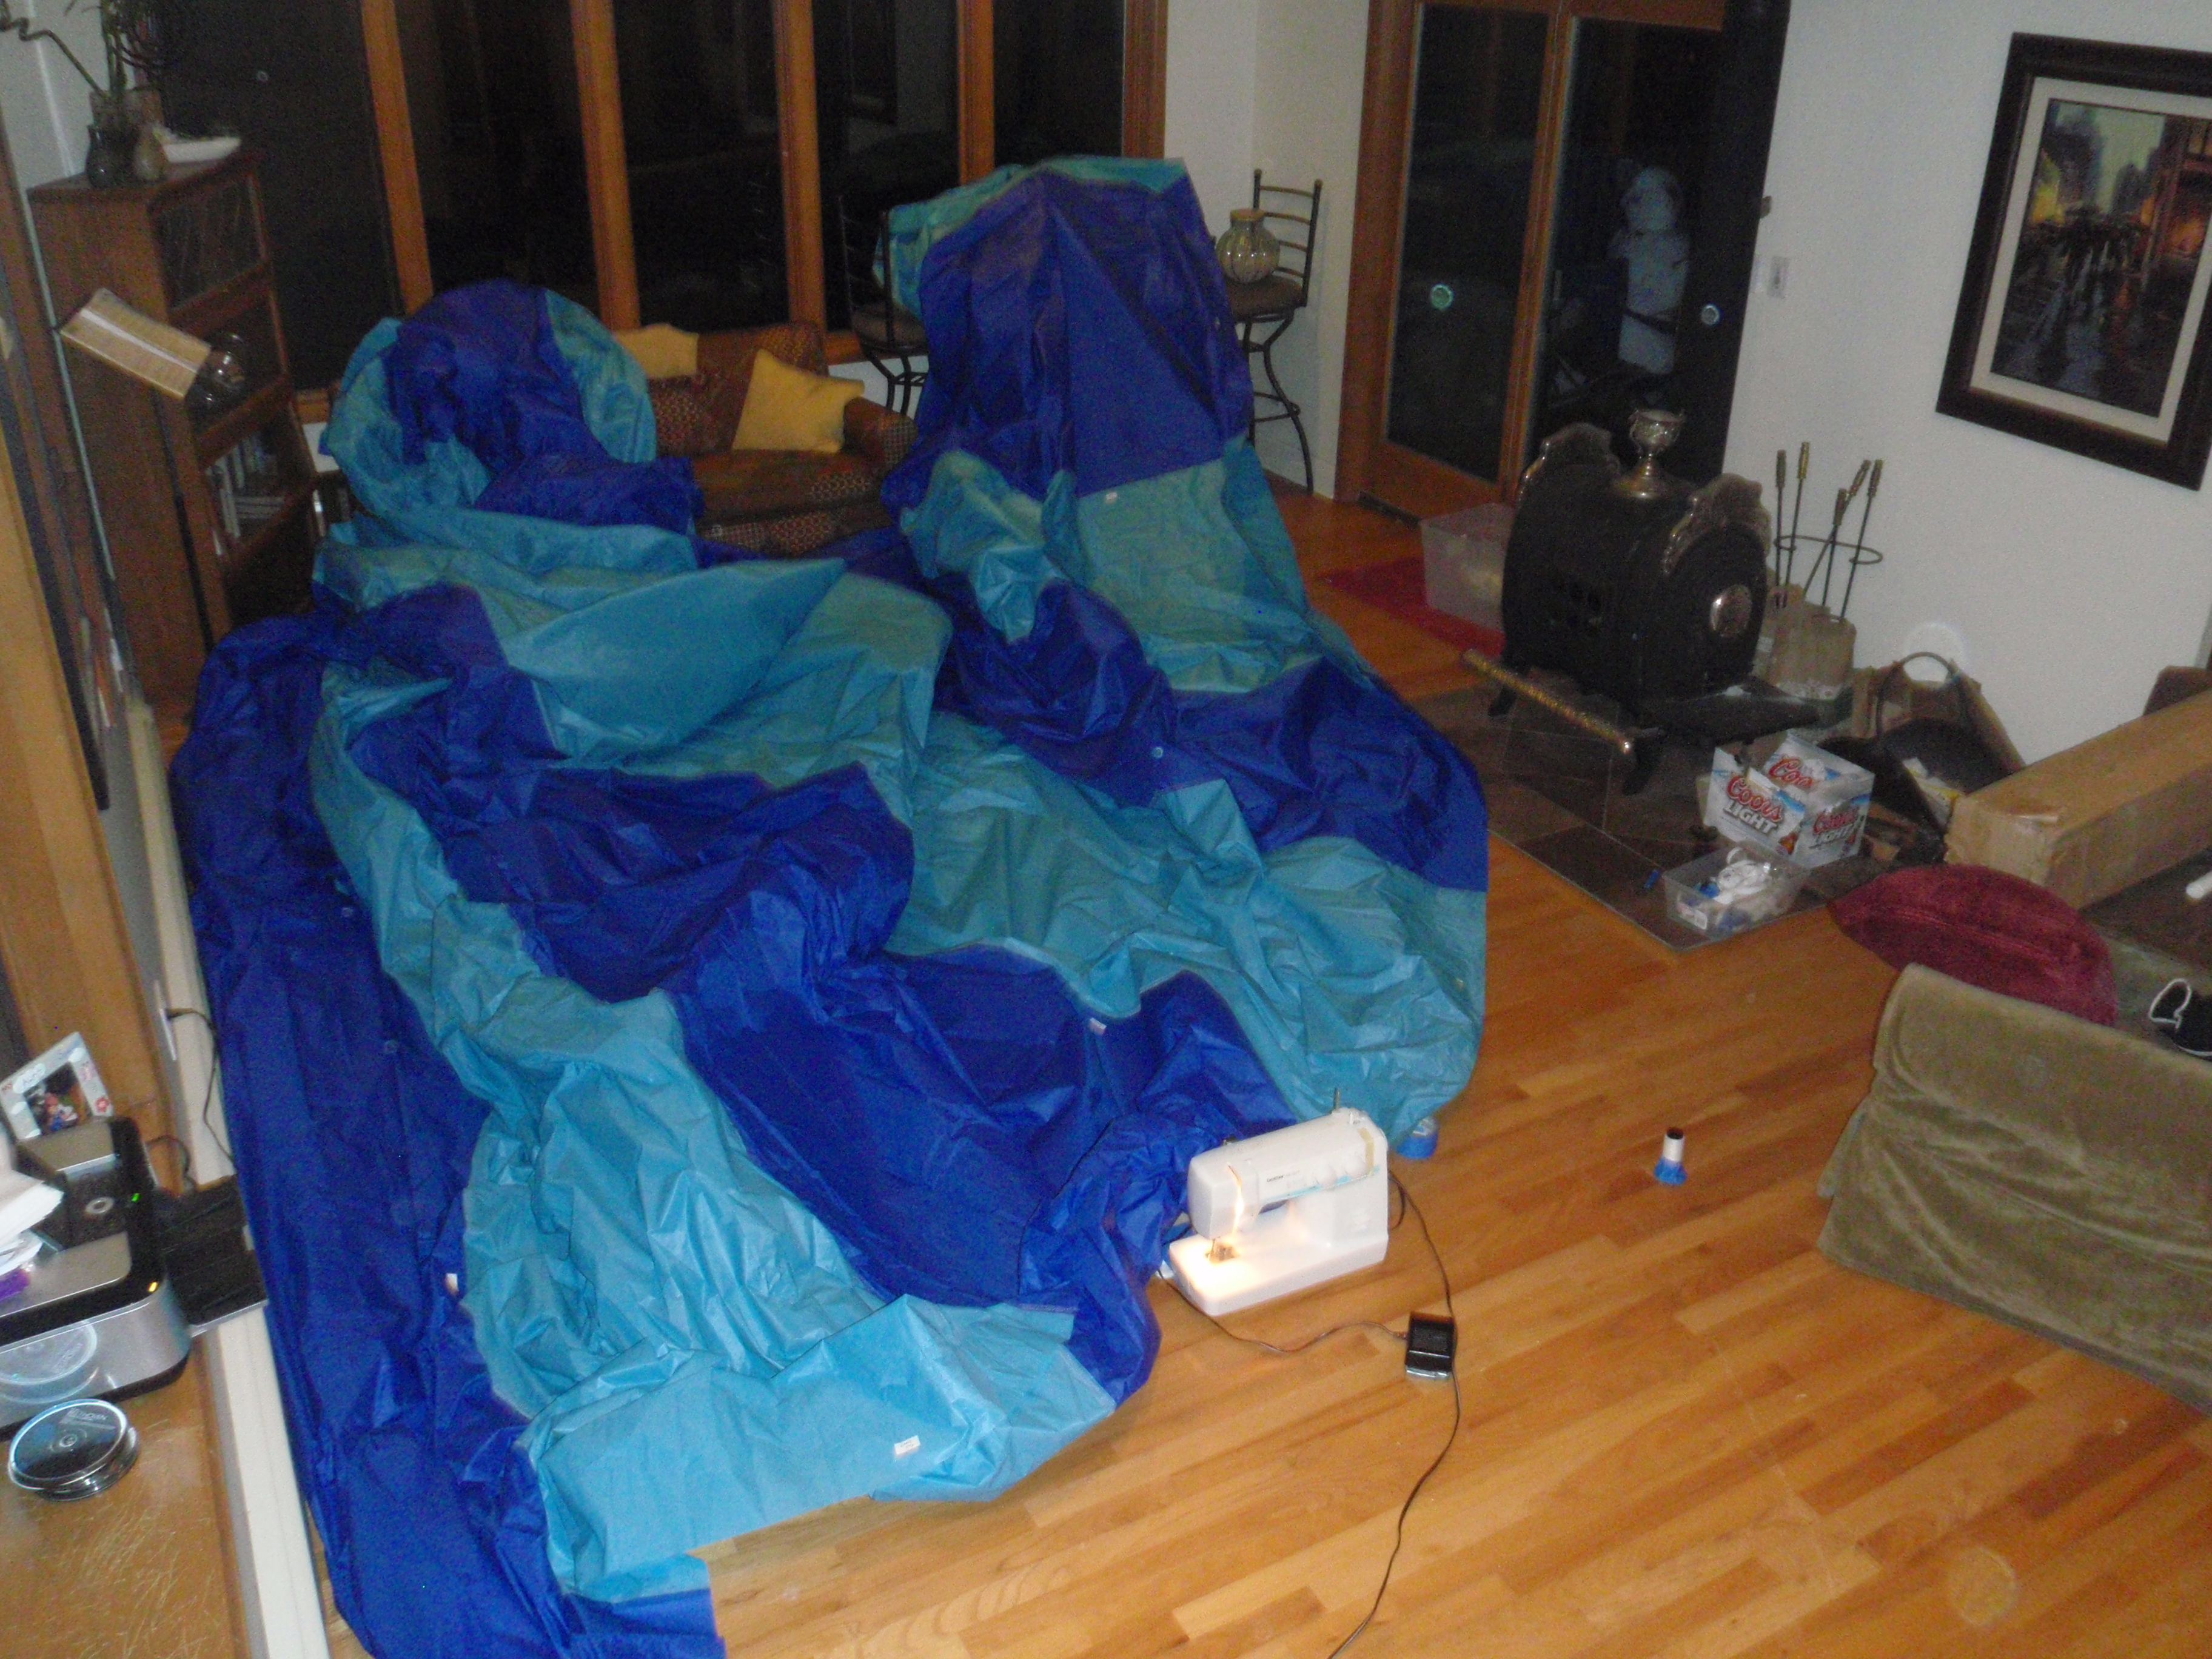
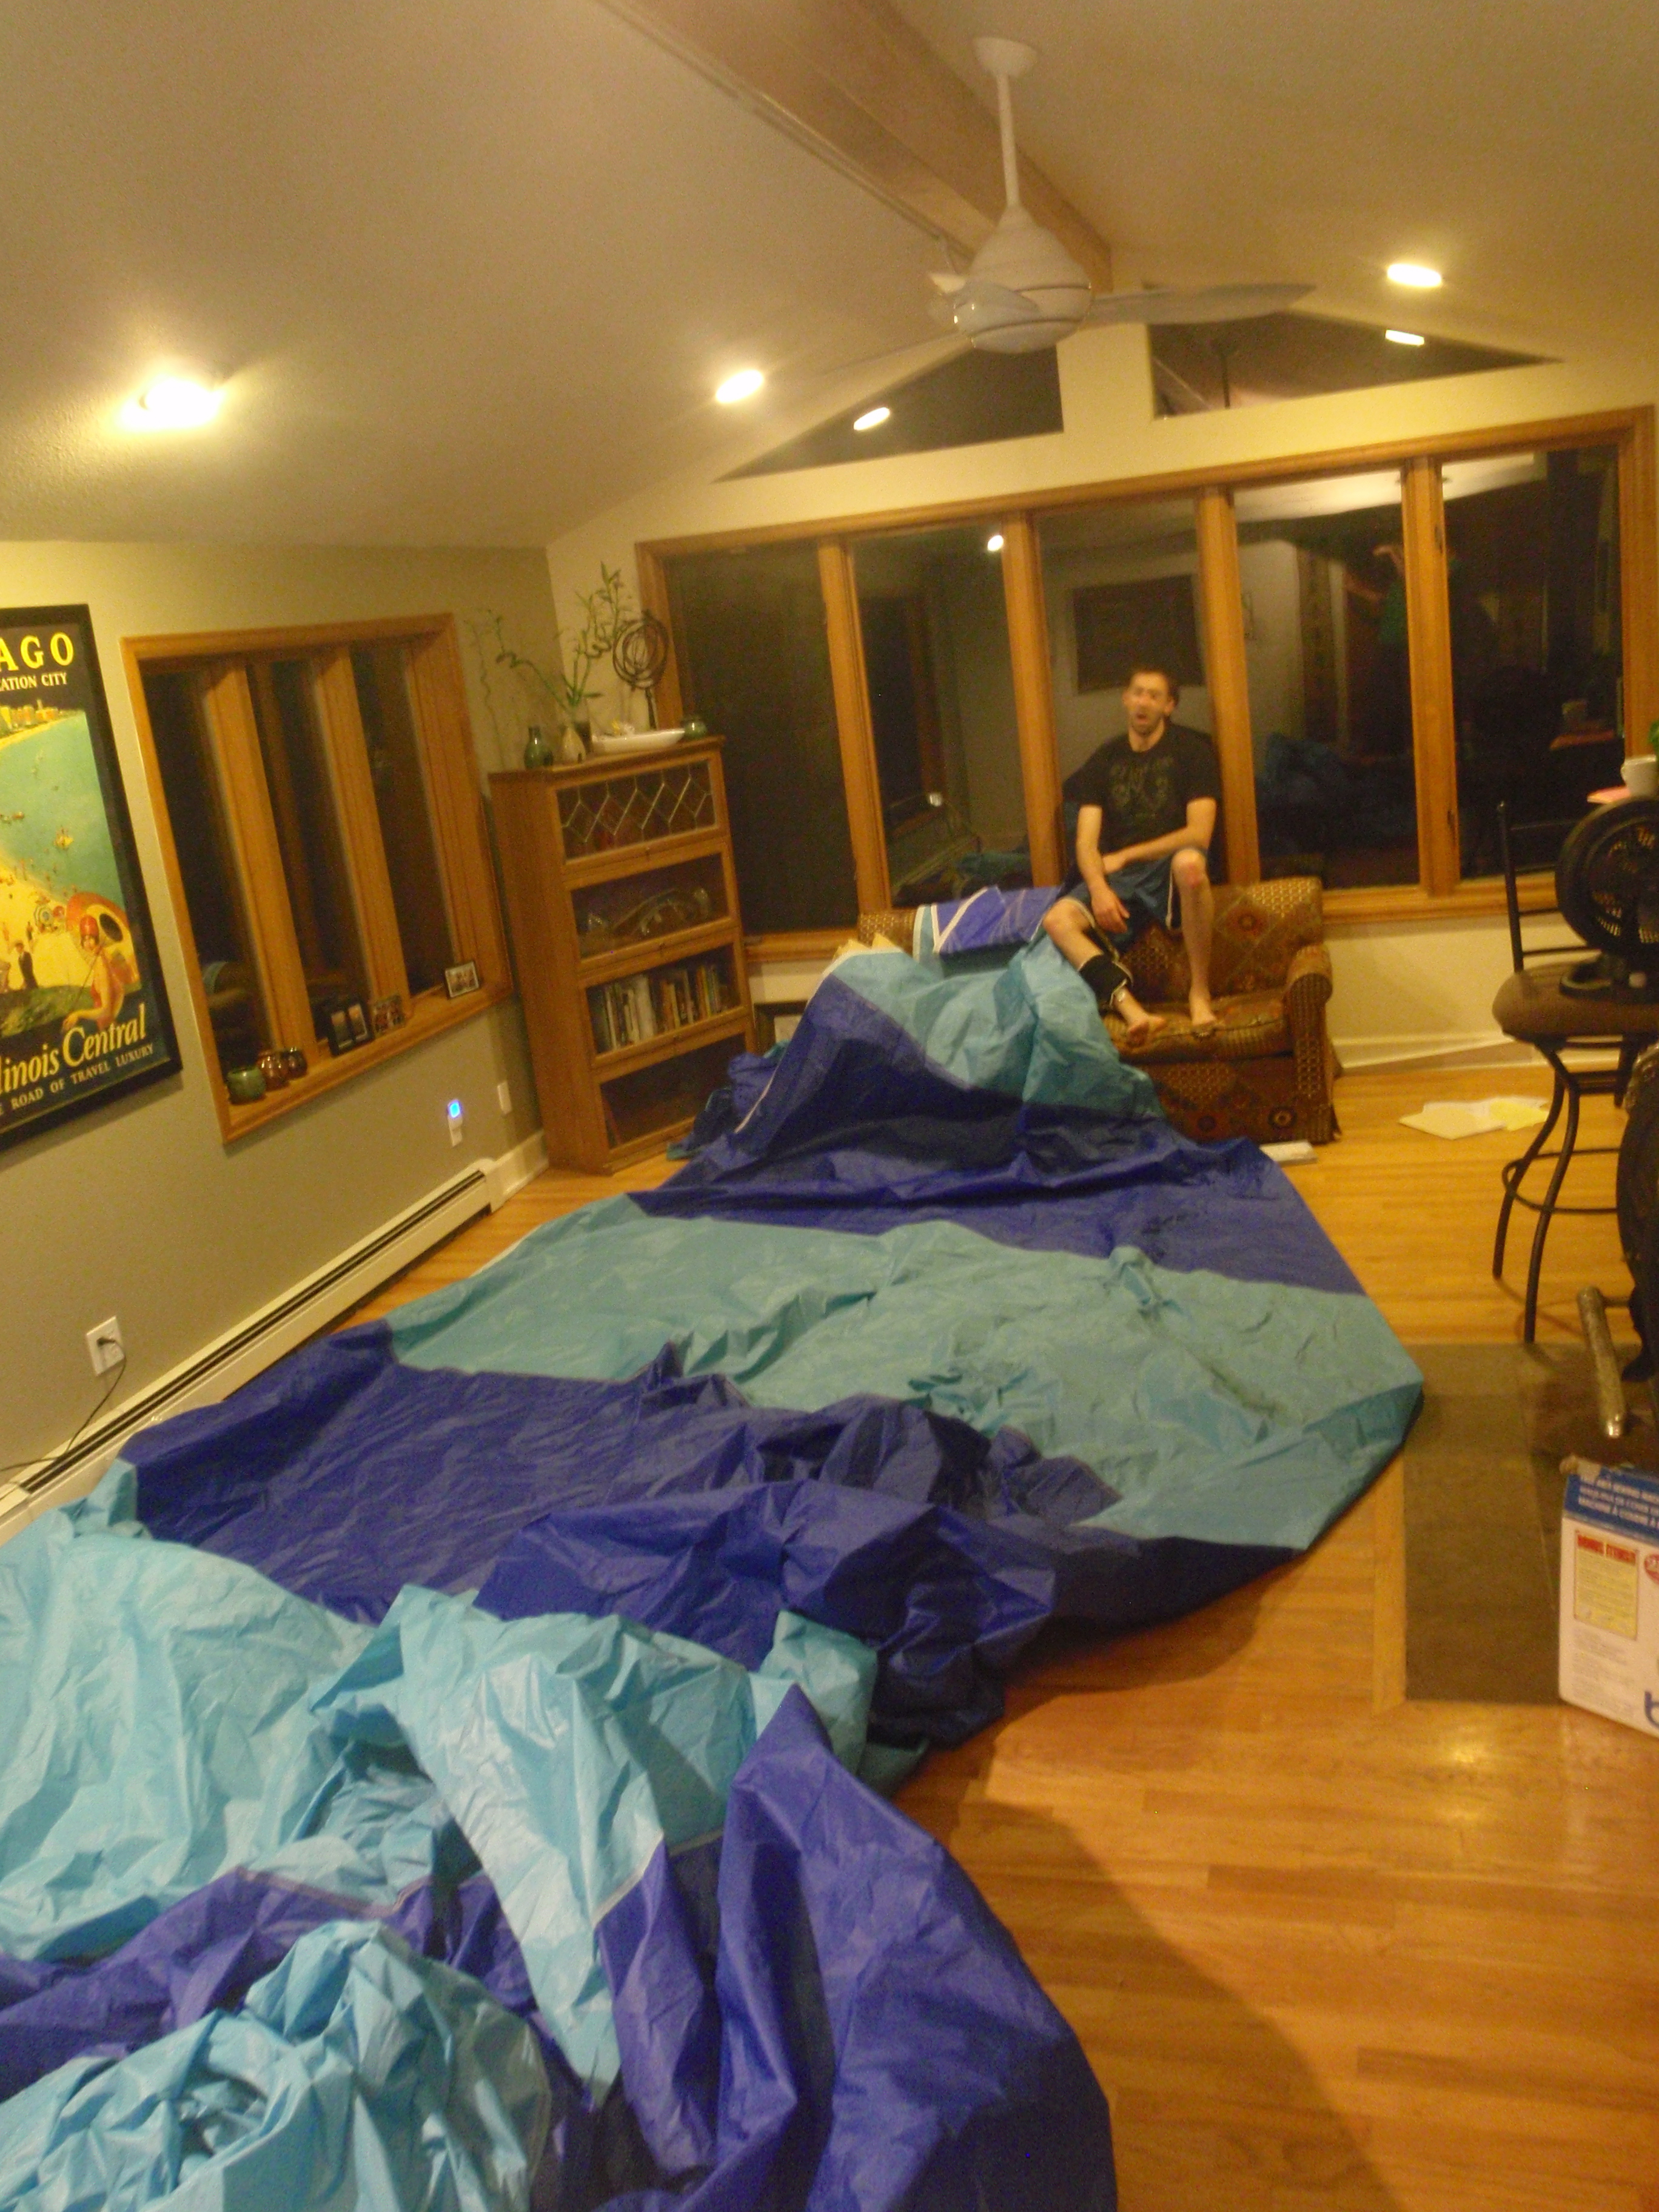
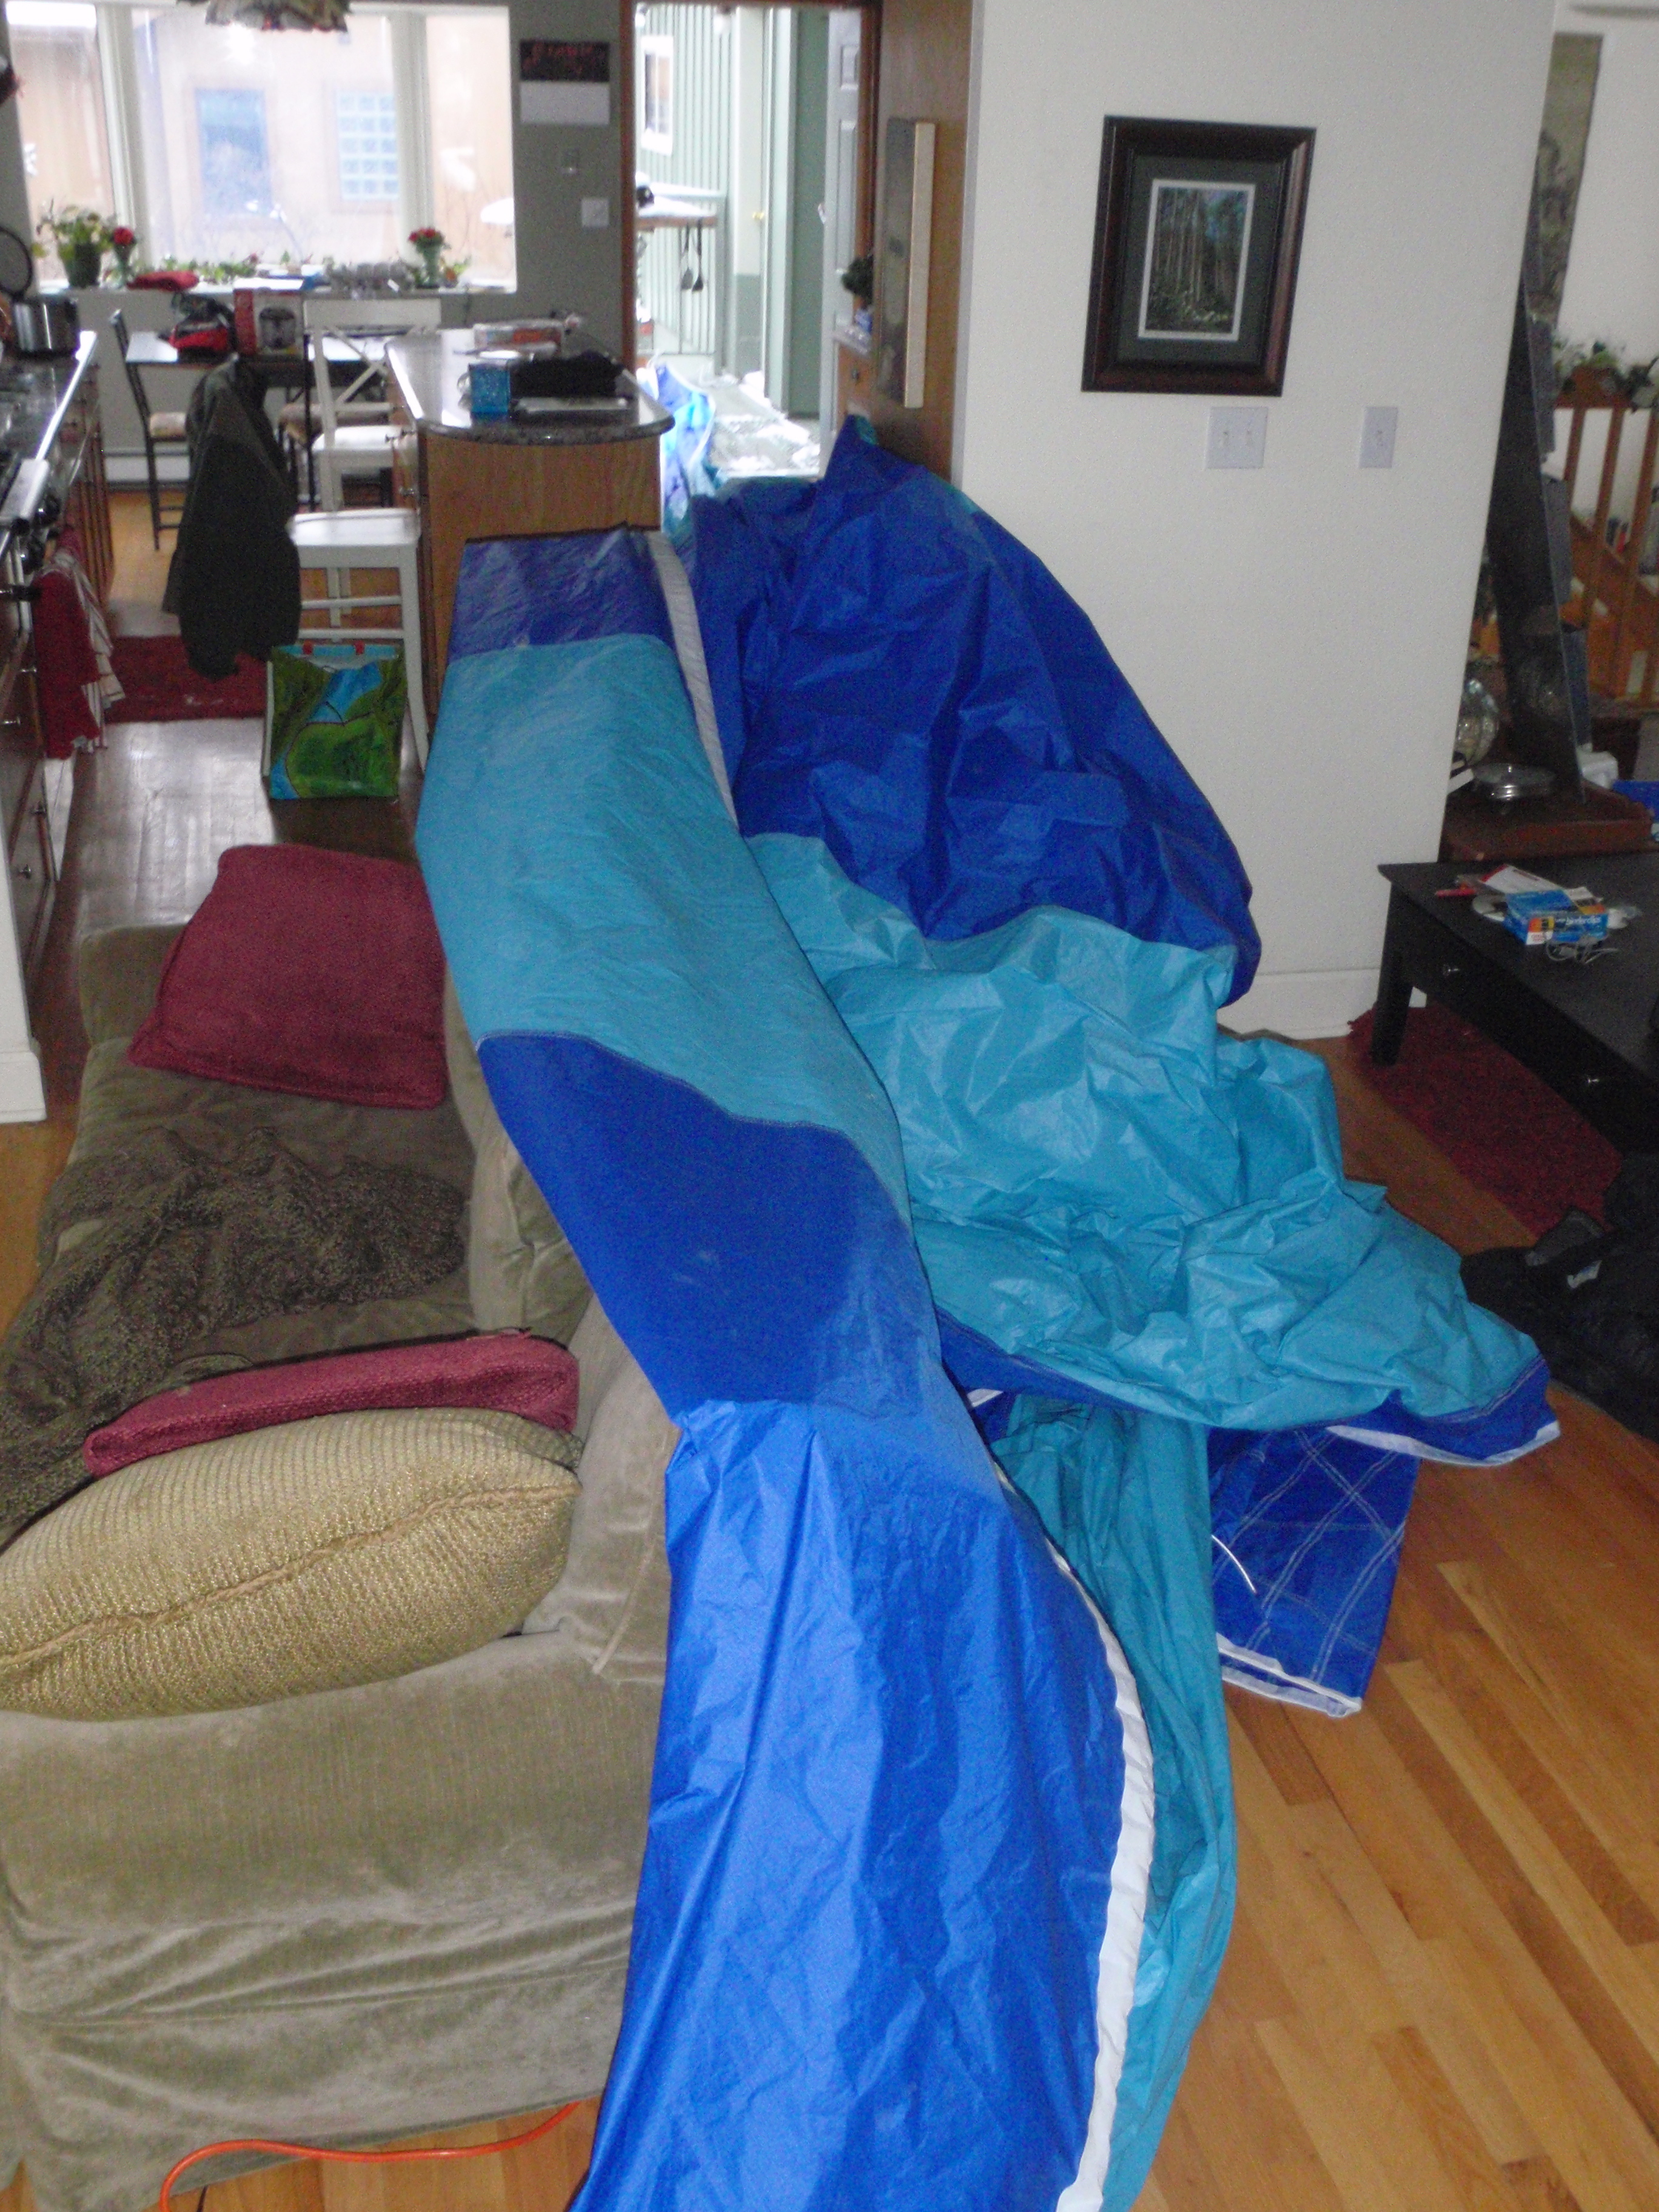
Finally. 10 months after it started, the sail is finished. It was supposed to be done by June. Then…. that didn’t quite happen. And so it got put off. And put off. And put off. And soon, the boat was threatening to leave! So I doubled down over Thanksgiving break and brought the thought of the completion of the sail into the ballpark.
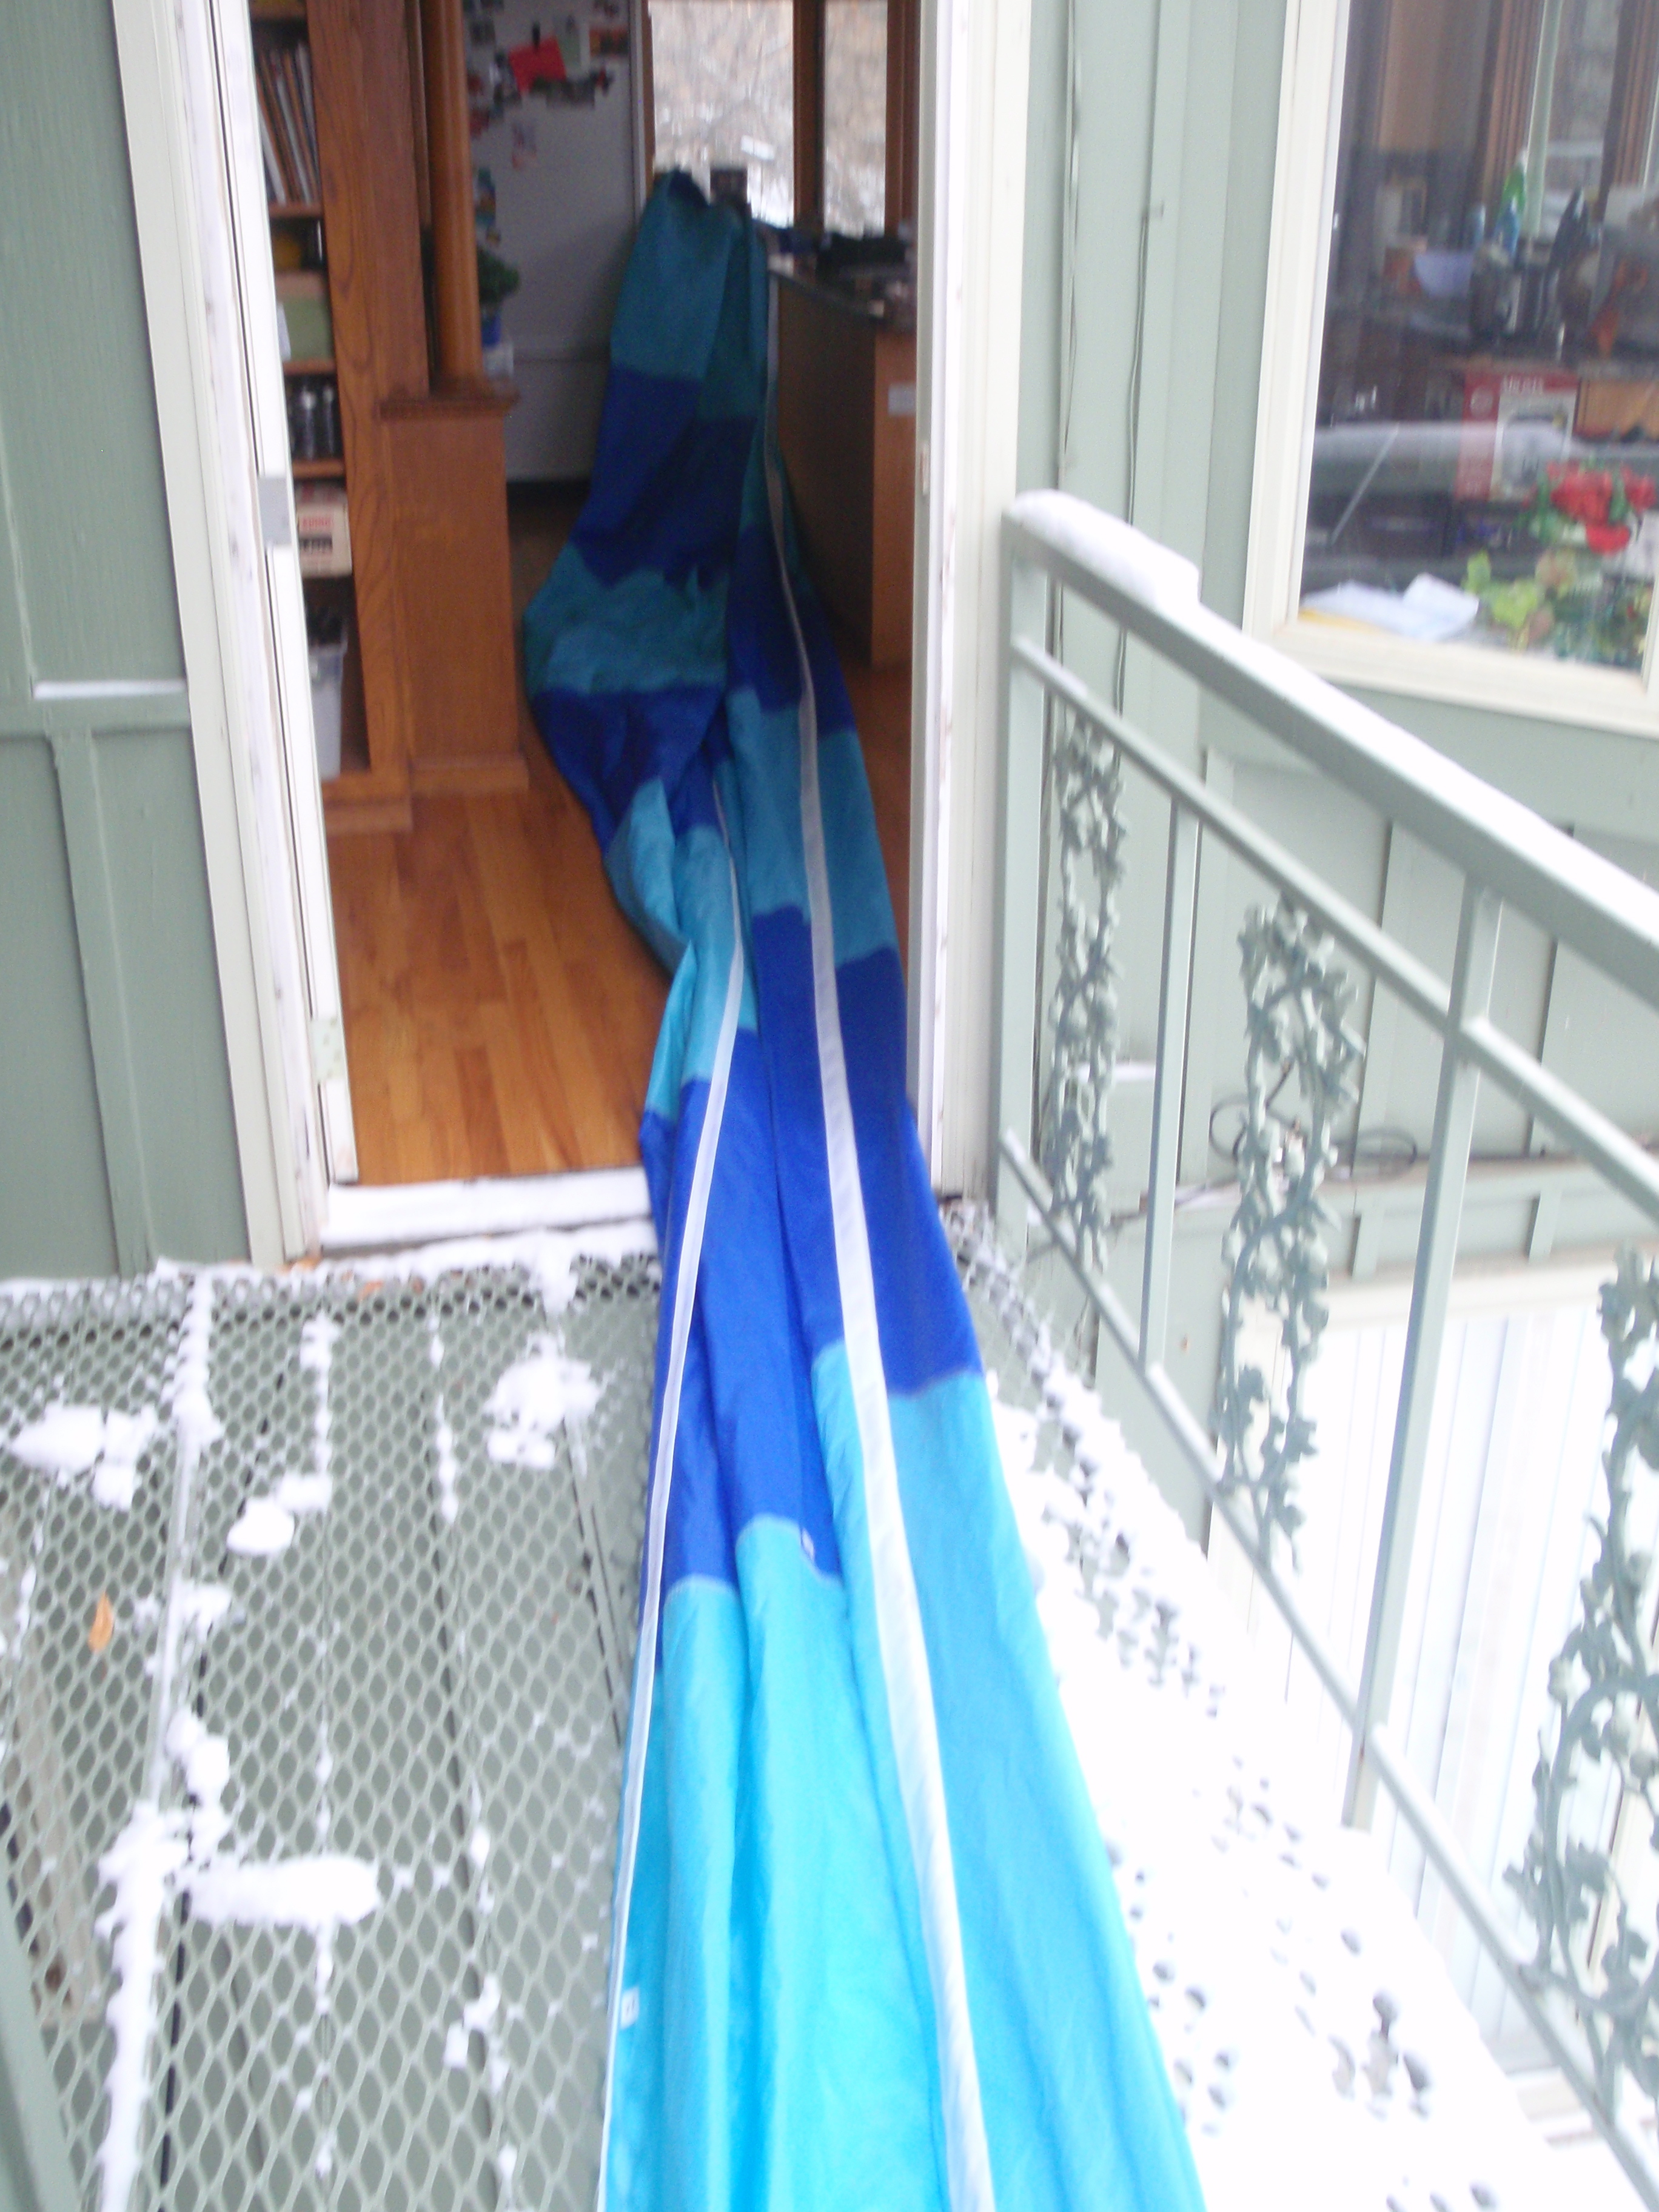
Those first days of sewing in the gym were fun. Huge panels getting sewn together and enormous visible progress of work. It was fun back then! But at Thanksgiving, I was no longer in a large gymnasium. I was squashed into the smallish living room of a house. The sail’s luff was three times the length of the room. At one point, I felt it absolutely necessary to stretch out the luff of the sail. It went through the living room, through the kitchen, over the island countertop, out the door to a deck off the kitchen and to the other side of deck railing where I anchored it so that I could stretch it taught. There was snow out on the deck. It felt ridiculous.
I was stretching the luff line of the sail to try and see by how much I had to chop off the top of our sail. The luff line, which came with the sail-making kit from Sailrite is made of T900 from New England Ropes, requires two double braid eyesplices, one at each end, to attach the sail at it’s head to the mast, and at it’s tack to the bow of the boat. After making the first eyesplice, I then,carefully measured the T900 line to the exact measure ment of our luff, (48’9”) and marked that point as where the other eye-splice should end. I then remeasured it as I’ve had trouble measuring things in the past.
With the second eyesplice made I tried as best I could in a 18′ wide room to see how well the luff line matched up to the length of the luff of the sail. And everytime, it seemed to come up short. And then I remembered that when making the second eye splice the rope will bunch up, thicken and consequently shorten. This happens because the eyesplice is designed to have the rope double back on itself. The core of the rope, after going around the eye, goes back inside itself. It’s a very cool thing and it locks itself into place. I highly recommend making them simply because they are so cool. At any rate, I had to chop off about 2 inches from the head of the sail and short both ends just a smidge so that the luff line would be better aligned. Such are the trials and tribulations of a first time sail maker.
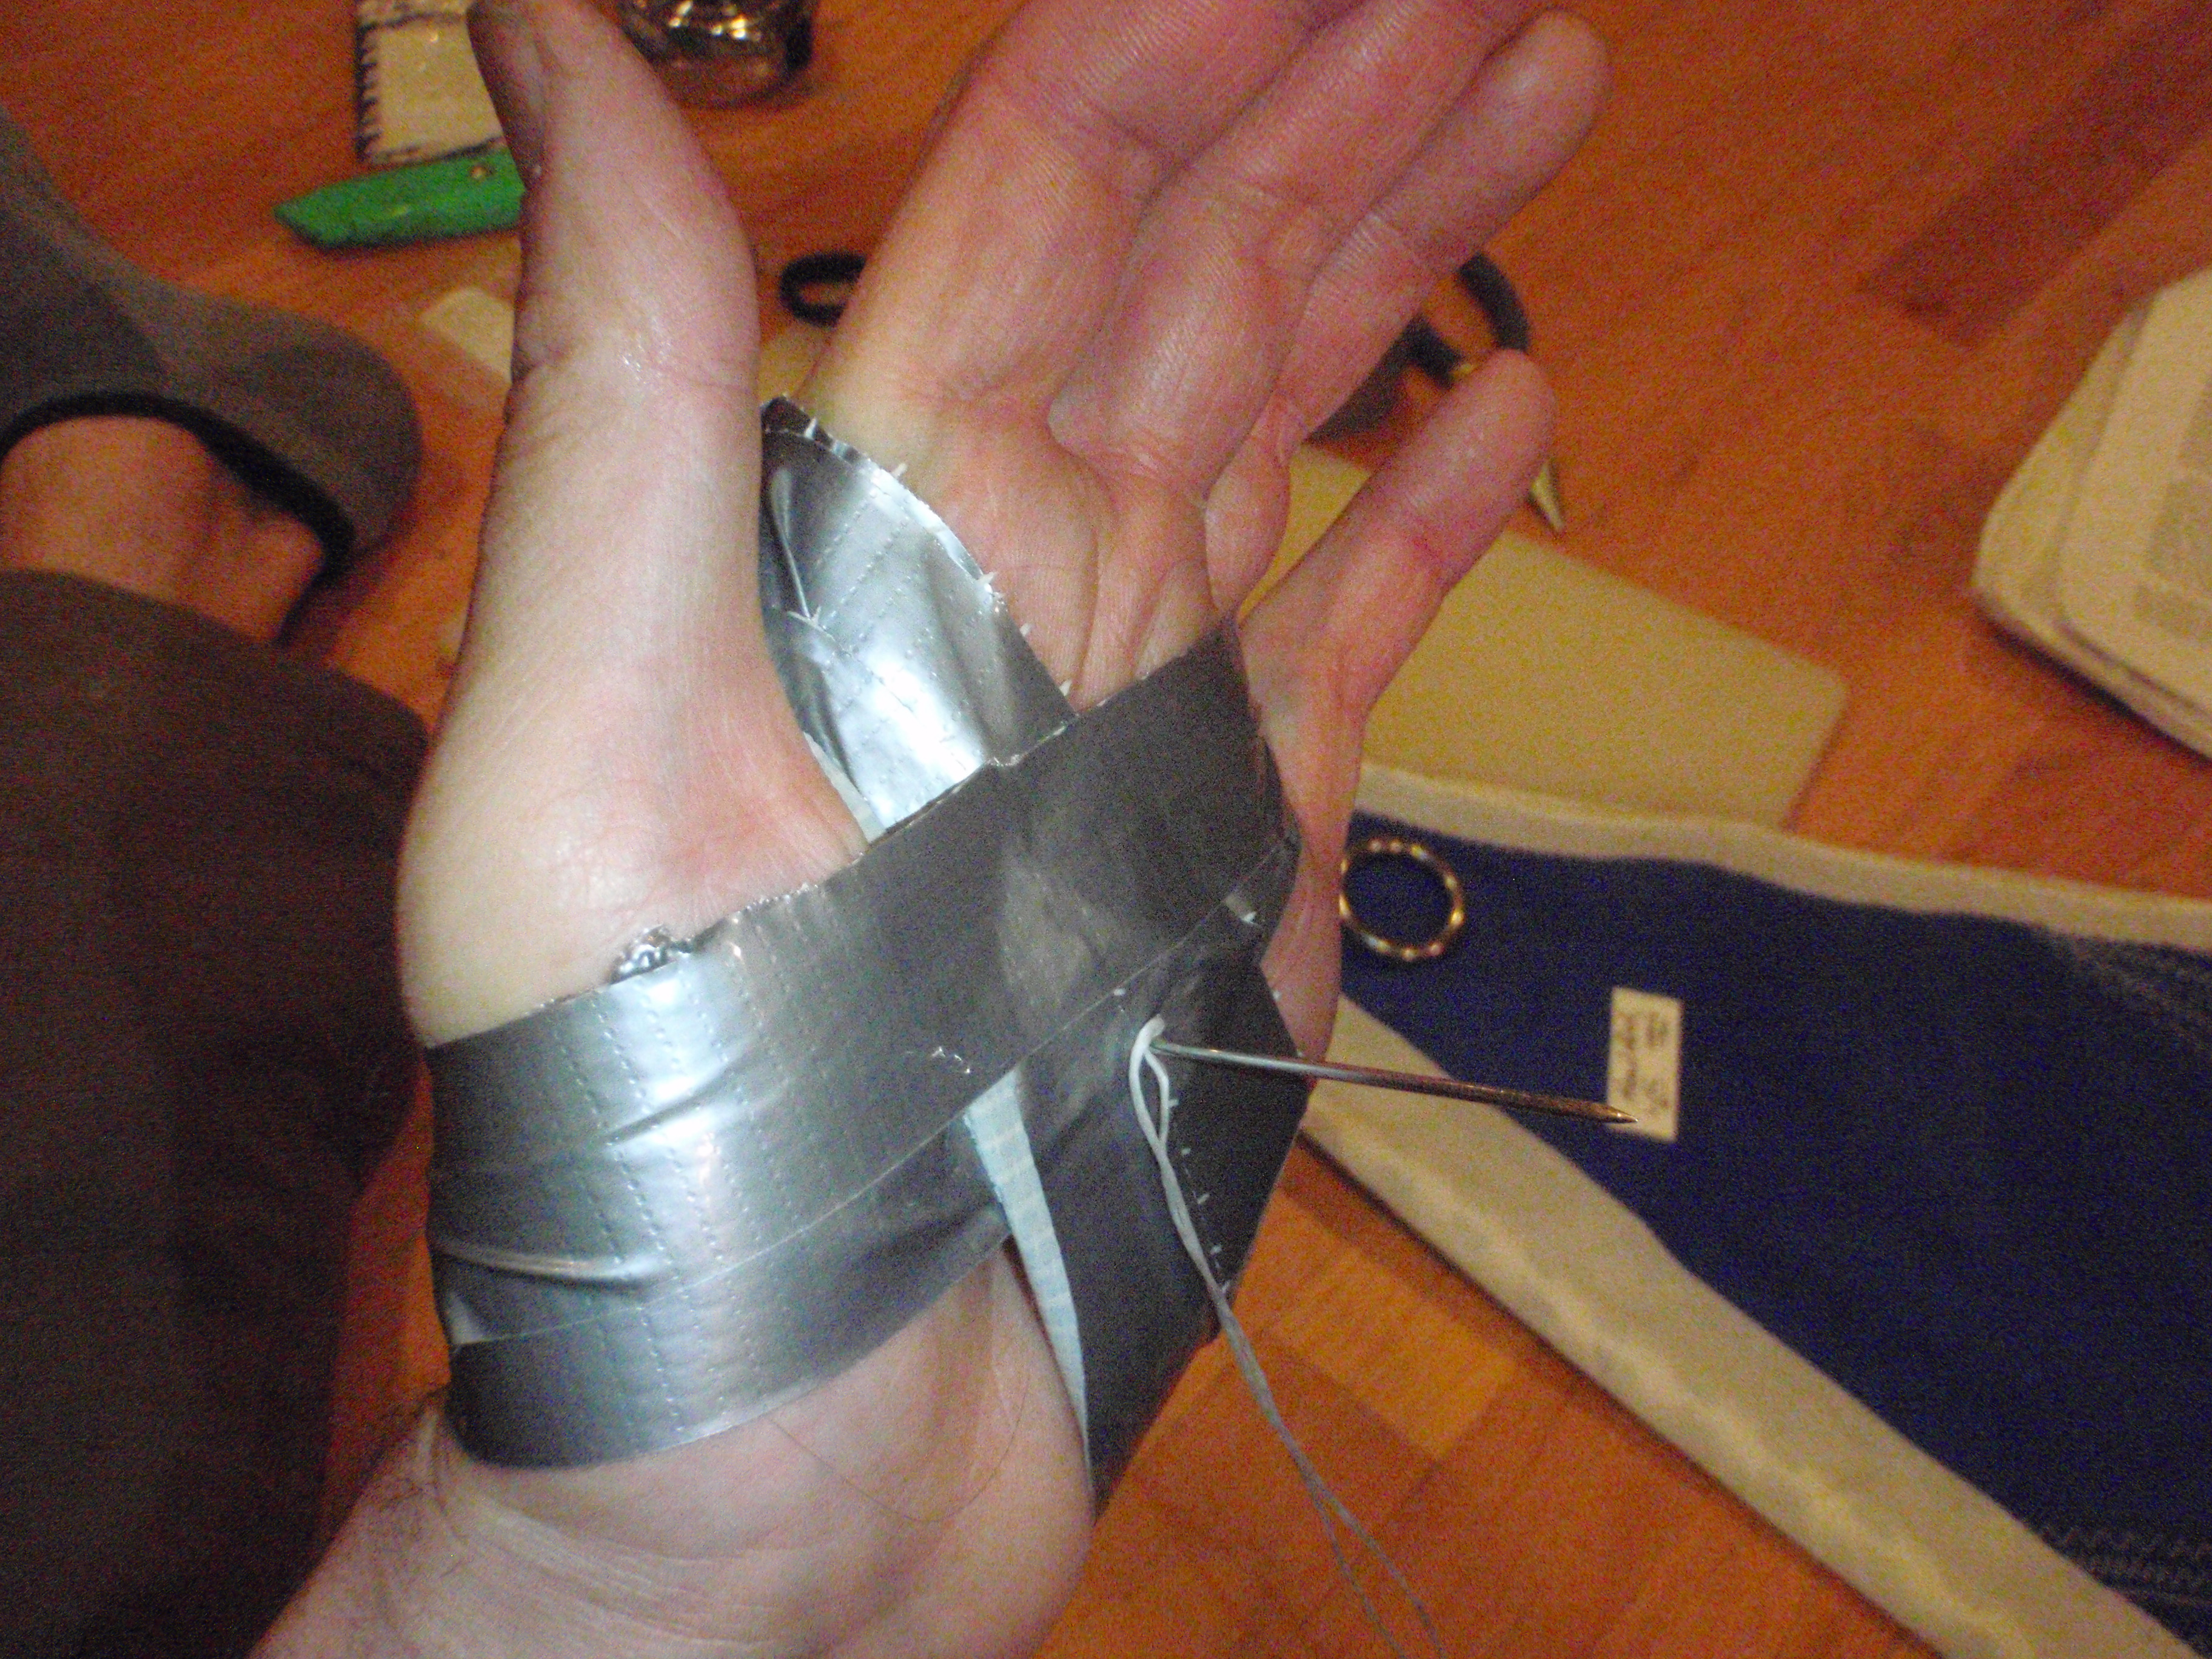
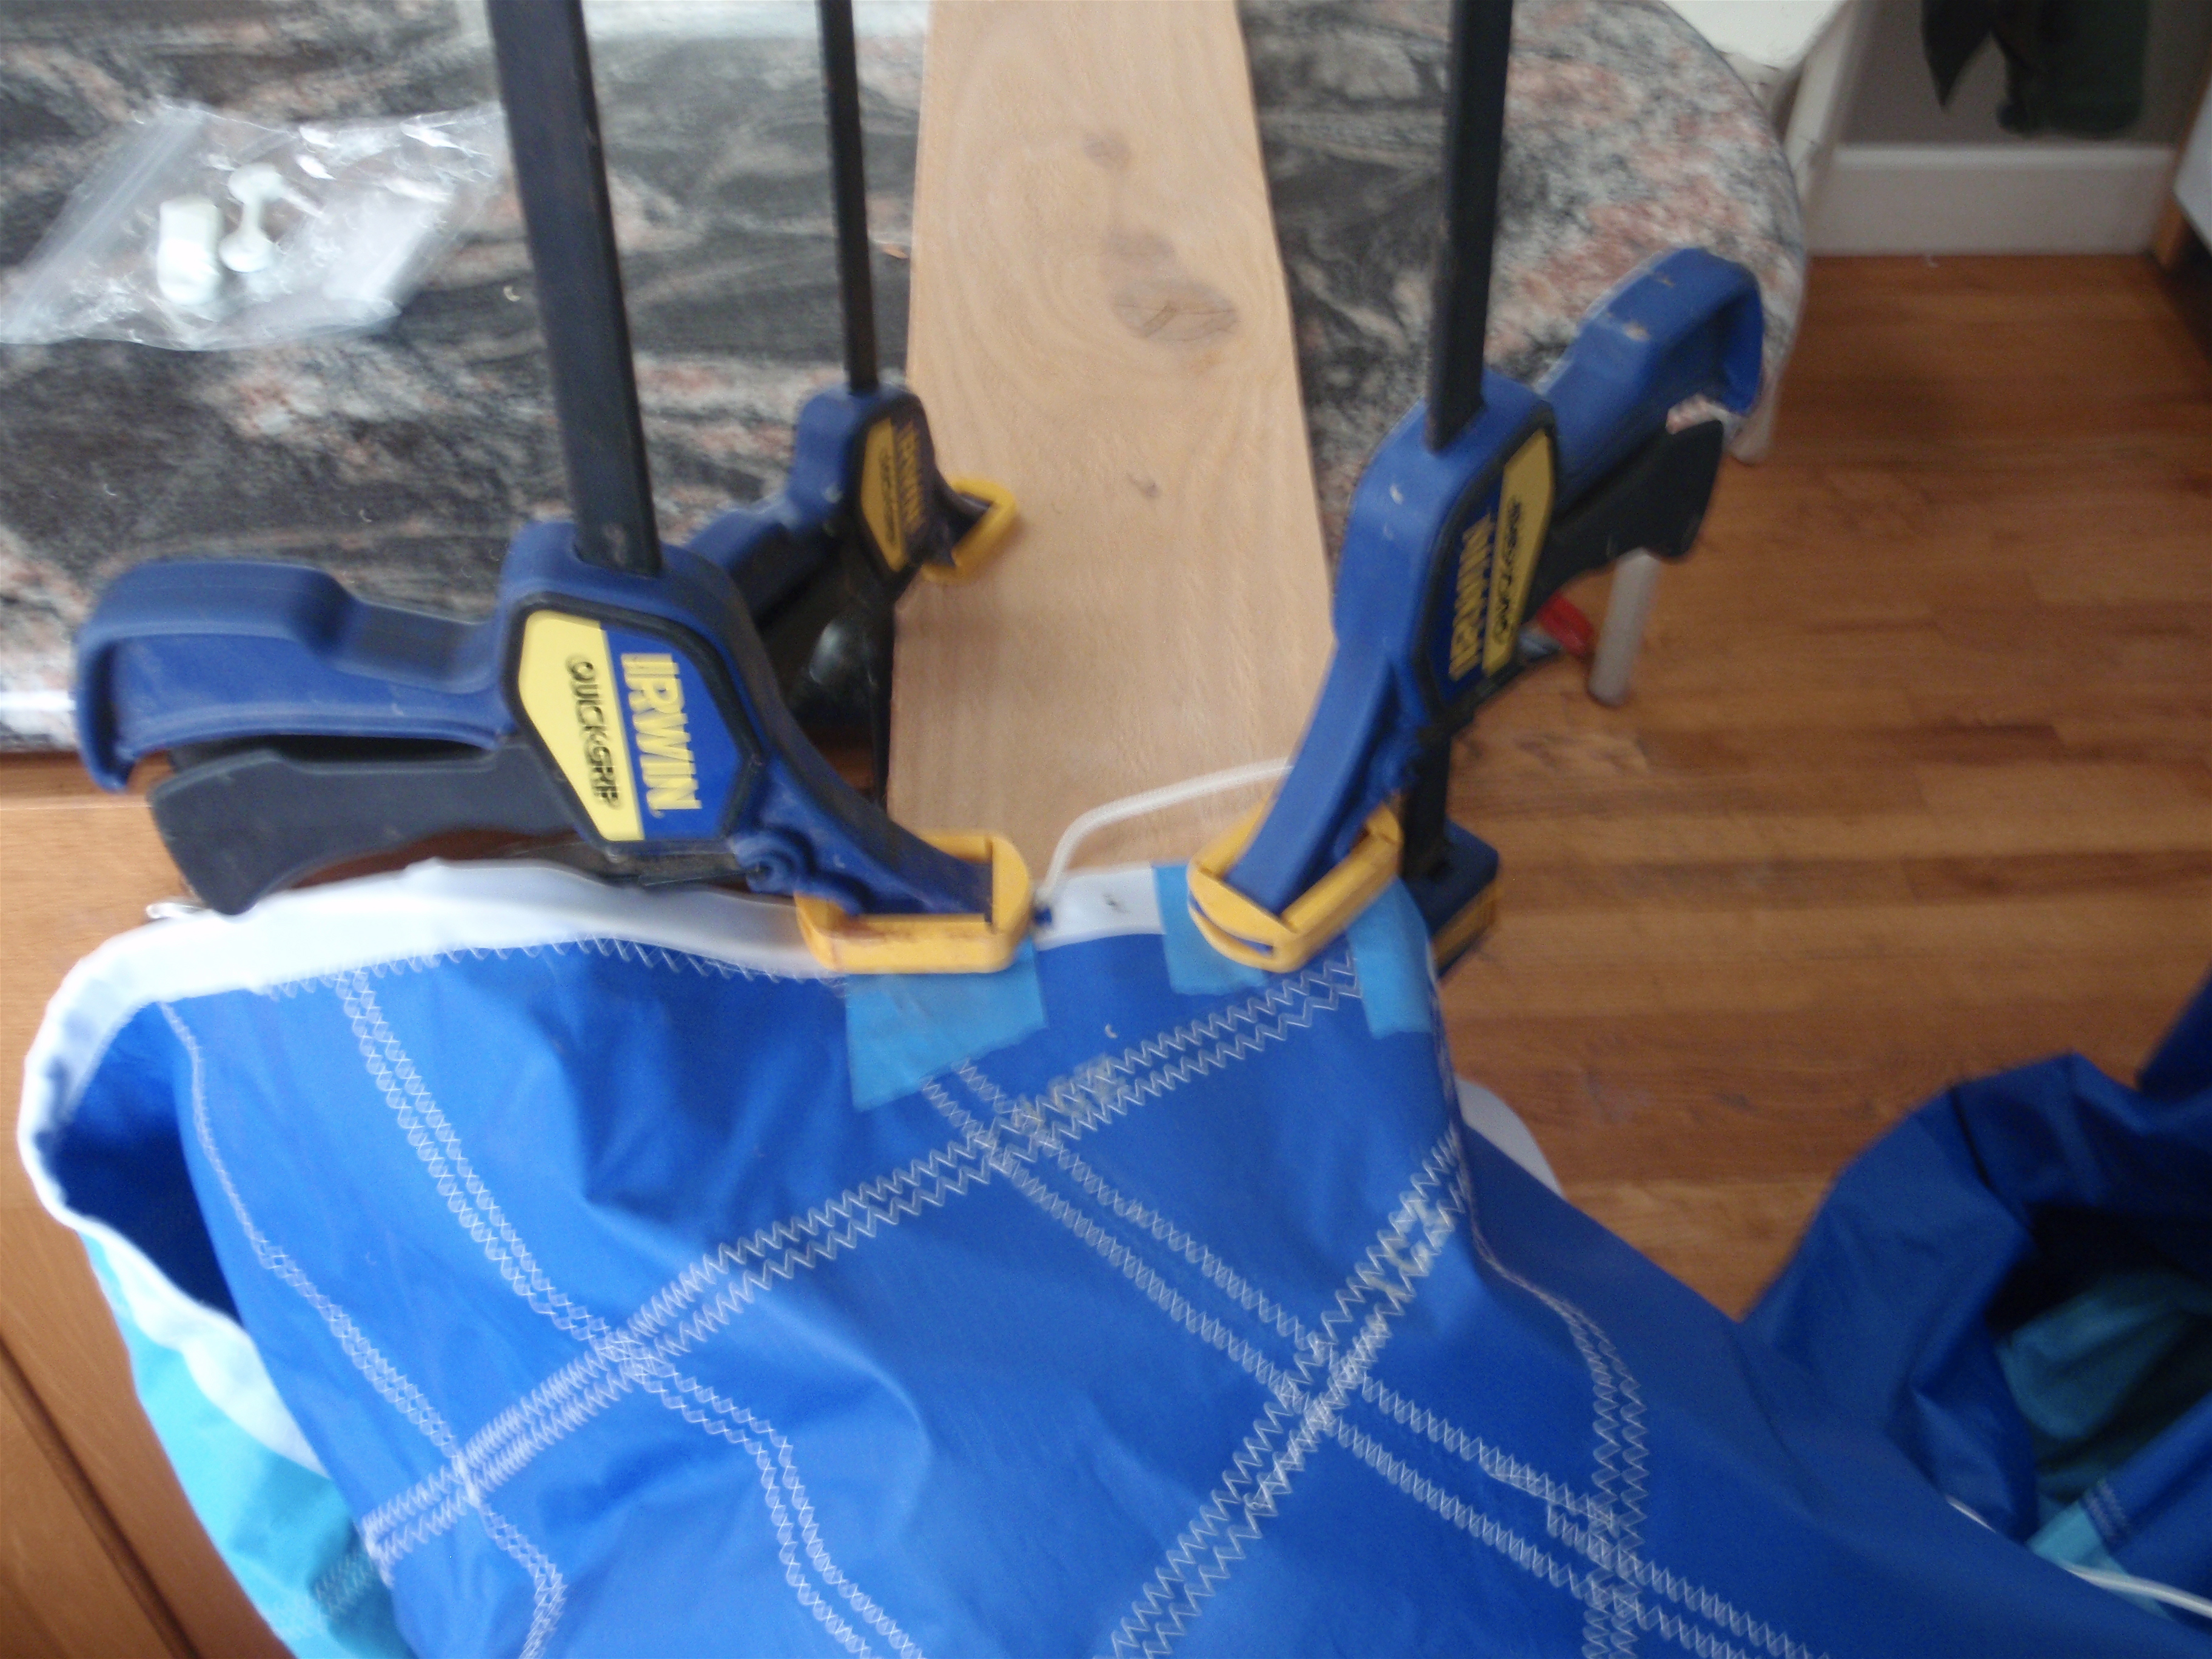
A week after Thanksgiving, I took two days off from work during a major push where I was determined to get 30 hours of work done on the sail. Sorry boss, priorities. One half of one of these days was spent trying to figure out how to install the cleats for the leech line and the foot line. My first issue was with the rivot/grommet thing they sent me. Home Depot was baffled as to what tool should be used to both A: cut a hole through the 9 layers of fabric where the cleats were to be installed, and B: how to press home the rivot/grommet. Finally a leather store, Tandy Leather Factory, came through for me with a suggestion, while I was there buying a sewing palm. I Suffice to say I ended up using a cordless drill to make the holes in the sail, at very low RPM and with clamps within milimeters of where the drill bit was. All of this was conducted in the kitchen. See pictures. I was at Tandy after suffering through a day of using a makeshift palm out of duct tape and a tiny plastic cup. Tandy wasn’t open on Sunday and I had work to do, so makeshift palm it was.
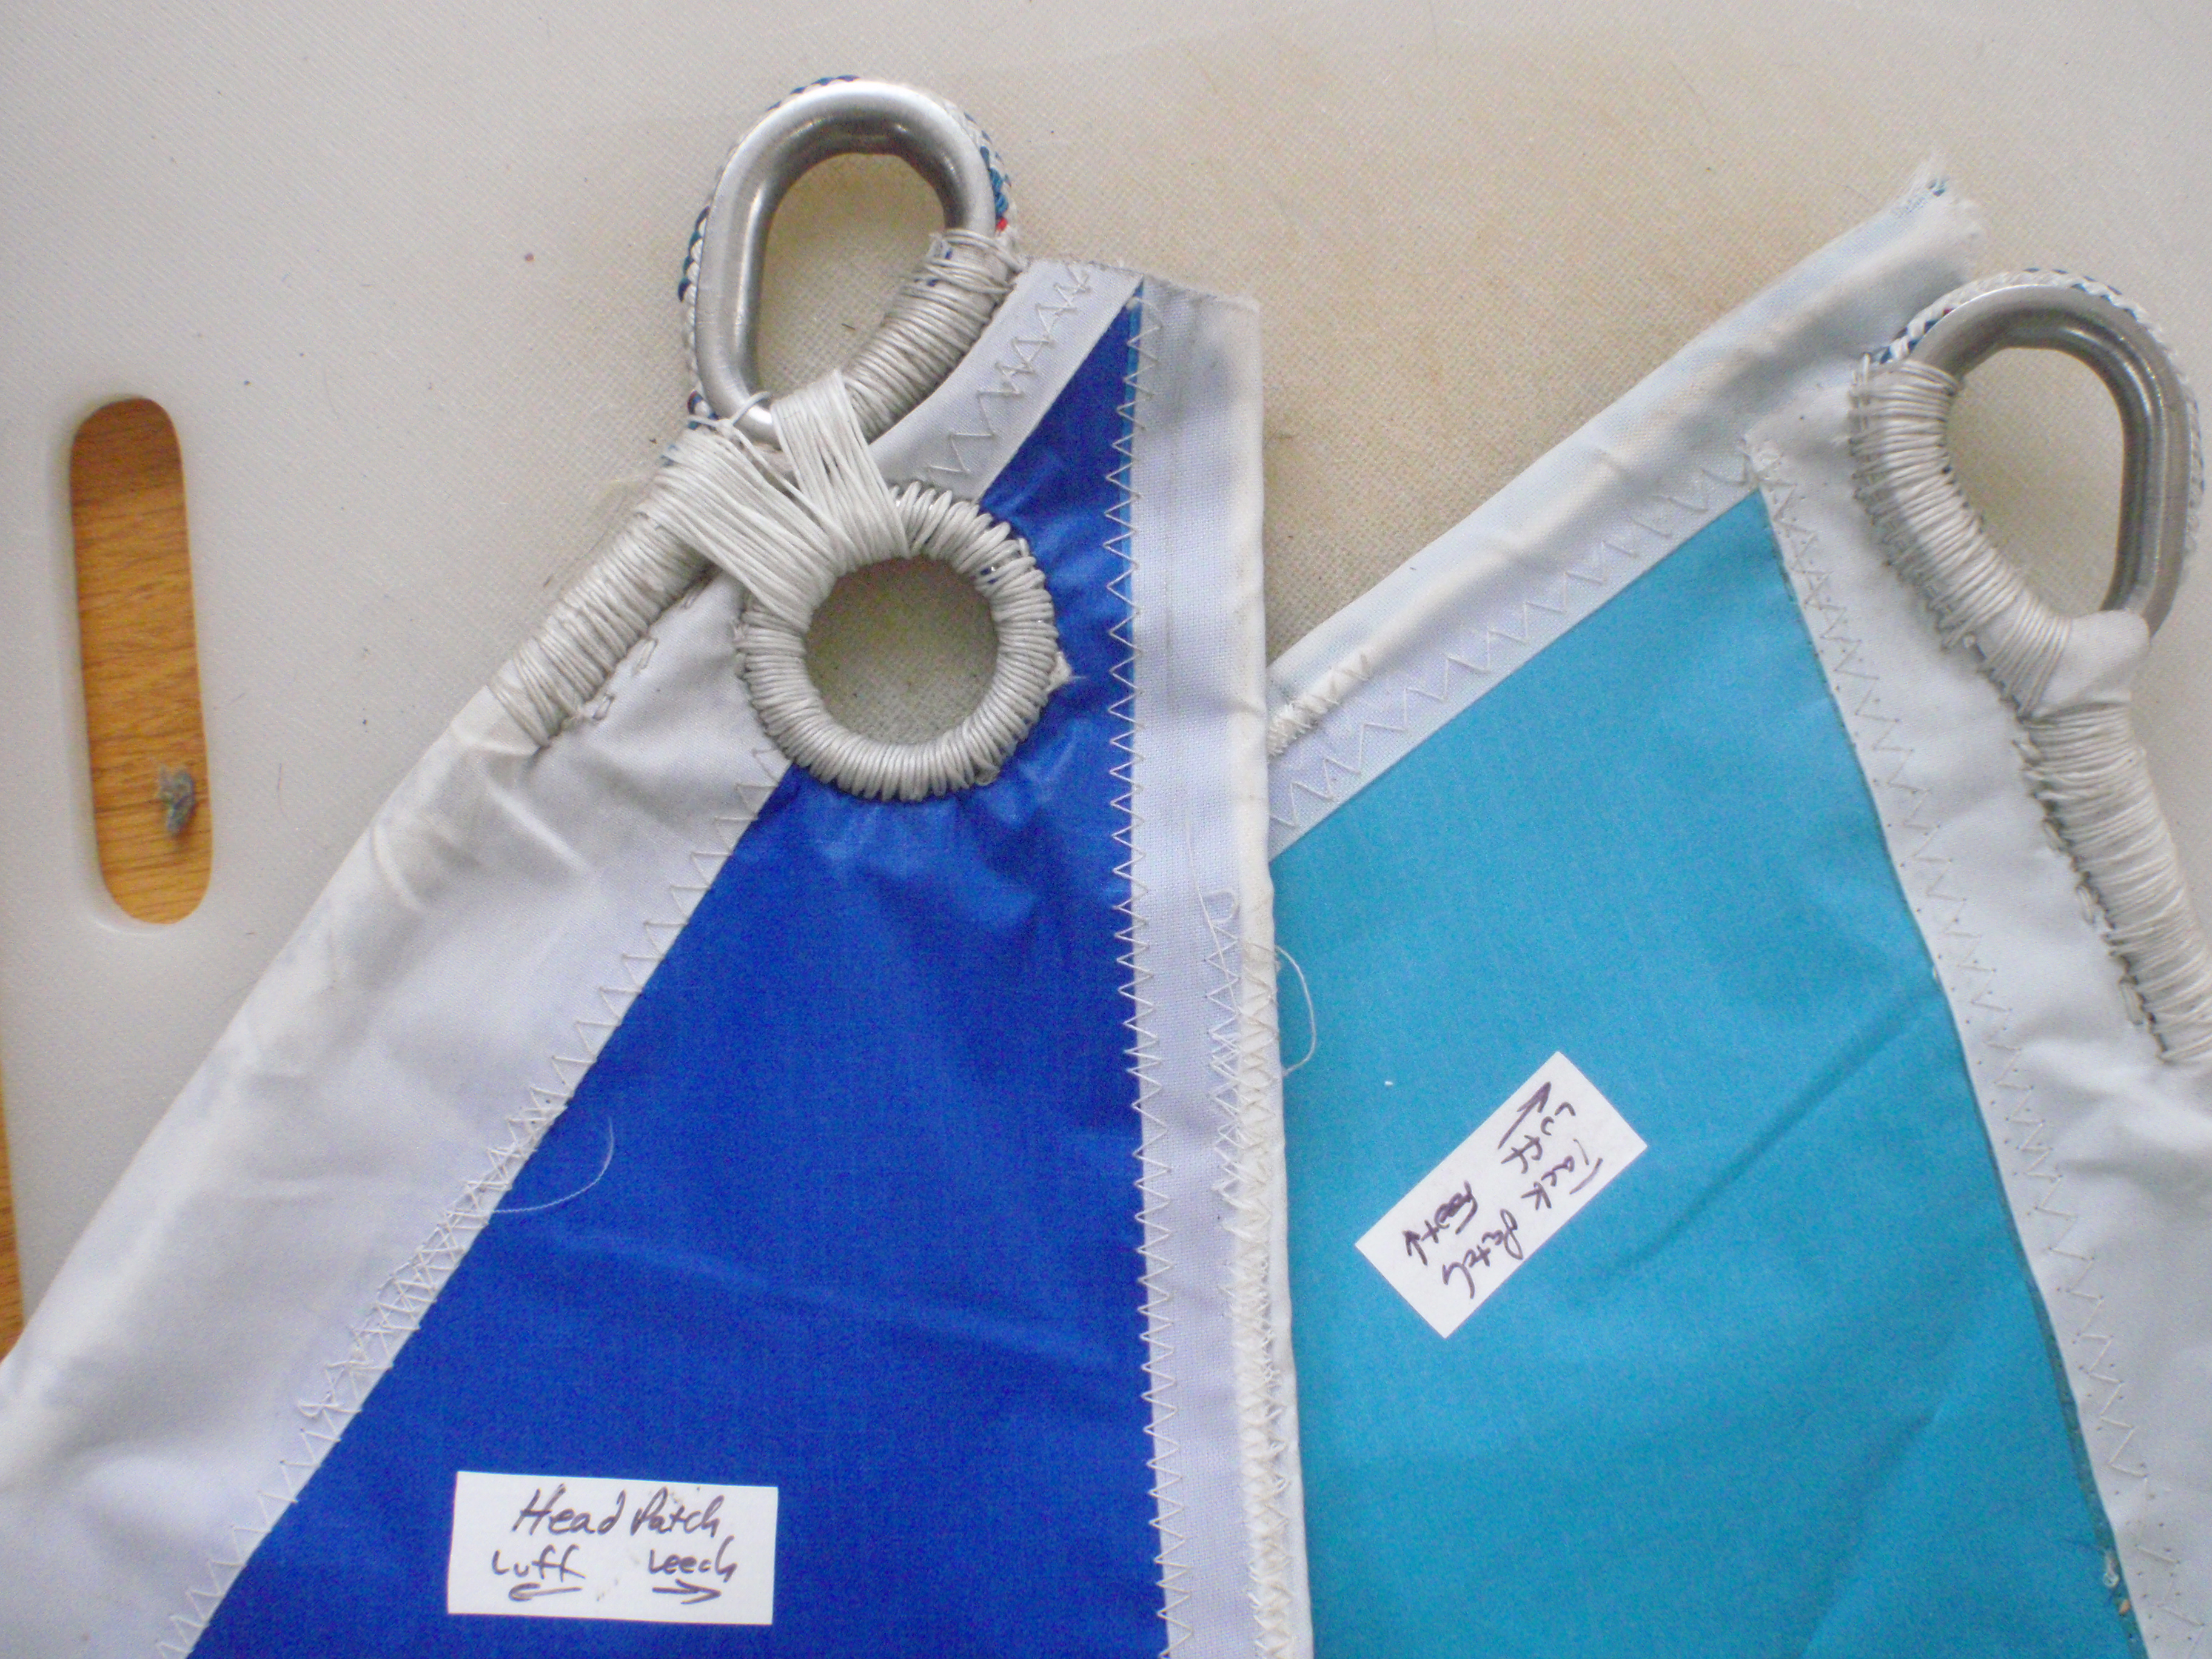
Within that time, though, there came a moment of celebration when I could finally put the sewing machine away and move on to hand sewing. My roommates were also happy that I didn’t have to rearrange all of the living room furniture every time I wanted to work on the sail. To begin the hand sewing, I first installed metal rings next to the head and tack of the sail. Then there was anchoring those to the edges. Then there was sewing the leather patches on. When sewing the leather patches (this was done in California after driving out there over my winter break with an unfinished sail in the back seat), I began attaching the sewing palm to a leg of a chair turned upside down so I could then more effectively use both hands and all my weight as leverage to drive the needle through 5 layers of 1.5 oz ripstop nylon, 5 layers of 4 oz dacron, and if it was near the edge of the sail, another two layers of the 5 oz Dacron tape folded around the sail edge. By my count that’s 37.5 ounces of fabric to push through. That means something, I’m not sure what though. No easy task is what it meant to me. I had to simultaneously hold the needle so that it wouldn’t flex and bend and hold the fabric around the needle and hold the chair with the palm attached to it with my feet so that it wouldn’t slide away and make sure I didn’t stab myself. I’m impressed I didn’t draw blood more than twice.
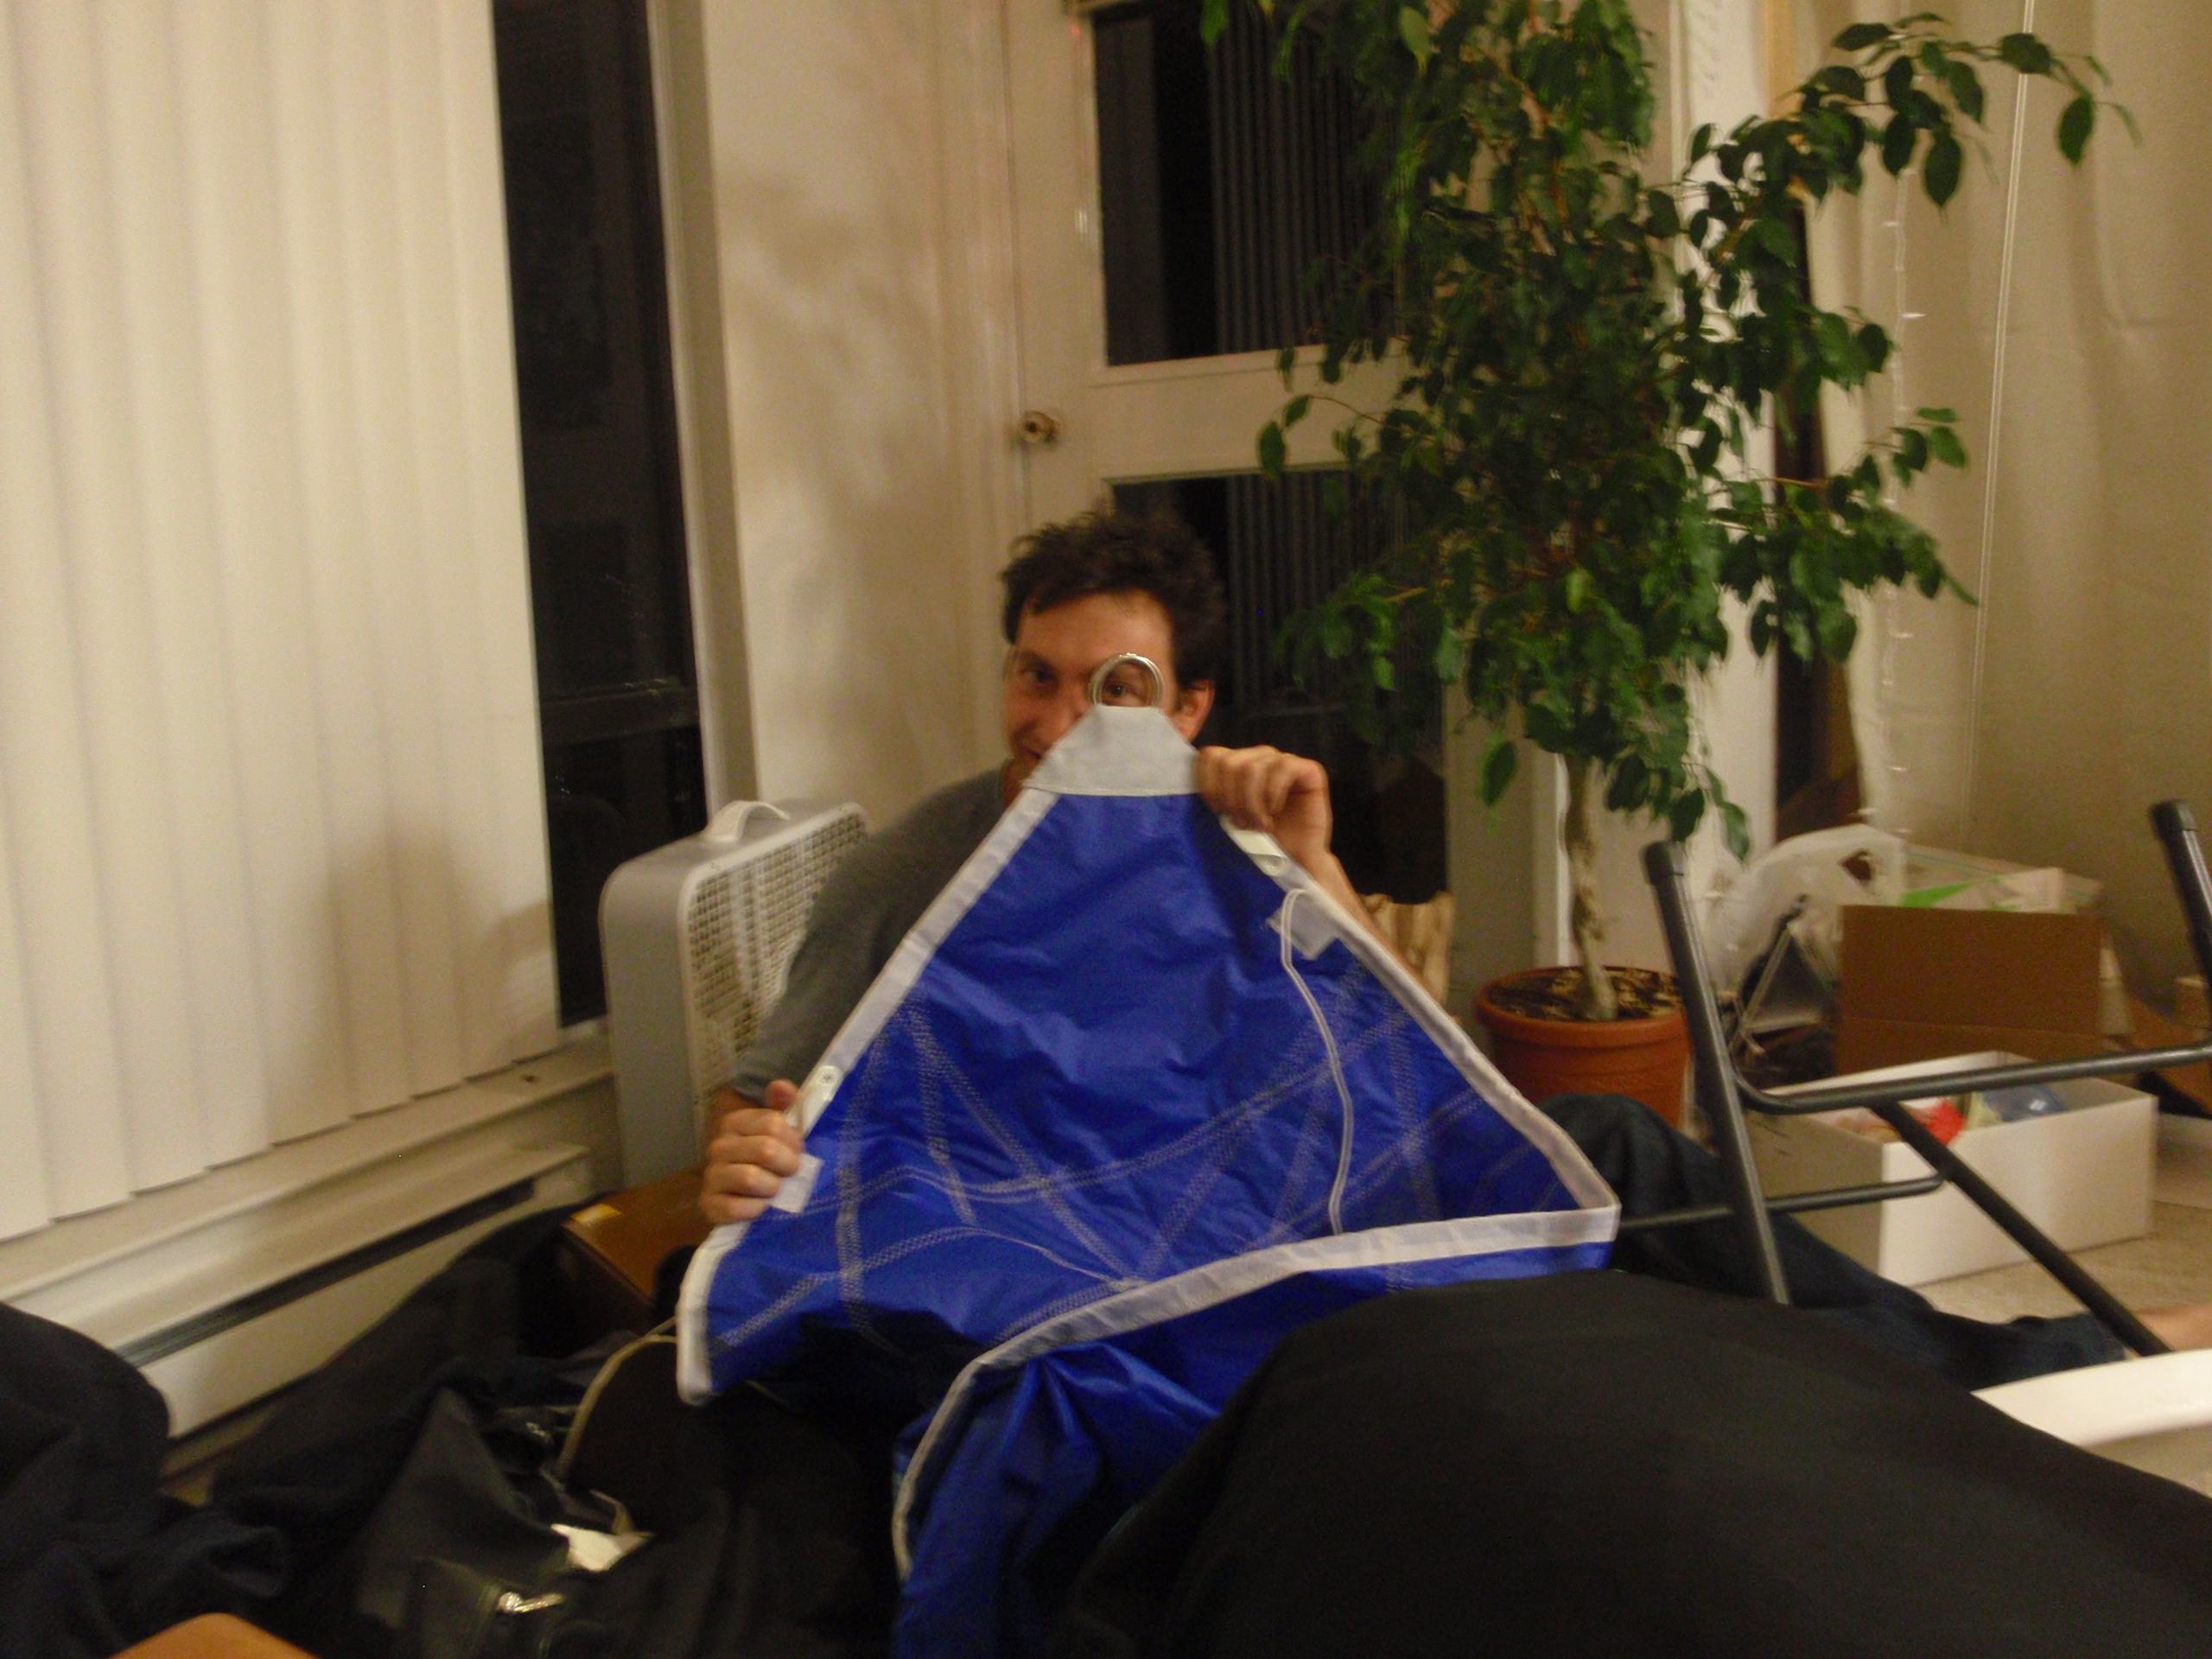
It’s finished though and I have an enormous sense of exhaustion, elation and pride. This was the largest boat project I got to be a part of, and it was pretty much all on me. No help, no other expertise from the other guys. It felt good to be the sole expert. At one point, Matt said, “You better finish it, ’cause I sure as hell have no clue how to.” Well I finished it, even if I stretched it out until December 28th.
After finally finishing and toasting, with a much deserved beer, the official hand-over ceremony of the sail to Matt, Matt began playing with the scraps of sail left over for repairs if that might ever be necessary. Karen, please make sure you’ve made him some better shorts by the time I get out there. Because if I ever see him in just the sail cloth like he was showing off, I think I might be permanently scarred.
I was back out in San Francisco helping with a big last minute push on getting work done. And giving Karen and Matt, and me in particular a big morale boost. There was mention of going sailing to see the sail get flown. Given the state of the boat, I knew that wasn’t really a possibility. But we did end up hoisting my sail in the marina just to see how it looked, and to cut some drifter sheet lines for it. It looked beautiful. I felt proud. I also felt embarrassed that I left on highly visible small stickers identifying each panel. I think Karen took some pictures. If so, I hope she posts them. I was too busy just looking at it, thinking about how long it had taken, and how much has happened in my life since I started it. A ten month sailboat project was right there flapping lightly in the breeze. The last ten month saga of my life was there, playing lightly in my mind.
I’m envious that I won’t get to be there when it is first flown. But I looking forward to joining the boat in June and being there as long as my money can sustain me. We’re not exactly sure where the boat will be. I’m committed as I can be to being there. And finally getting to use the boat, instead of just talking about it. Looking forward to it.
-
Drastic Measures
I’m still working on the boat, don’t worry.
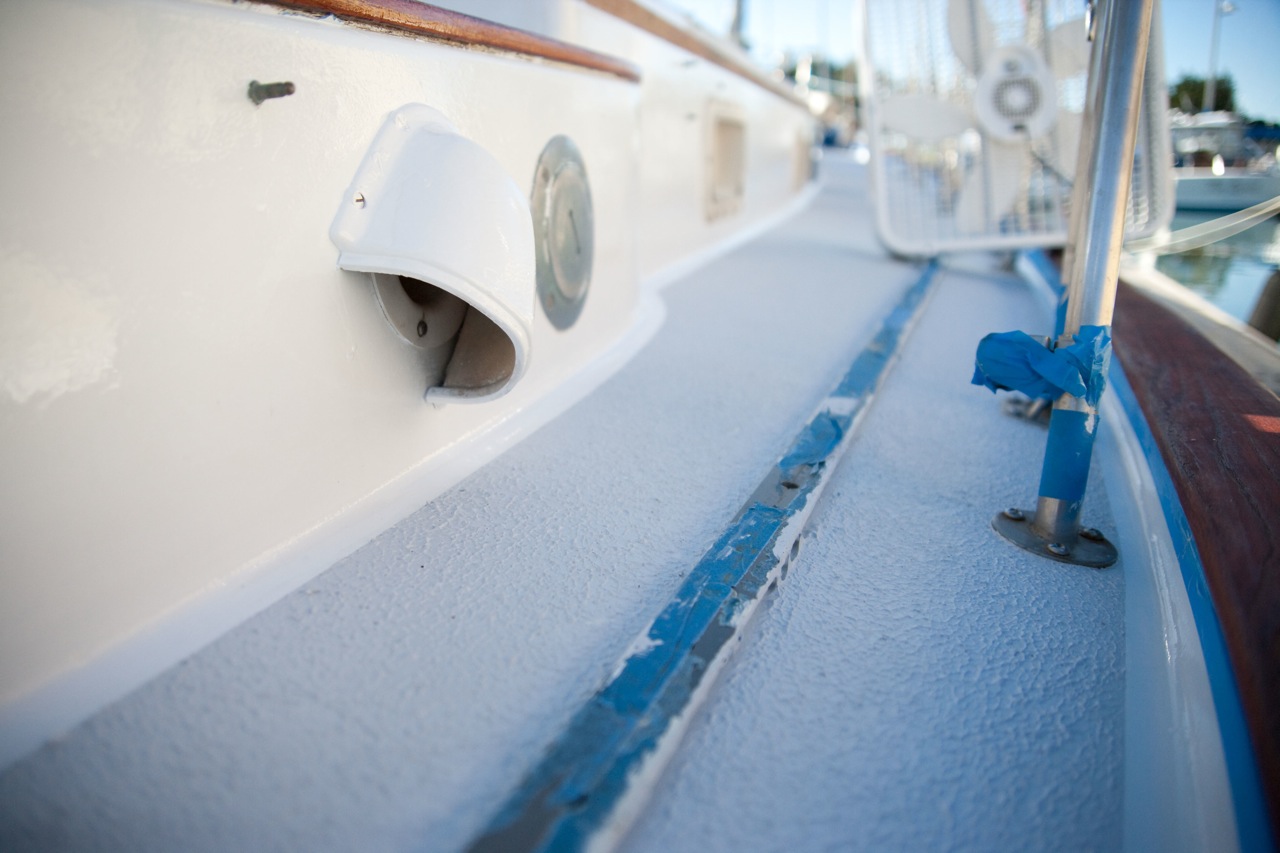
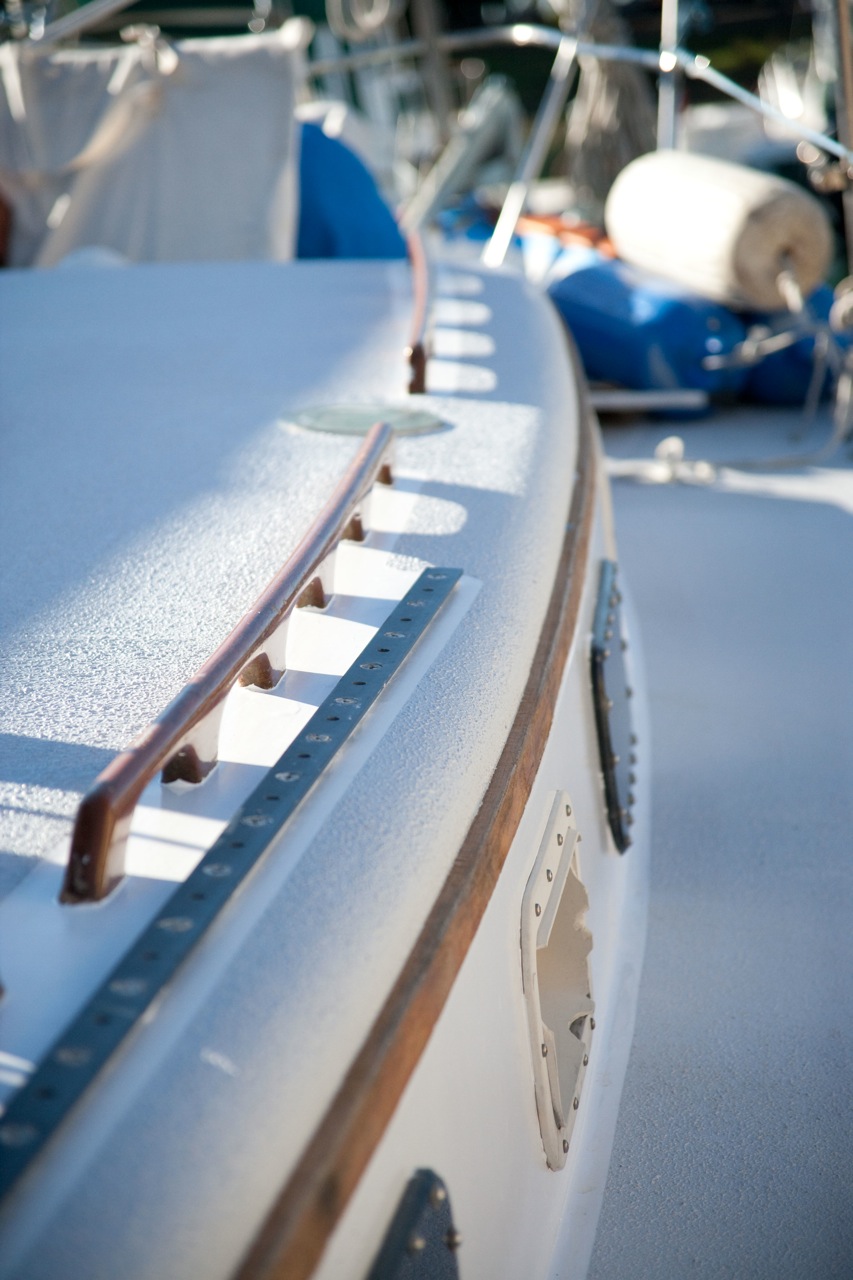
I’ve been trying to finish painting the deck, for months now actually, and I am discovering that November 25 in San Francisco is a terrible time to try to dry anything.
Here’s a picture I took today:
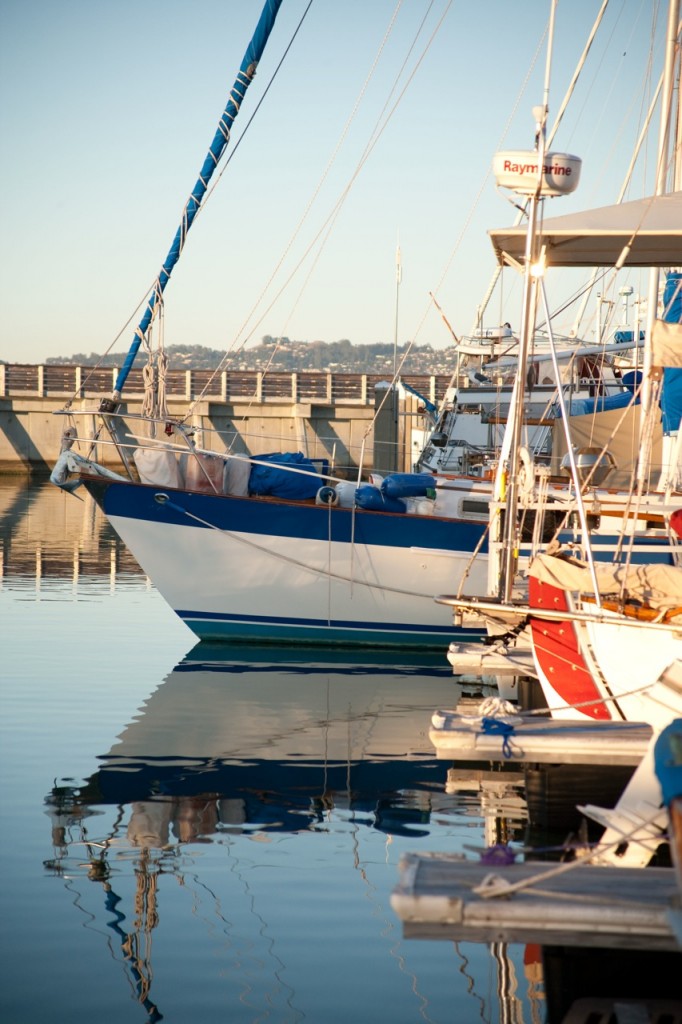
Notice that it appears our boat is leaving the slip. Don’t be fooled: I pushed the boat half out of the slip in a desperate attempt to shine a little bit more sunlight on the deck. Unfortunately, the boat’s little trip half out of the slip and back in was the farthest it has travelled in months.
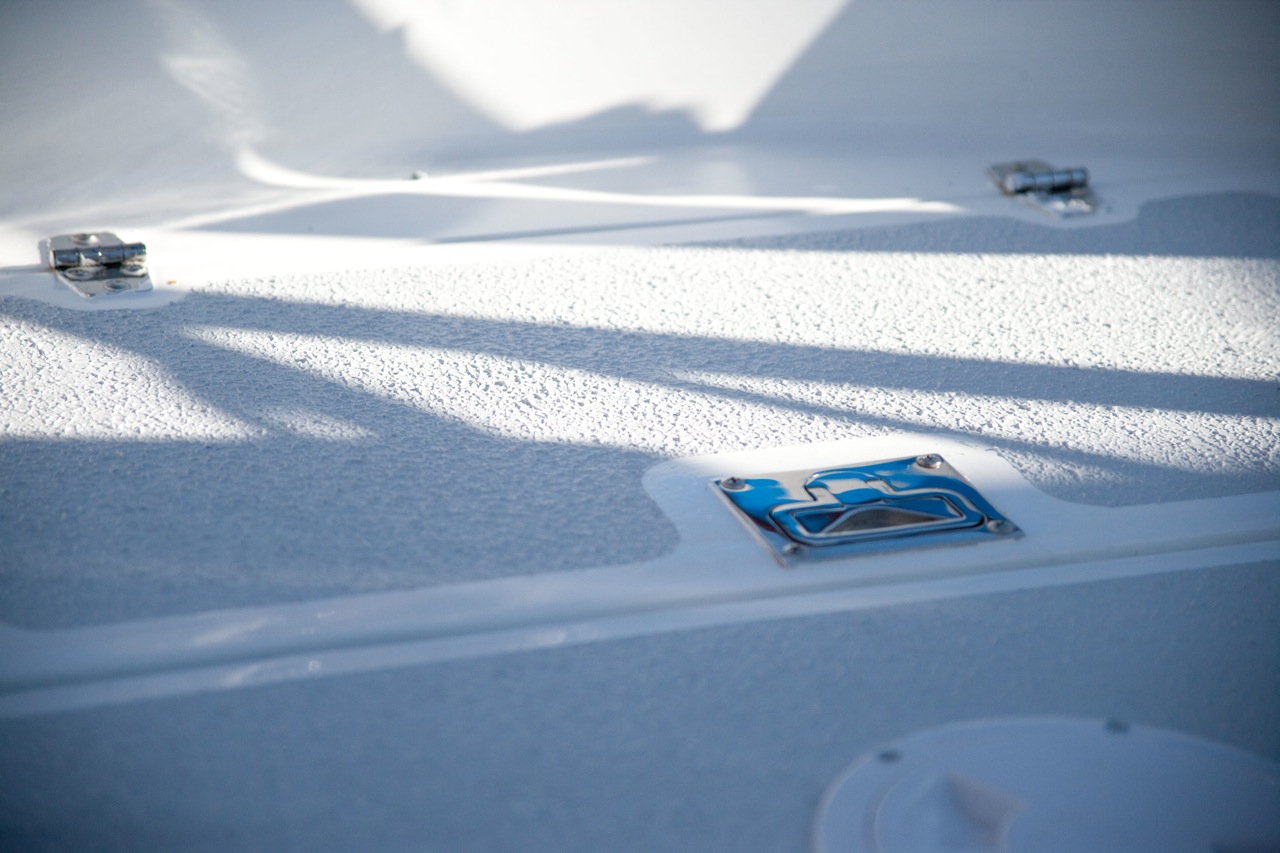
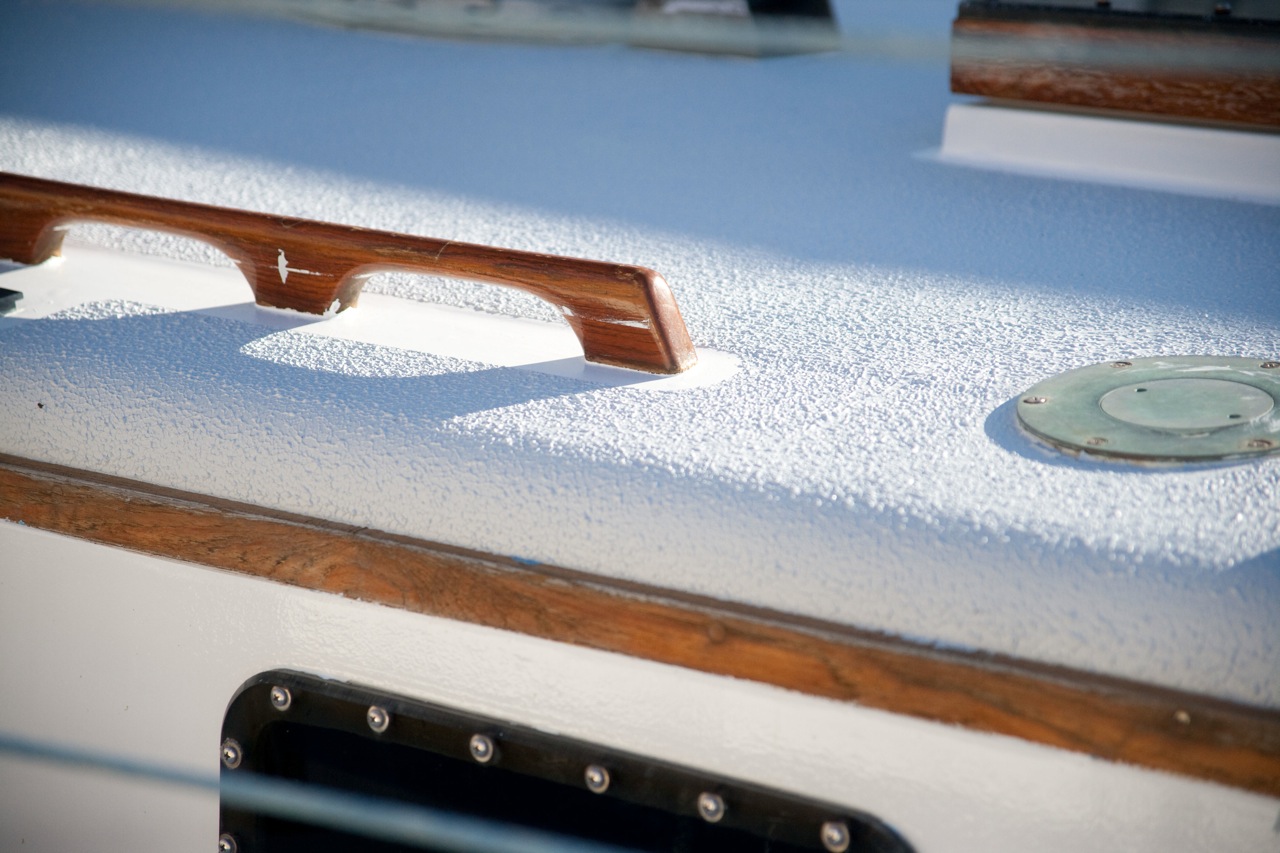
Here’s another one for you:
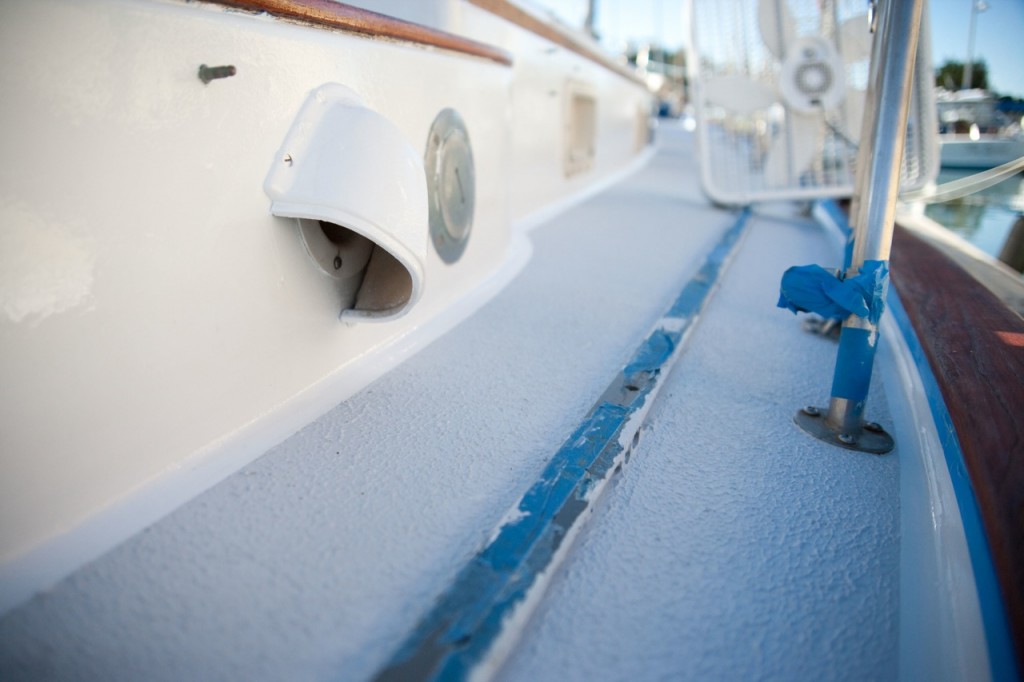
In this one, notice the box fan in the upper right background. I ziptied this to the stanchion and have been running it for the past 36 hours.
I don’t have a picture of me holding up one of my photography reflectors trying to dry the side deck–I lasted about 15 seconds before I realized the futility of that one.
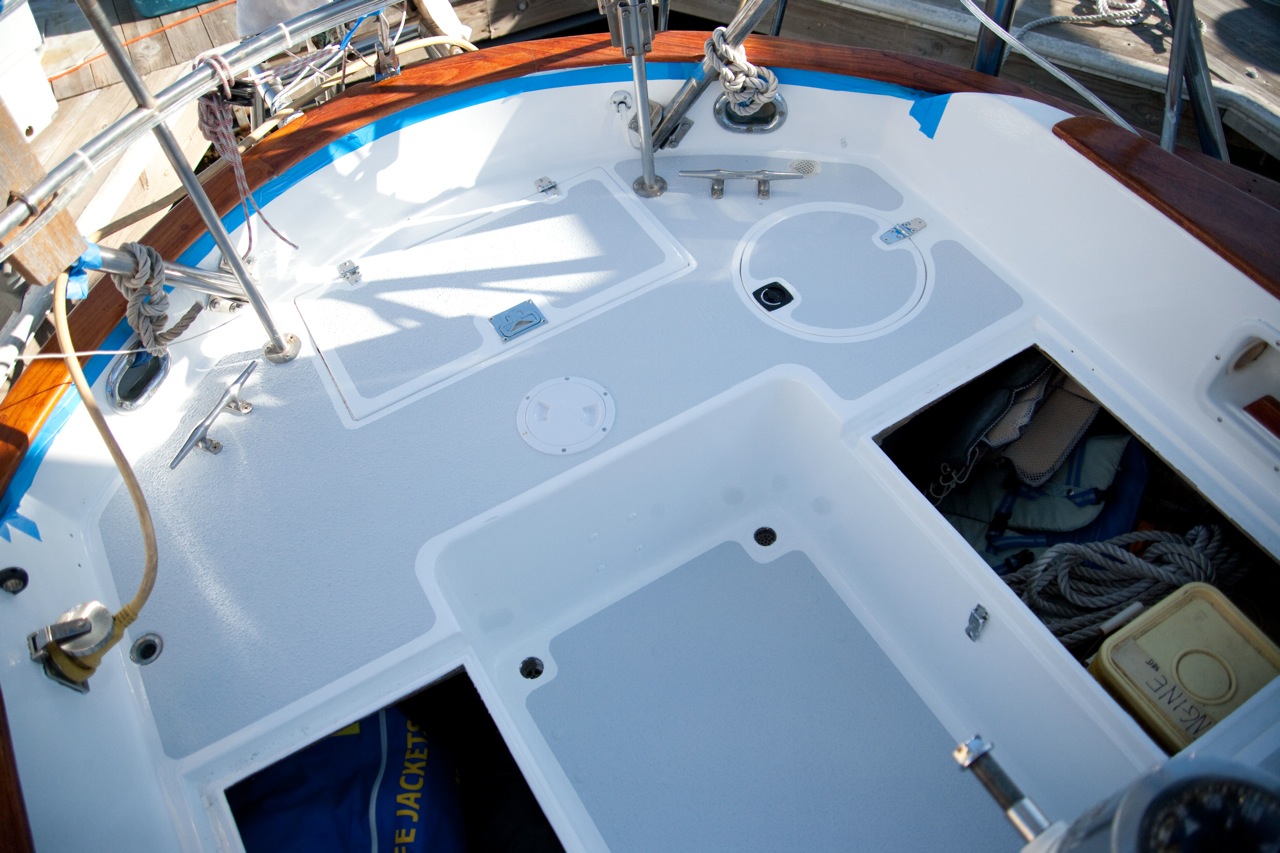
Here are some pictures of the progress:
-
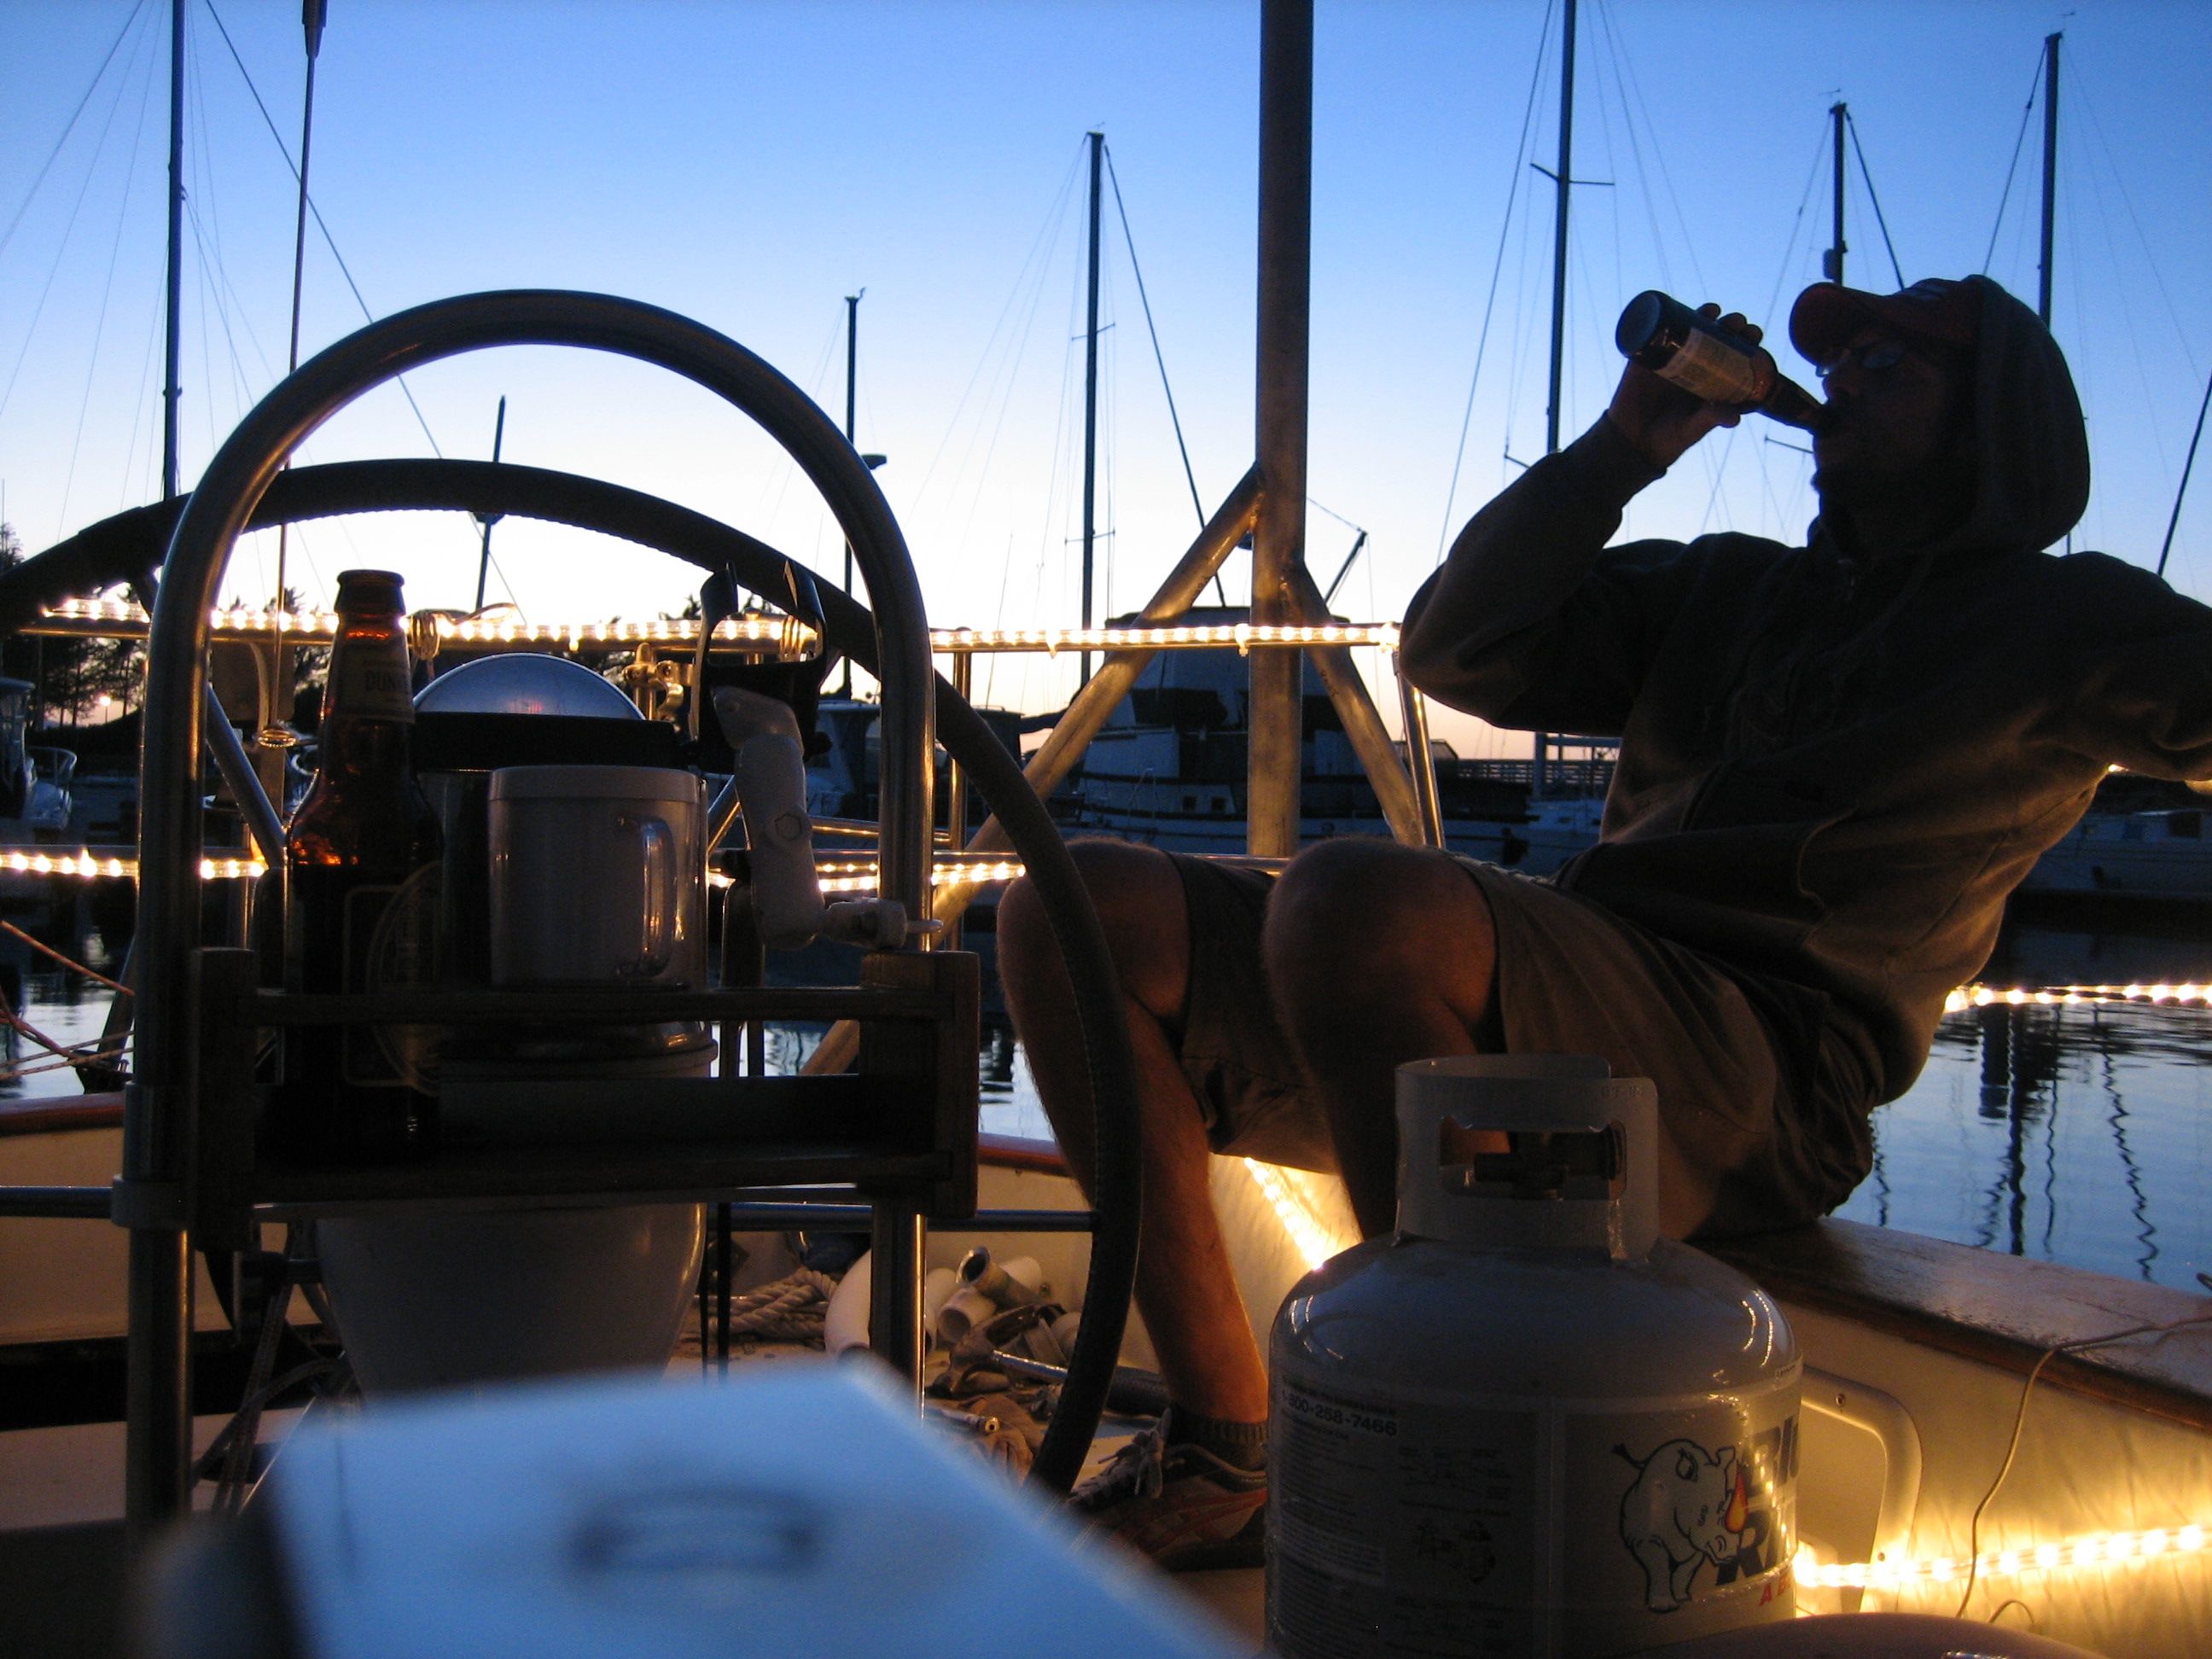
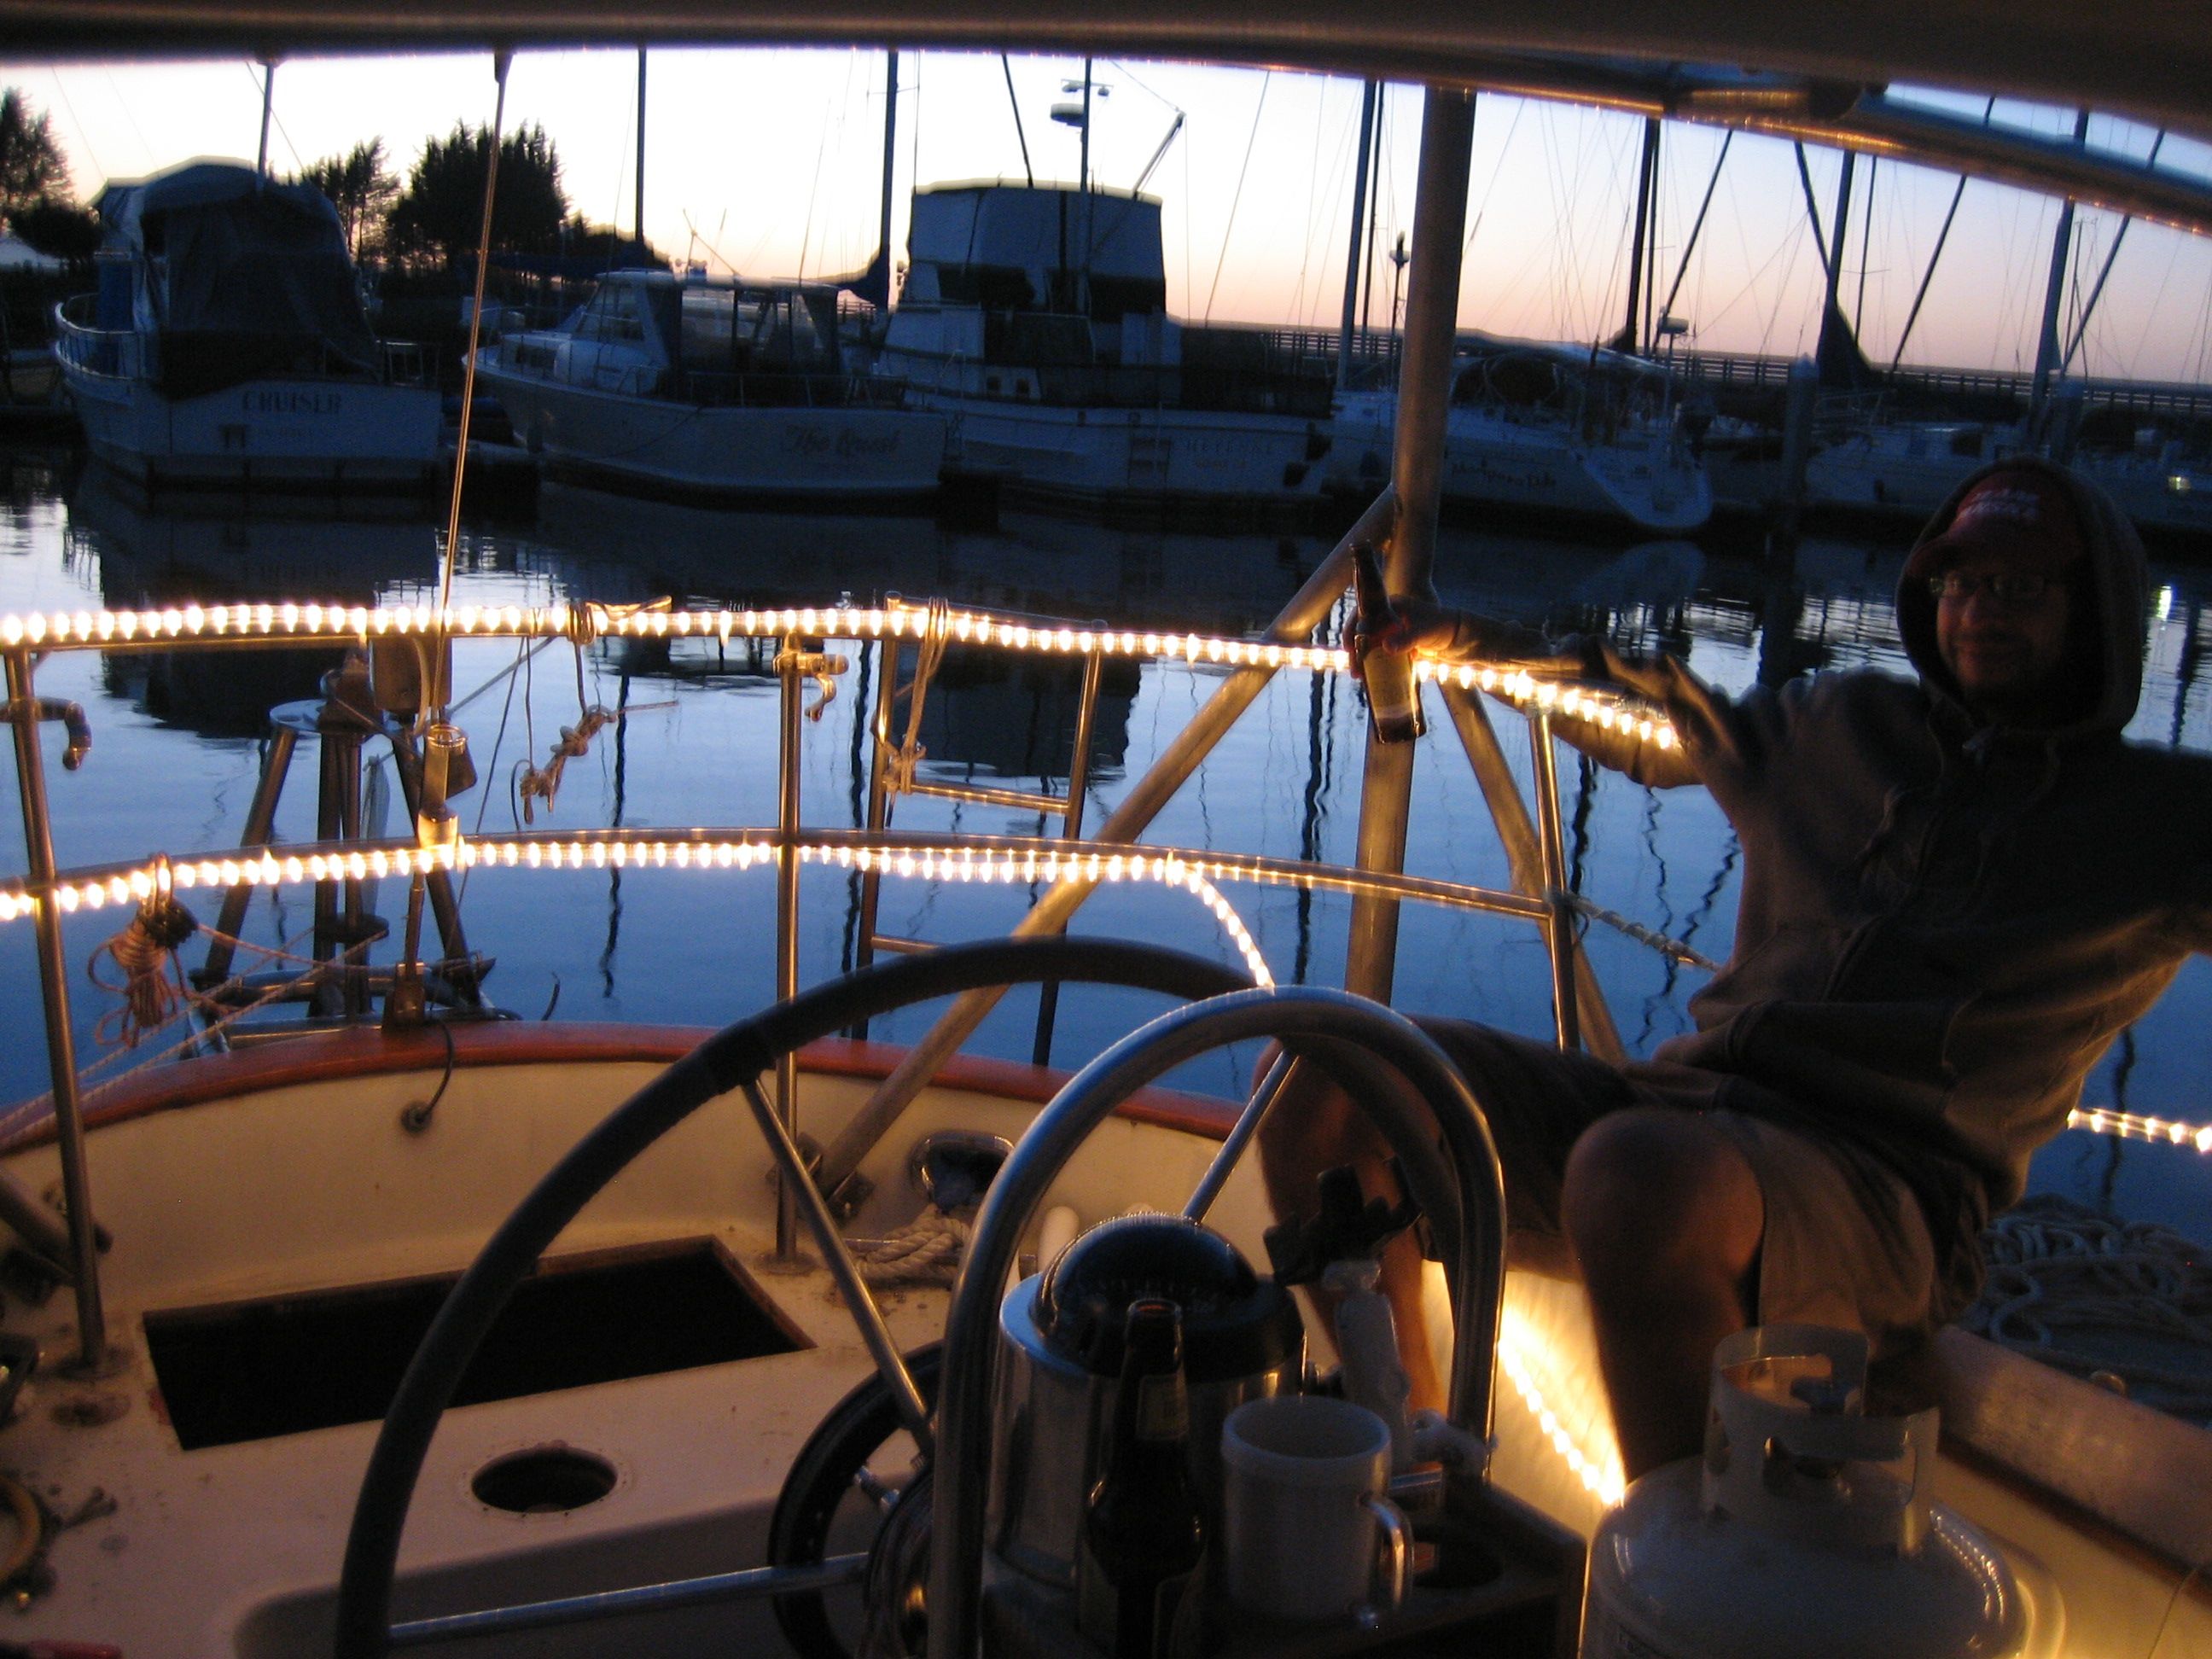
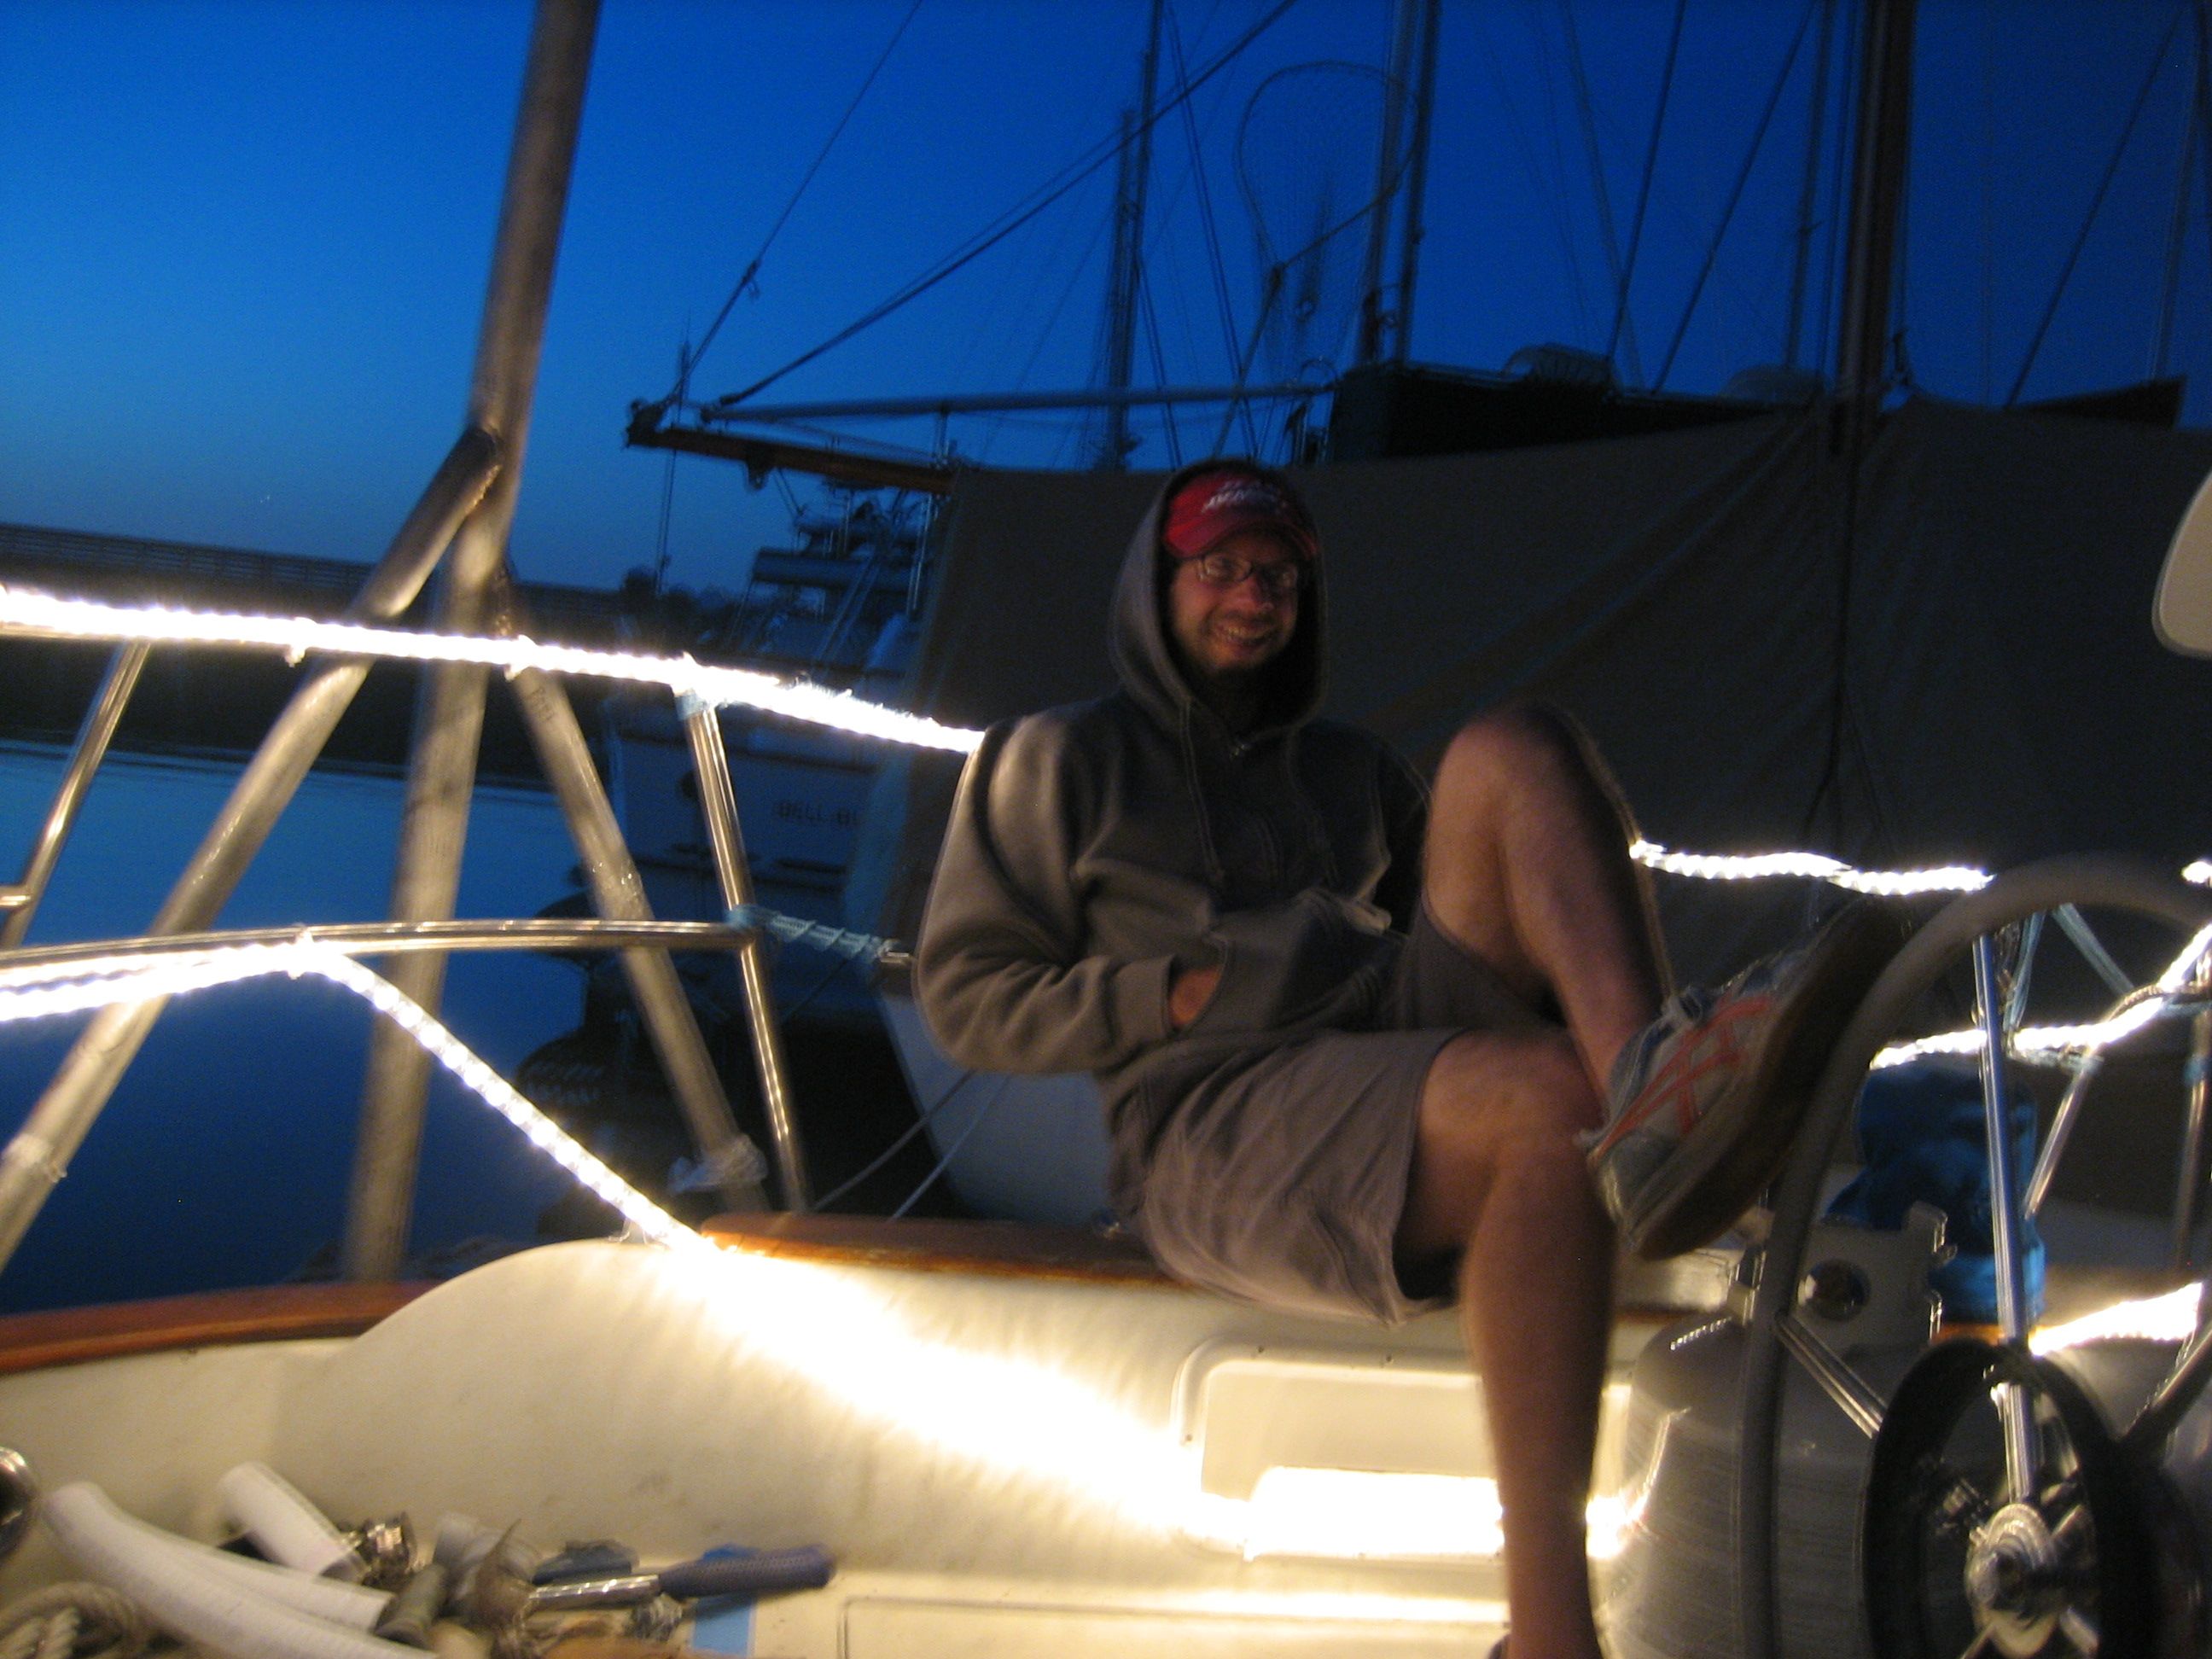
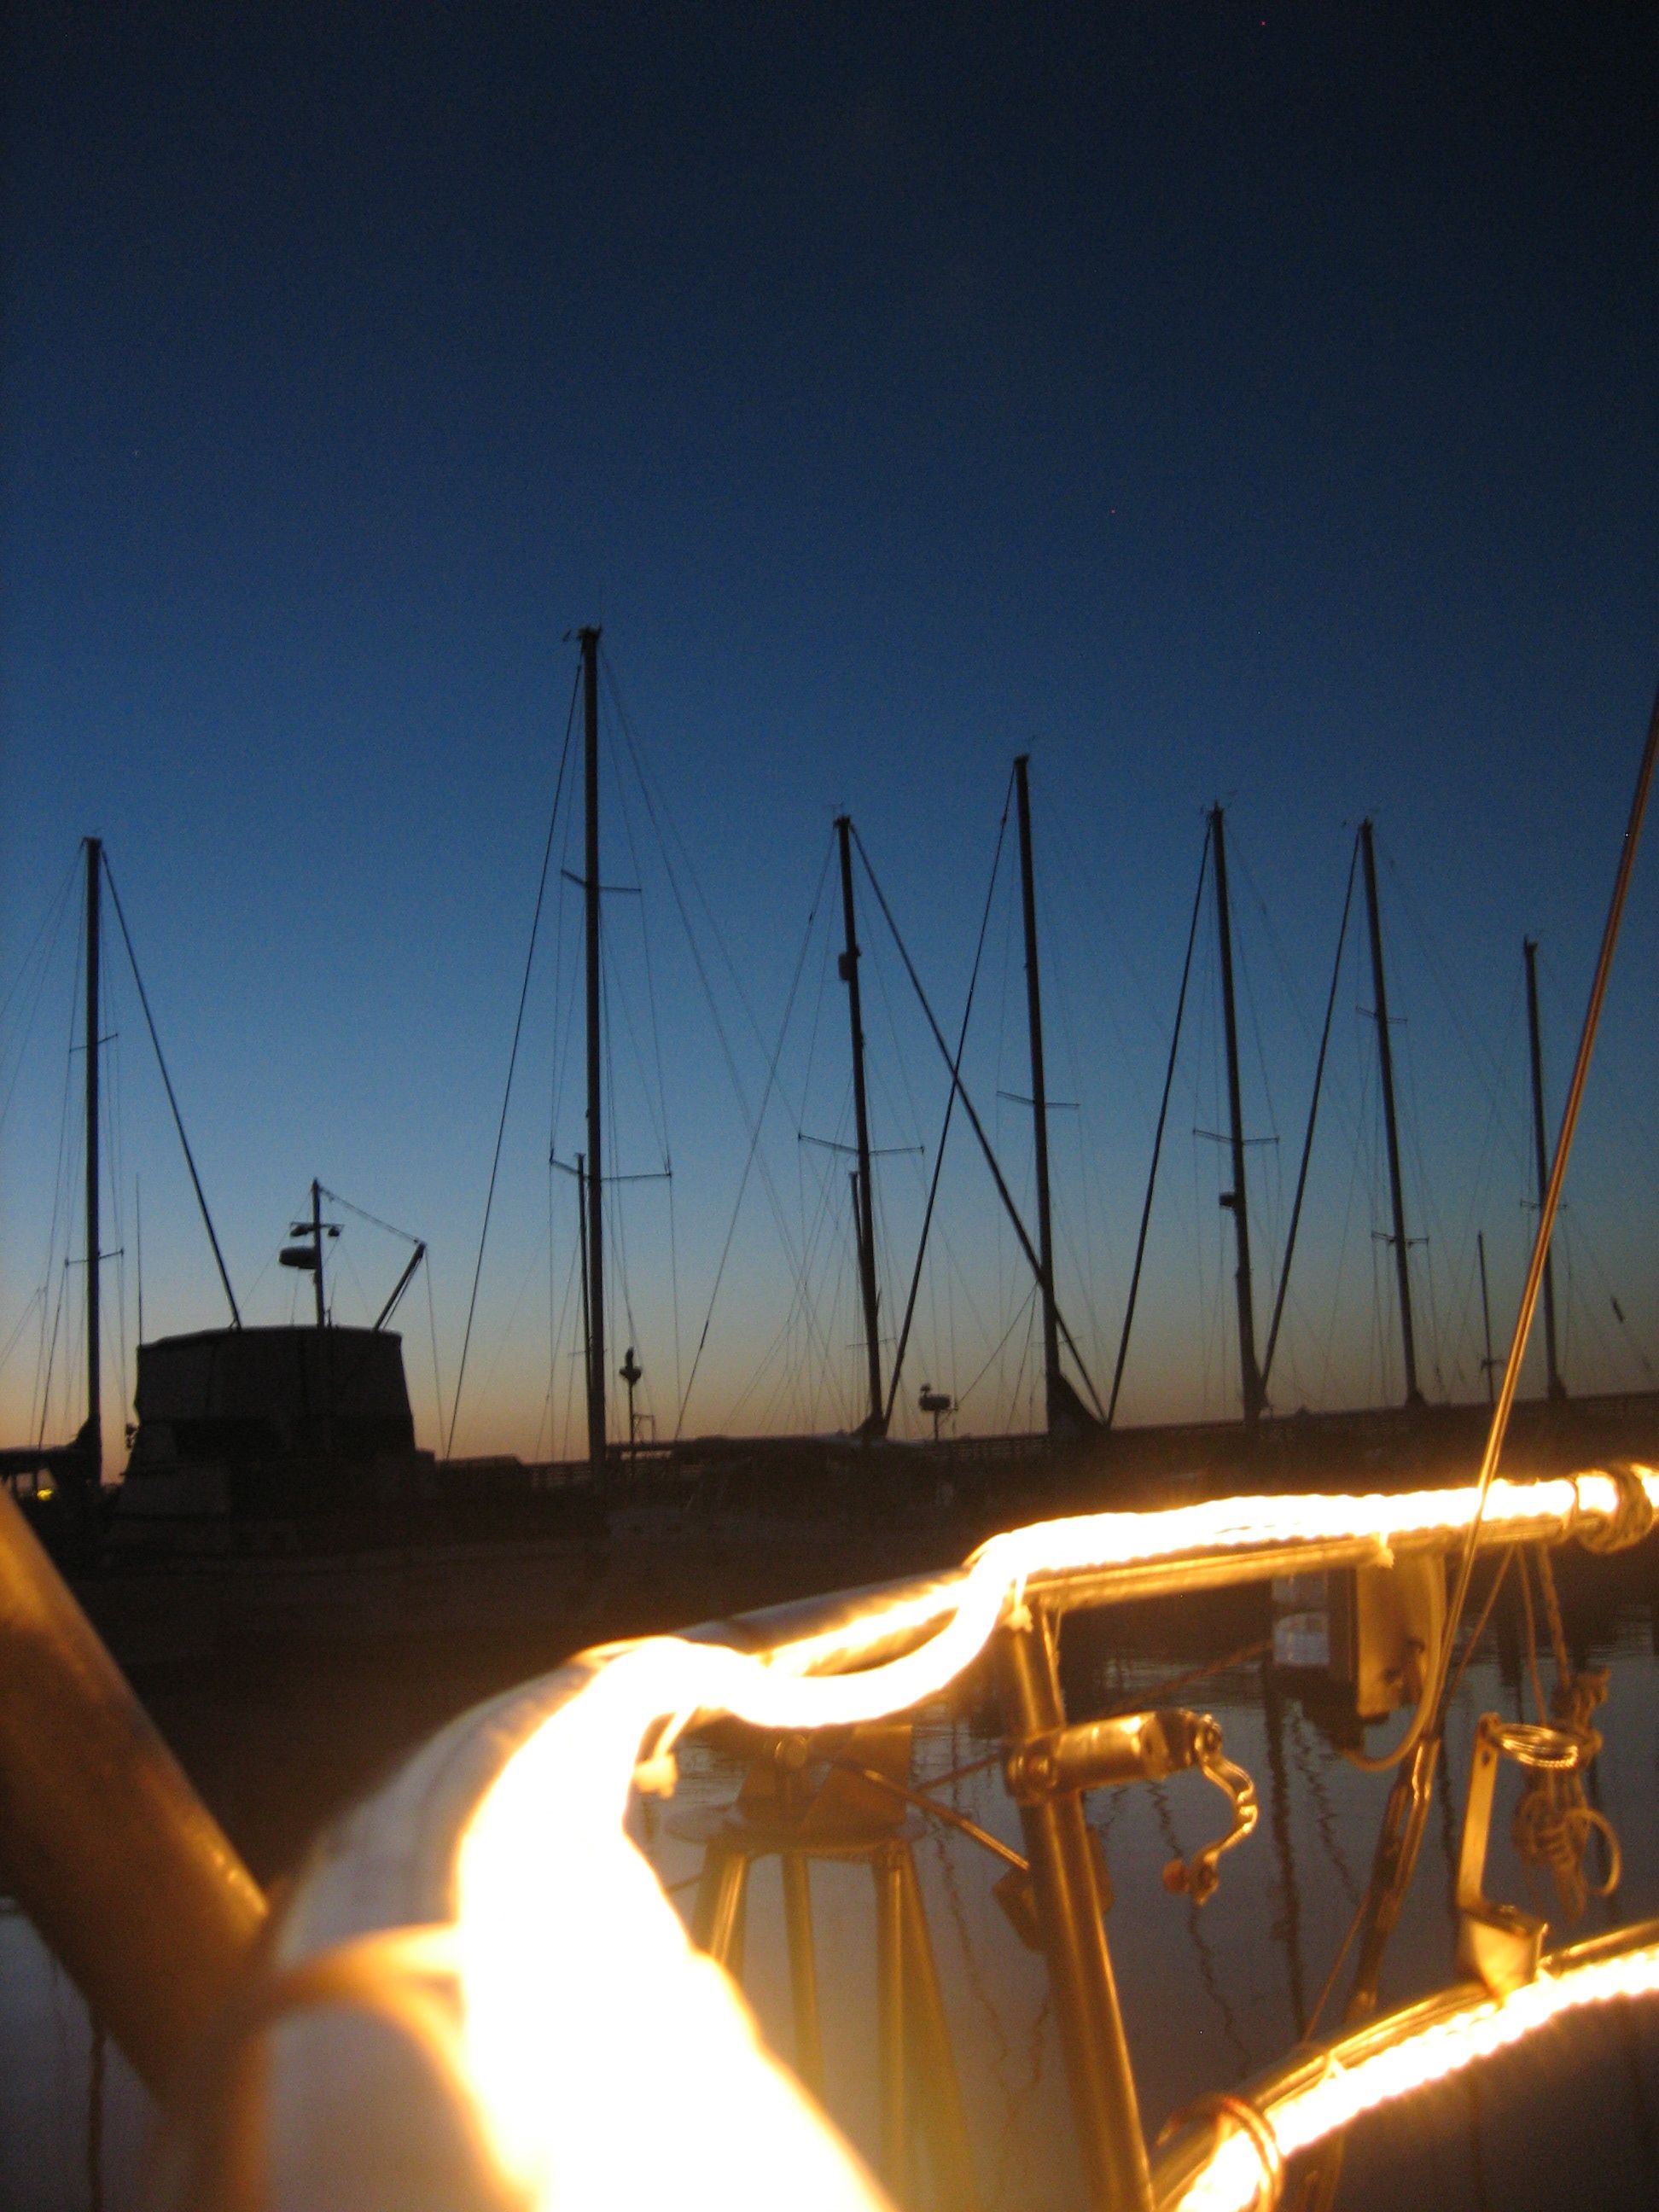
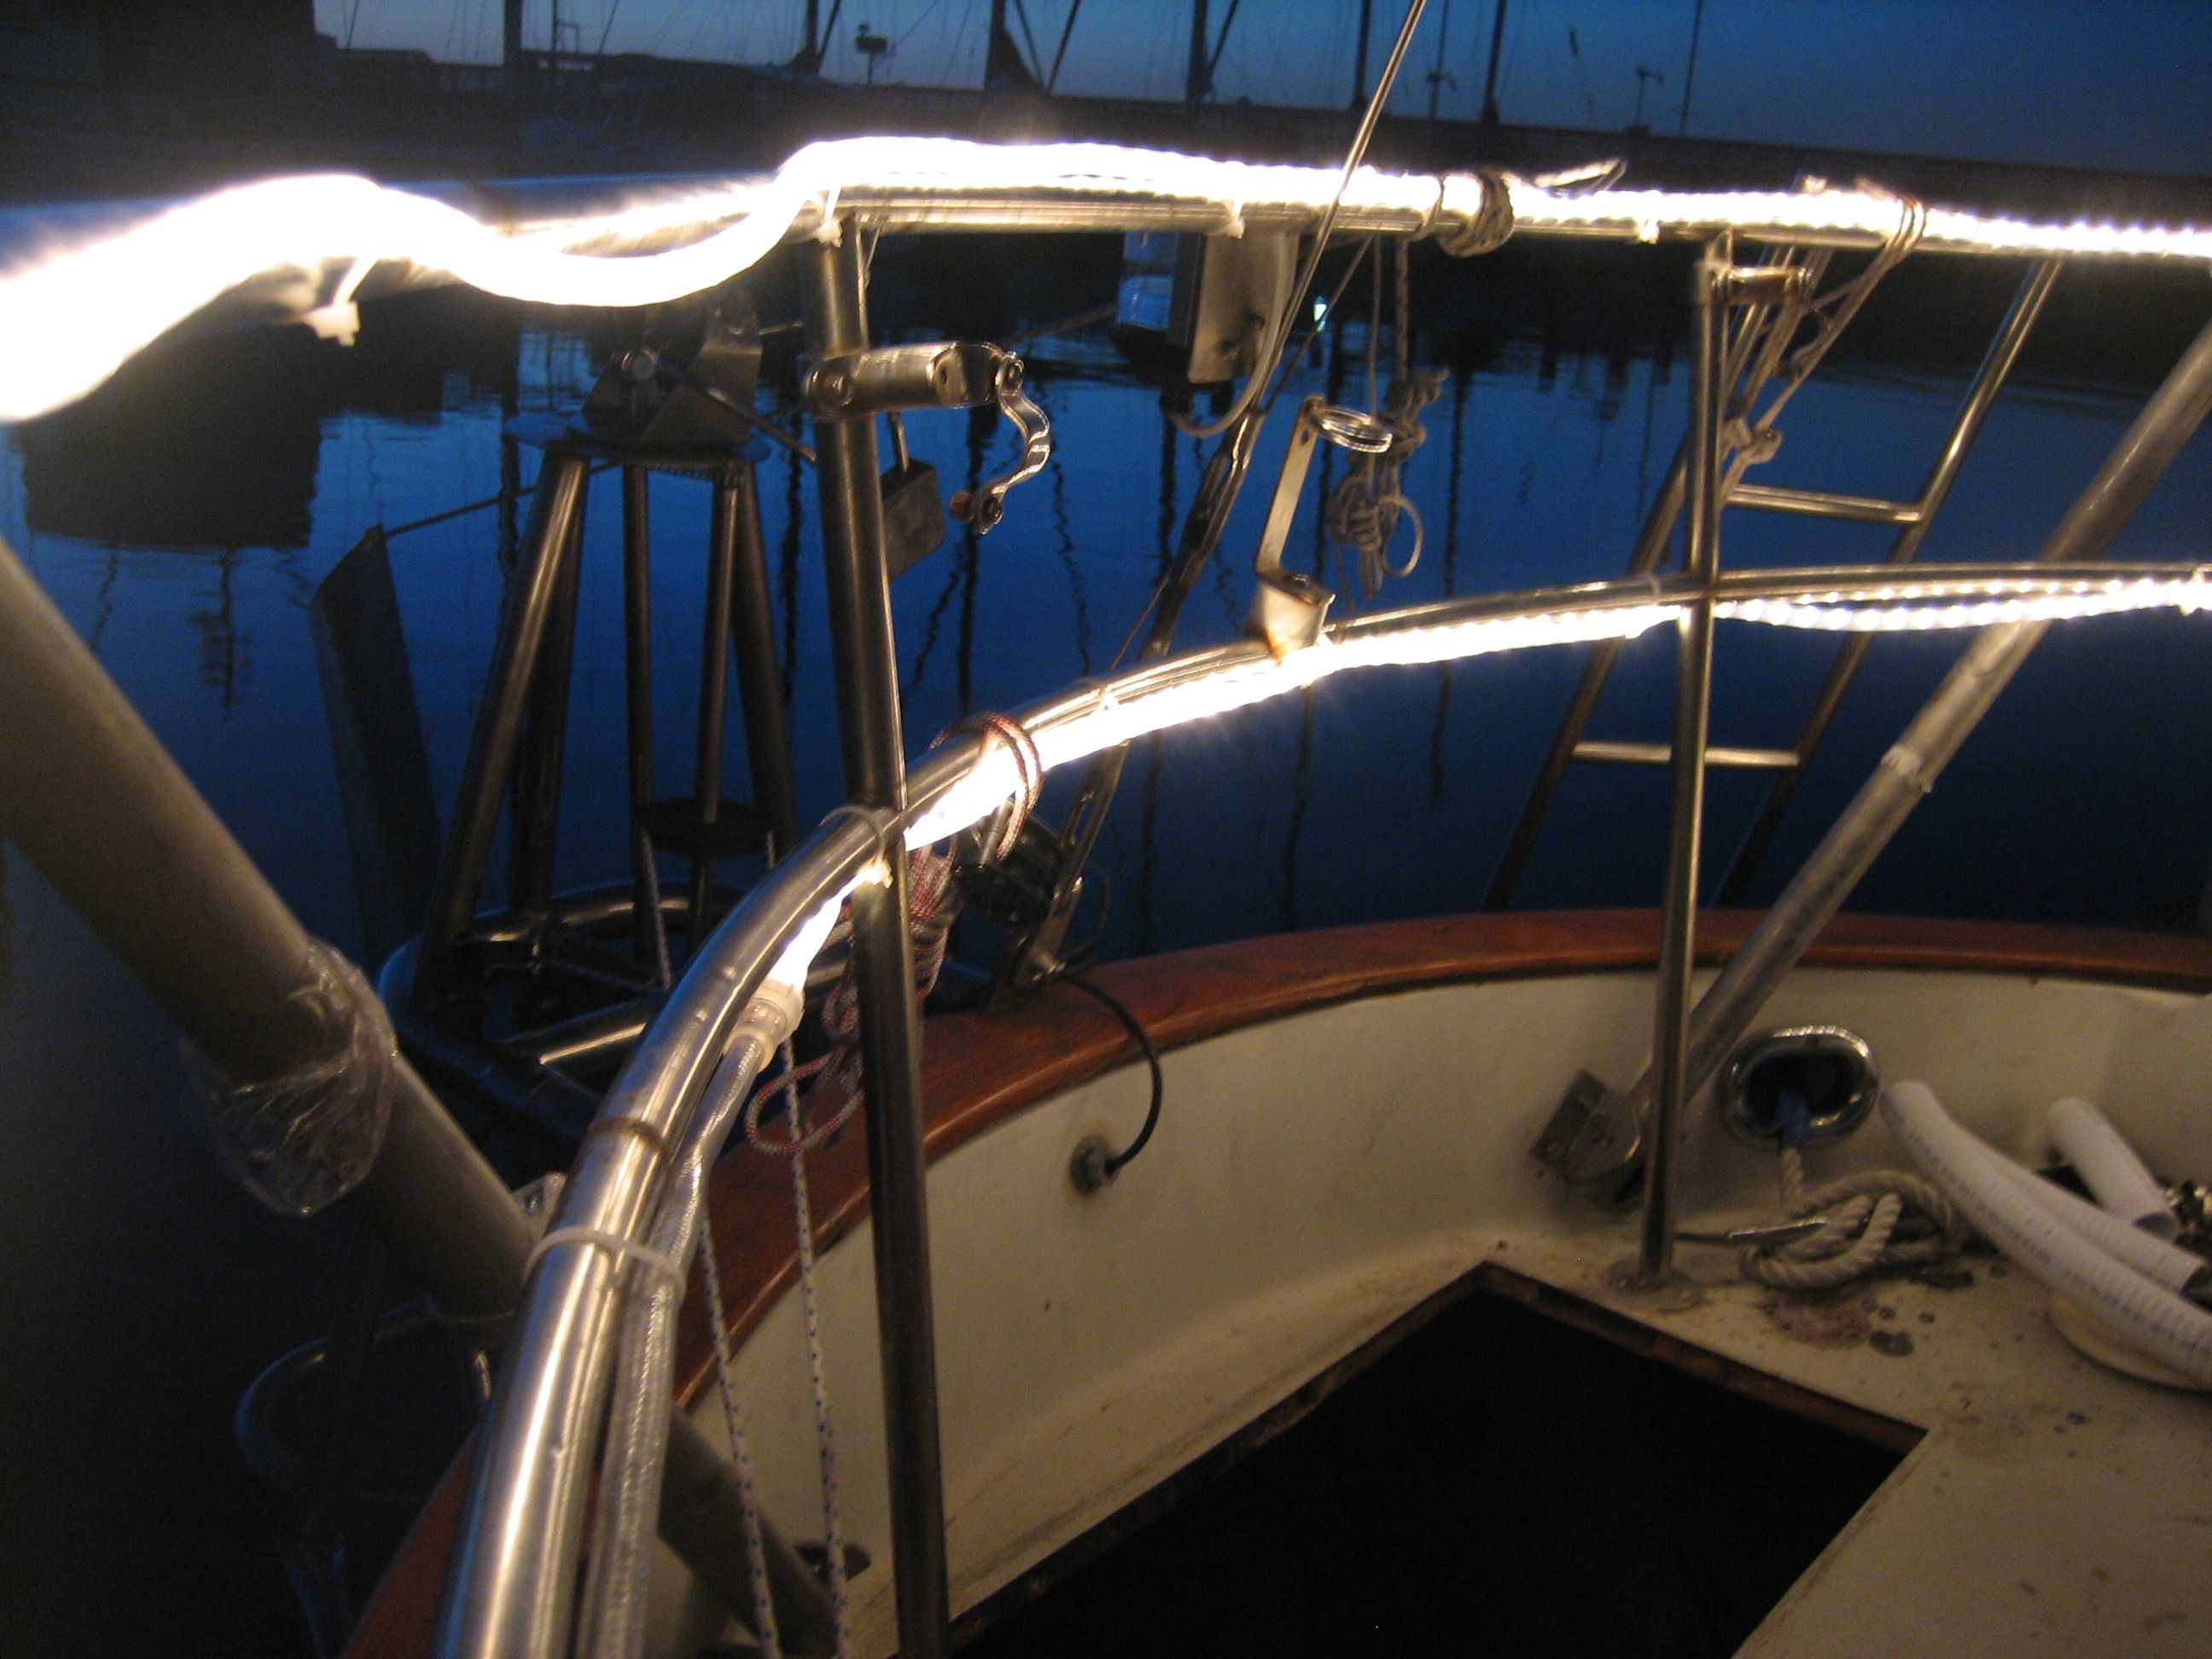
Night Activity
A brief glimpse into what working on the boat has been like for us the past few weeks:
-
A glorious holiday
In honor of Independence Day, and brave adventurers like Thomas Jefferson and John Adams, I dug up an American flag from the wet locker and hung the stars and bars from backstay. I hate to get all jingoistic, but there’s something fantastic about a boat, a flag, and the water, something almost timeless, something that people 233 years ago and long before that must also have recognized. I’d call the combination a triumvirate of awesomeness, were not that label already taken.
The flag, five feet off the deck, bestowed upon Syzygy some glory. That afternoon, the wind picked up from the west, and the flag began flapping loudly, wrapping around itself, fluttering and flicking about. I was working on the lazarette — aka stern locker — and kept ducking to keep from getting smacked in the face by the flag. There’s a metaphor for a boat: sacrificing practicality for beauty, functionality for symbolism. These are sacrifices worth making, sometimes.
So I kept my head low, determined to crank some productivity out of the holiday. Unfortunately, I kept my nose so close to the deck that the wisdom in the air almost blew by unnoticed. Almost, but not quite.
Jim, from Kanga, stopped by, and we chatted about ideal gasket-making techniques, the better to keep the ocean out of the new stern locker. “Water’s gonna come in the hatch,” Jim said. “You can’t force it, just direct it.” He paused. “Actually, you can’t direct it, just coax it.” He recognized the poetry he’d spoken, and laughed. It applied to so many hurdles before us. I told him I wouldn’t forget it.
An hour later, two of Jim’s friends stopped by. I was upside down and backwards in the new propane locker, fiberglassing away, and when they — a couple — yelled hello, I waved with my foot before extracting myself. They laughed because they’d spent three years fixing up (“nerding out” they called it) a 1988 Passport 42 before sailing it to New Zealand, and recognized what I was up to. Their work had paid off; their voyage wasn’t compromised by mechanical failures or catastrophes, and that bolstered my spirits. They recalled having to explain to friends that, contrary to popular opinion, sailing wasn’t all fancy drinks and white shoes; that nautical-themed pashmina afghans never entered into the equation. “You’ve probably heard this before,” he said, “but remember: It’s a lifestyle, not a vacation.” Here’s to the eloquence therei
Two days later, still nose-down, Matt and I stopped by Svendsen’s, to empty out our bank accounts and acquire some information and goods in the process. I’d been having a bitch of a time polishing the metal of our new radar arch, so I stopped by Svendsen’s metal shop, and asked Chris for advice. He led me around the workshop, revealing industrial-grade tools I could only fantasize about. No, I could not borrow them, and no, I could not afford to pay $80/hour to have them polish the metal for me. Chris told me where to pick up jeweler’s rouge (aka grinding paste) and then, all Yoda-like, sans-pronouns, offered the best advice I’ve heard all year: “When faced with daunting task, lower expectations.” I may take him up on that.
-
Sewing. Exciting!
The sail-making kit arrived from Sailrite two months ago. I immediately opened the box and had, on a mini-scale, the same feeling upon seeing our boat for the first time. “What the hell am I getting myself into?” I slowly plodded through the instructions and all of the components. Like poking around the boat for the first time, this induced more feelings of dread.
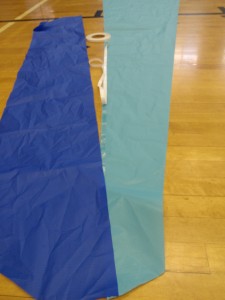
34 yards each of light blue and dark blue ripstop Nylon Sailcloth
79 feet of leech line
81 feet of 5-ply Waxed Bobbin Twine (I still don’t know what this is for)
1 square foot of 2-3 oz Pearl Gray Cowhide Leather
240 yards of Seamstick Basting Tape (both 1/2” and 1/4”)
a variety of other stuffOne last item caught my eye. 2400 yards of 1 oz V-46 White Polyester UV Thread. Over 1.36 miles of thread. It would take me 9 minutes to sprint a distance the length of the thread included in the Sailrite kit. It would take our boat over 7 minutes, at top speed in heavy winds to cover the distance. I tried not to think about how much sewing this implied.
I did know the first step, though, of this project: securing a location to do the sewing. My condo would not do. The total square footage of my condo is 1126 feet, not including the balcony. The largest room is a mere 220 square feet. The square footage of our sail: 706.37 square feet. My condo would not do.
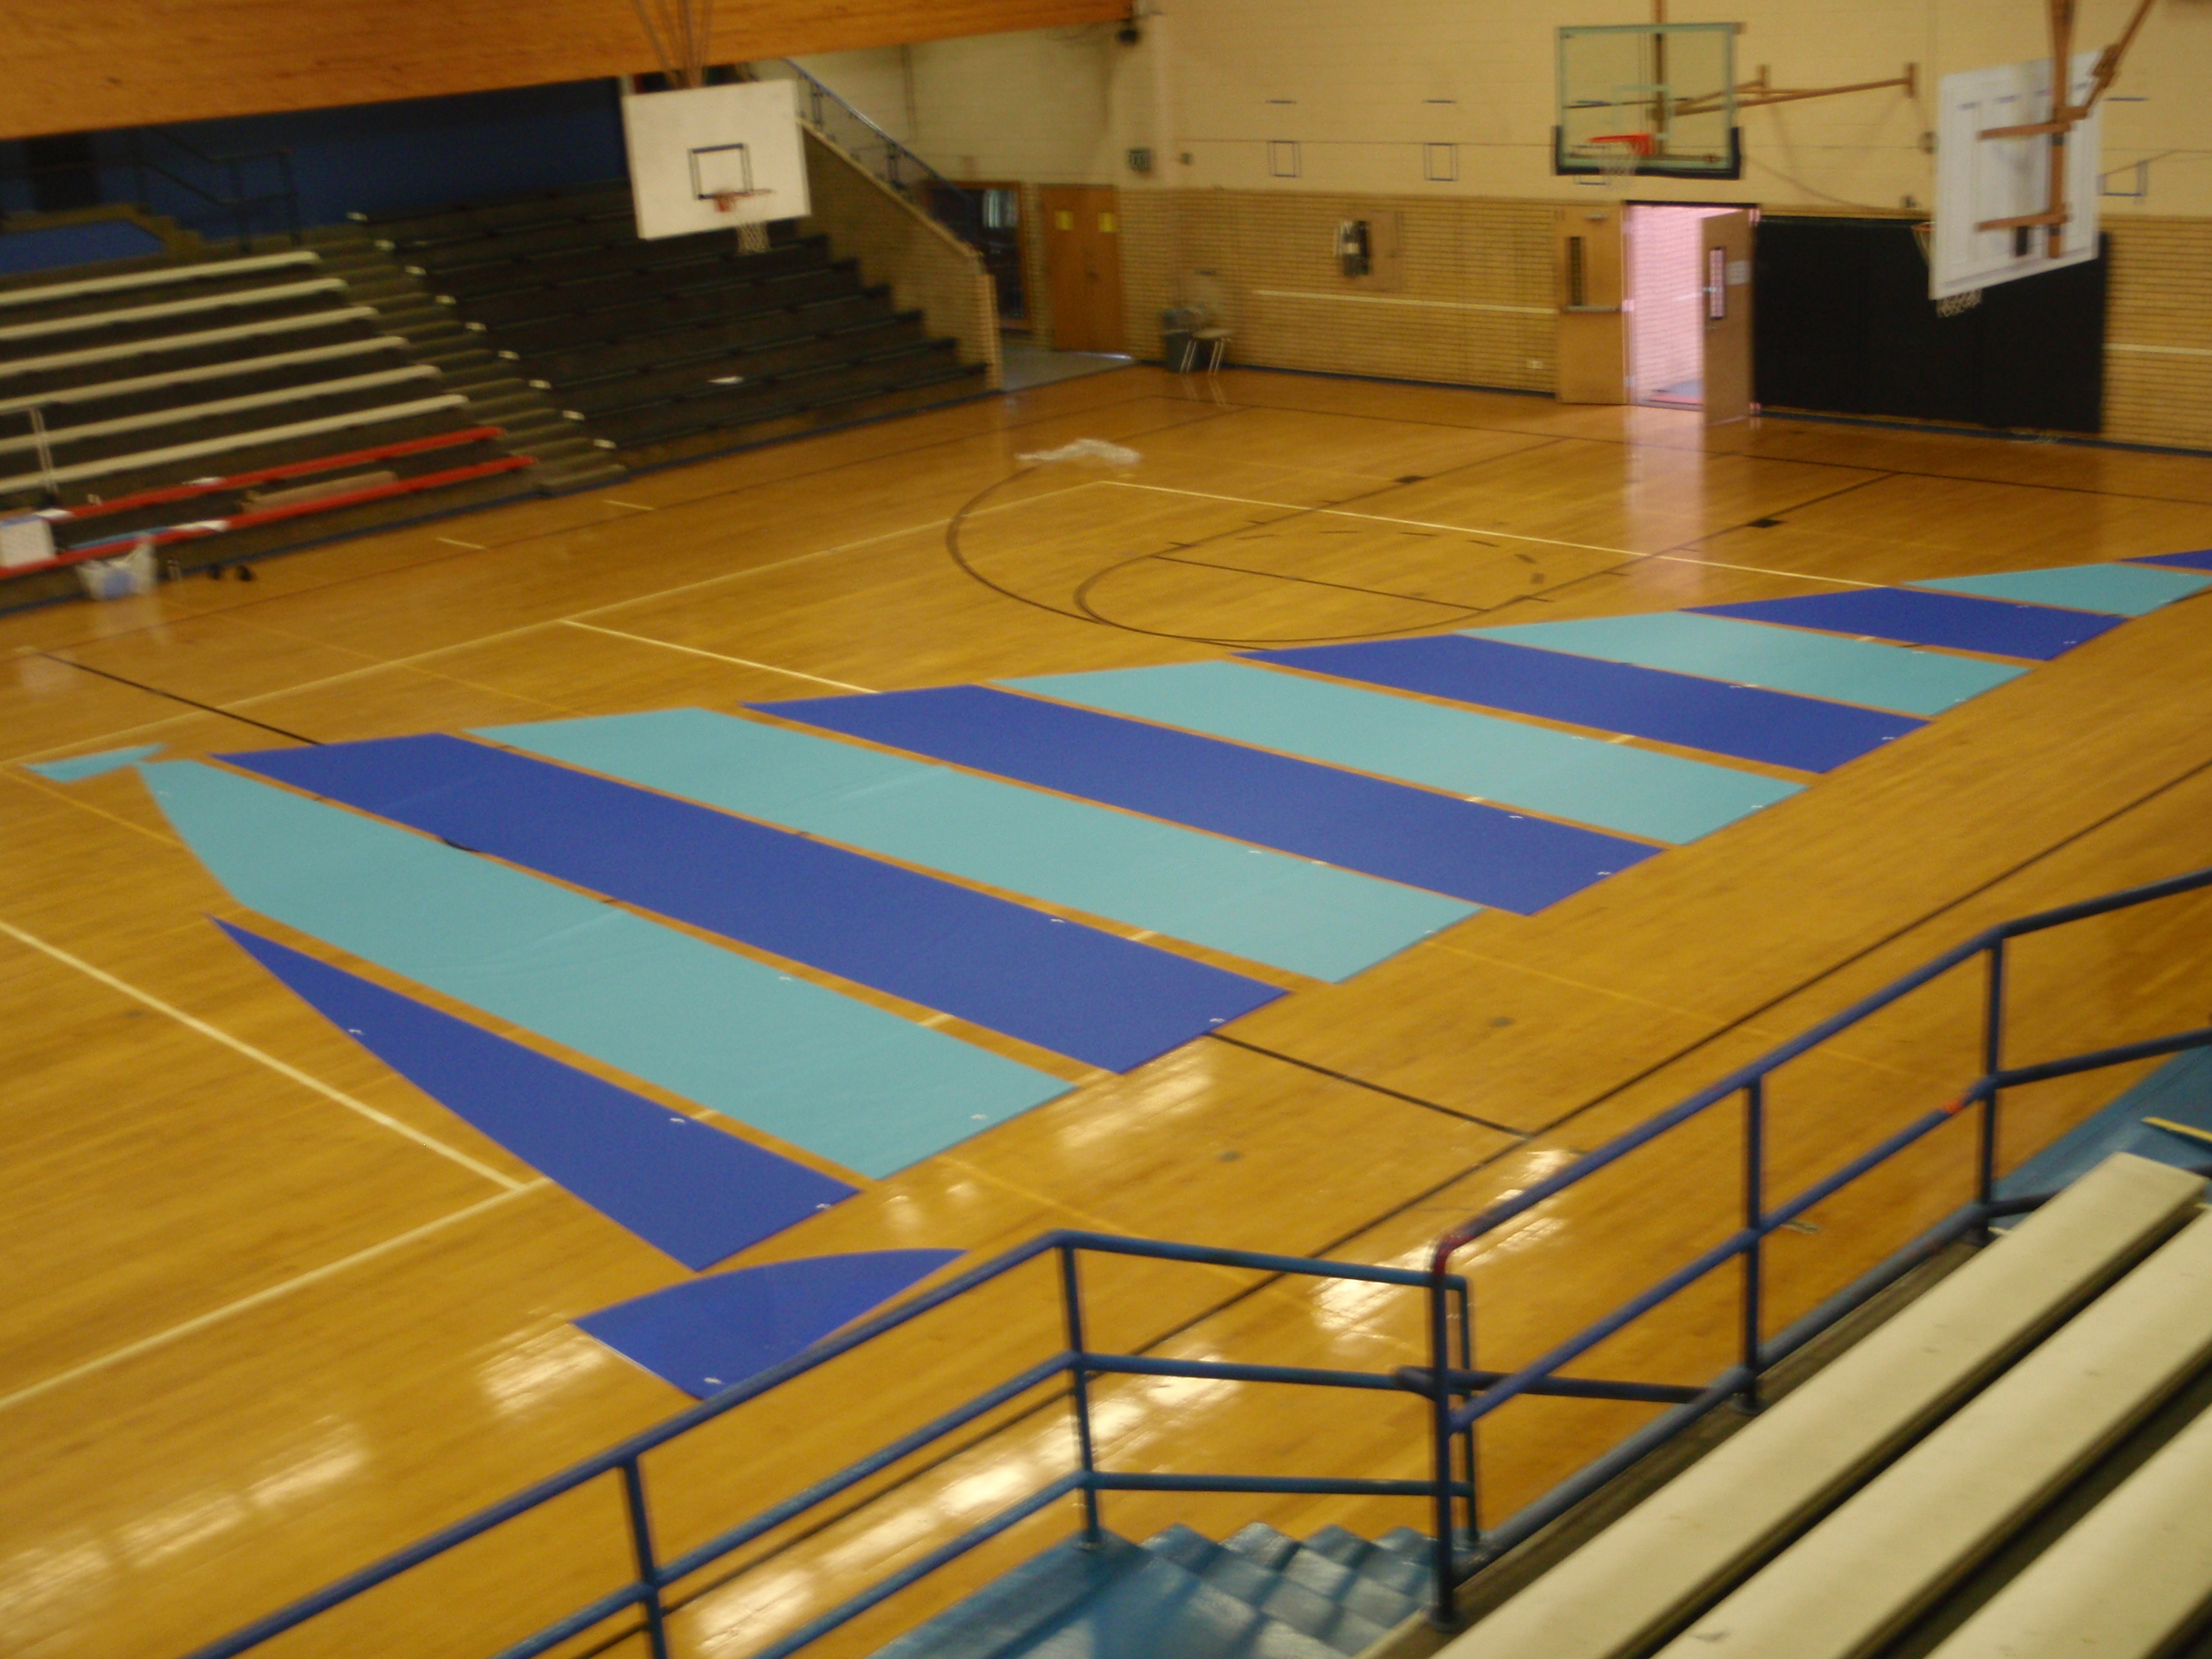
I had been to another sail-making shop though, when we needed a patch put on our jib. They had an enormous wood floor that immediately made me harken back to my high school basketball days. The perfect location was so obvious. I even work at a school… easy access! A week later I sheepishly asked my principal at my school if I could use the gymnasium after school the next week.
“For what?” she inquired.
“I’m sewing a sail for our sailboat.”
“Wow. Do you know how to make a sail?”
“No.”
“Do you know how to sew?”
“No.”
She laughed and wished me luck.
A week later I carted into the gym a box of supplies, including my sewing machine, some scissors, pens, black clips and scotch tape that I borrowed from school, and the Sailrite kit.
I then left and fetched a 48-inch wide dust mop. Because I knew the floor was gross. No way was I laying our brand new thousand dollar sail down on that floor.
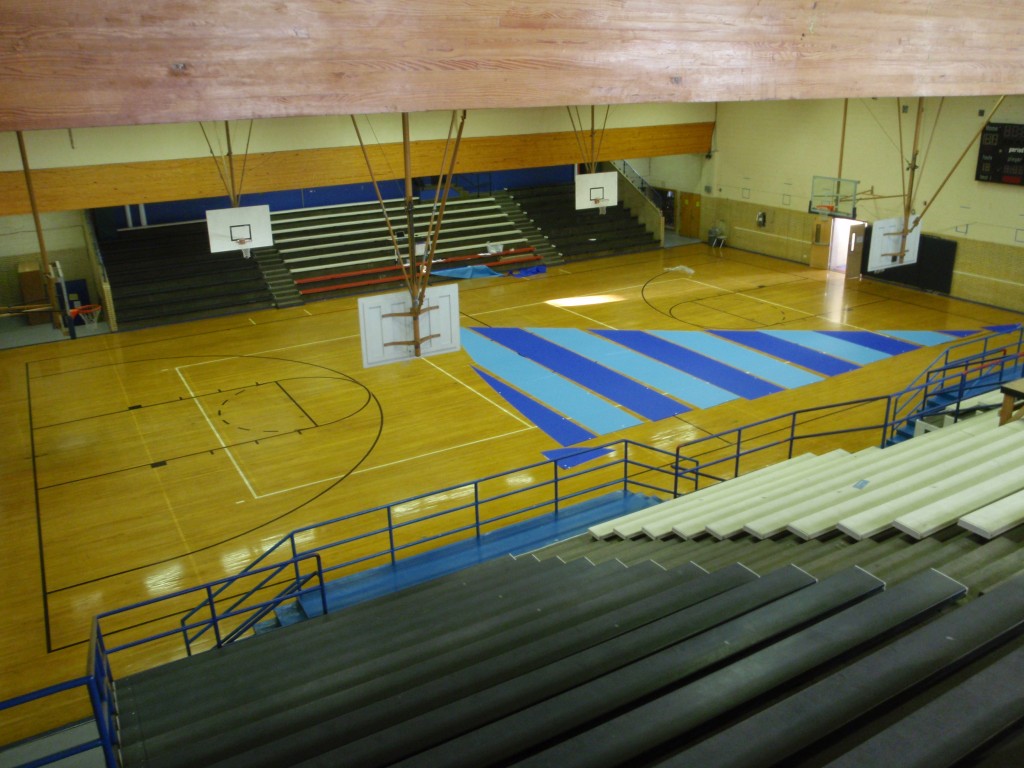
Sail laid out on gym floor I pulled out the scraps they include for patches and making sure the settings on your sewing machine are correct; they would be my practice test runs and only the fourth time I had ever operated the sewing machine. I hemmed and hawed, but finally set up a work station in the middle of the gym floor and went at it.
And it was surprisingly easy!
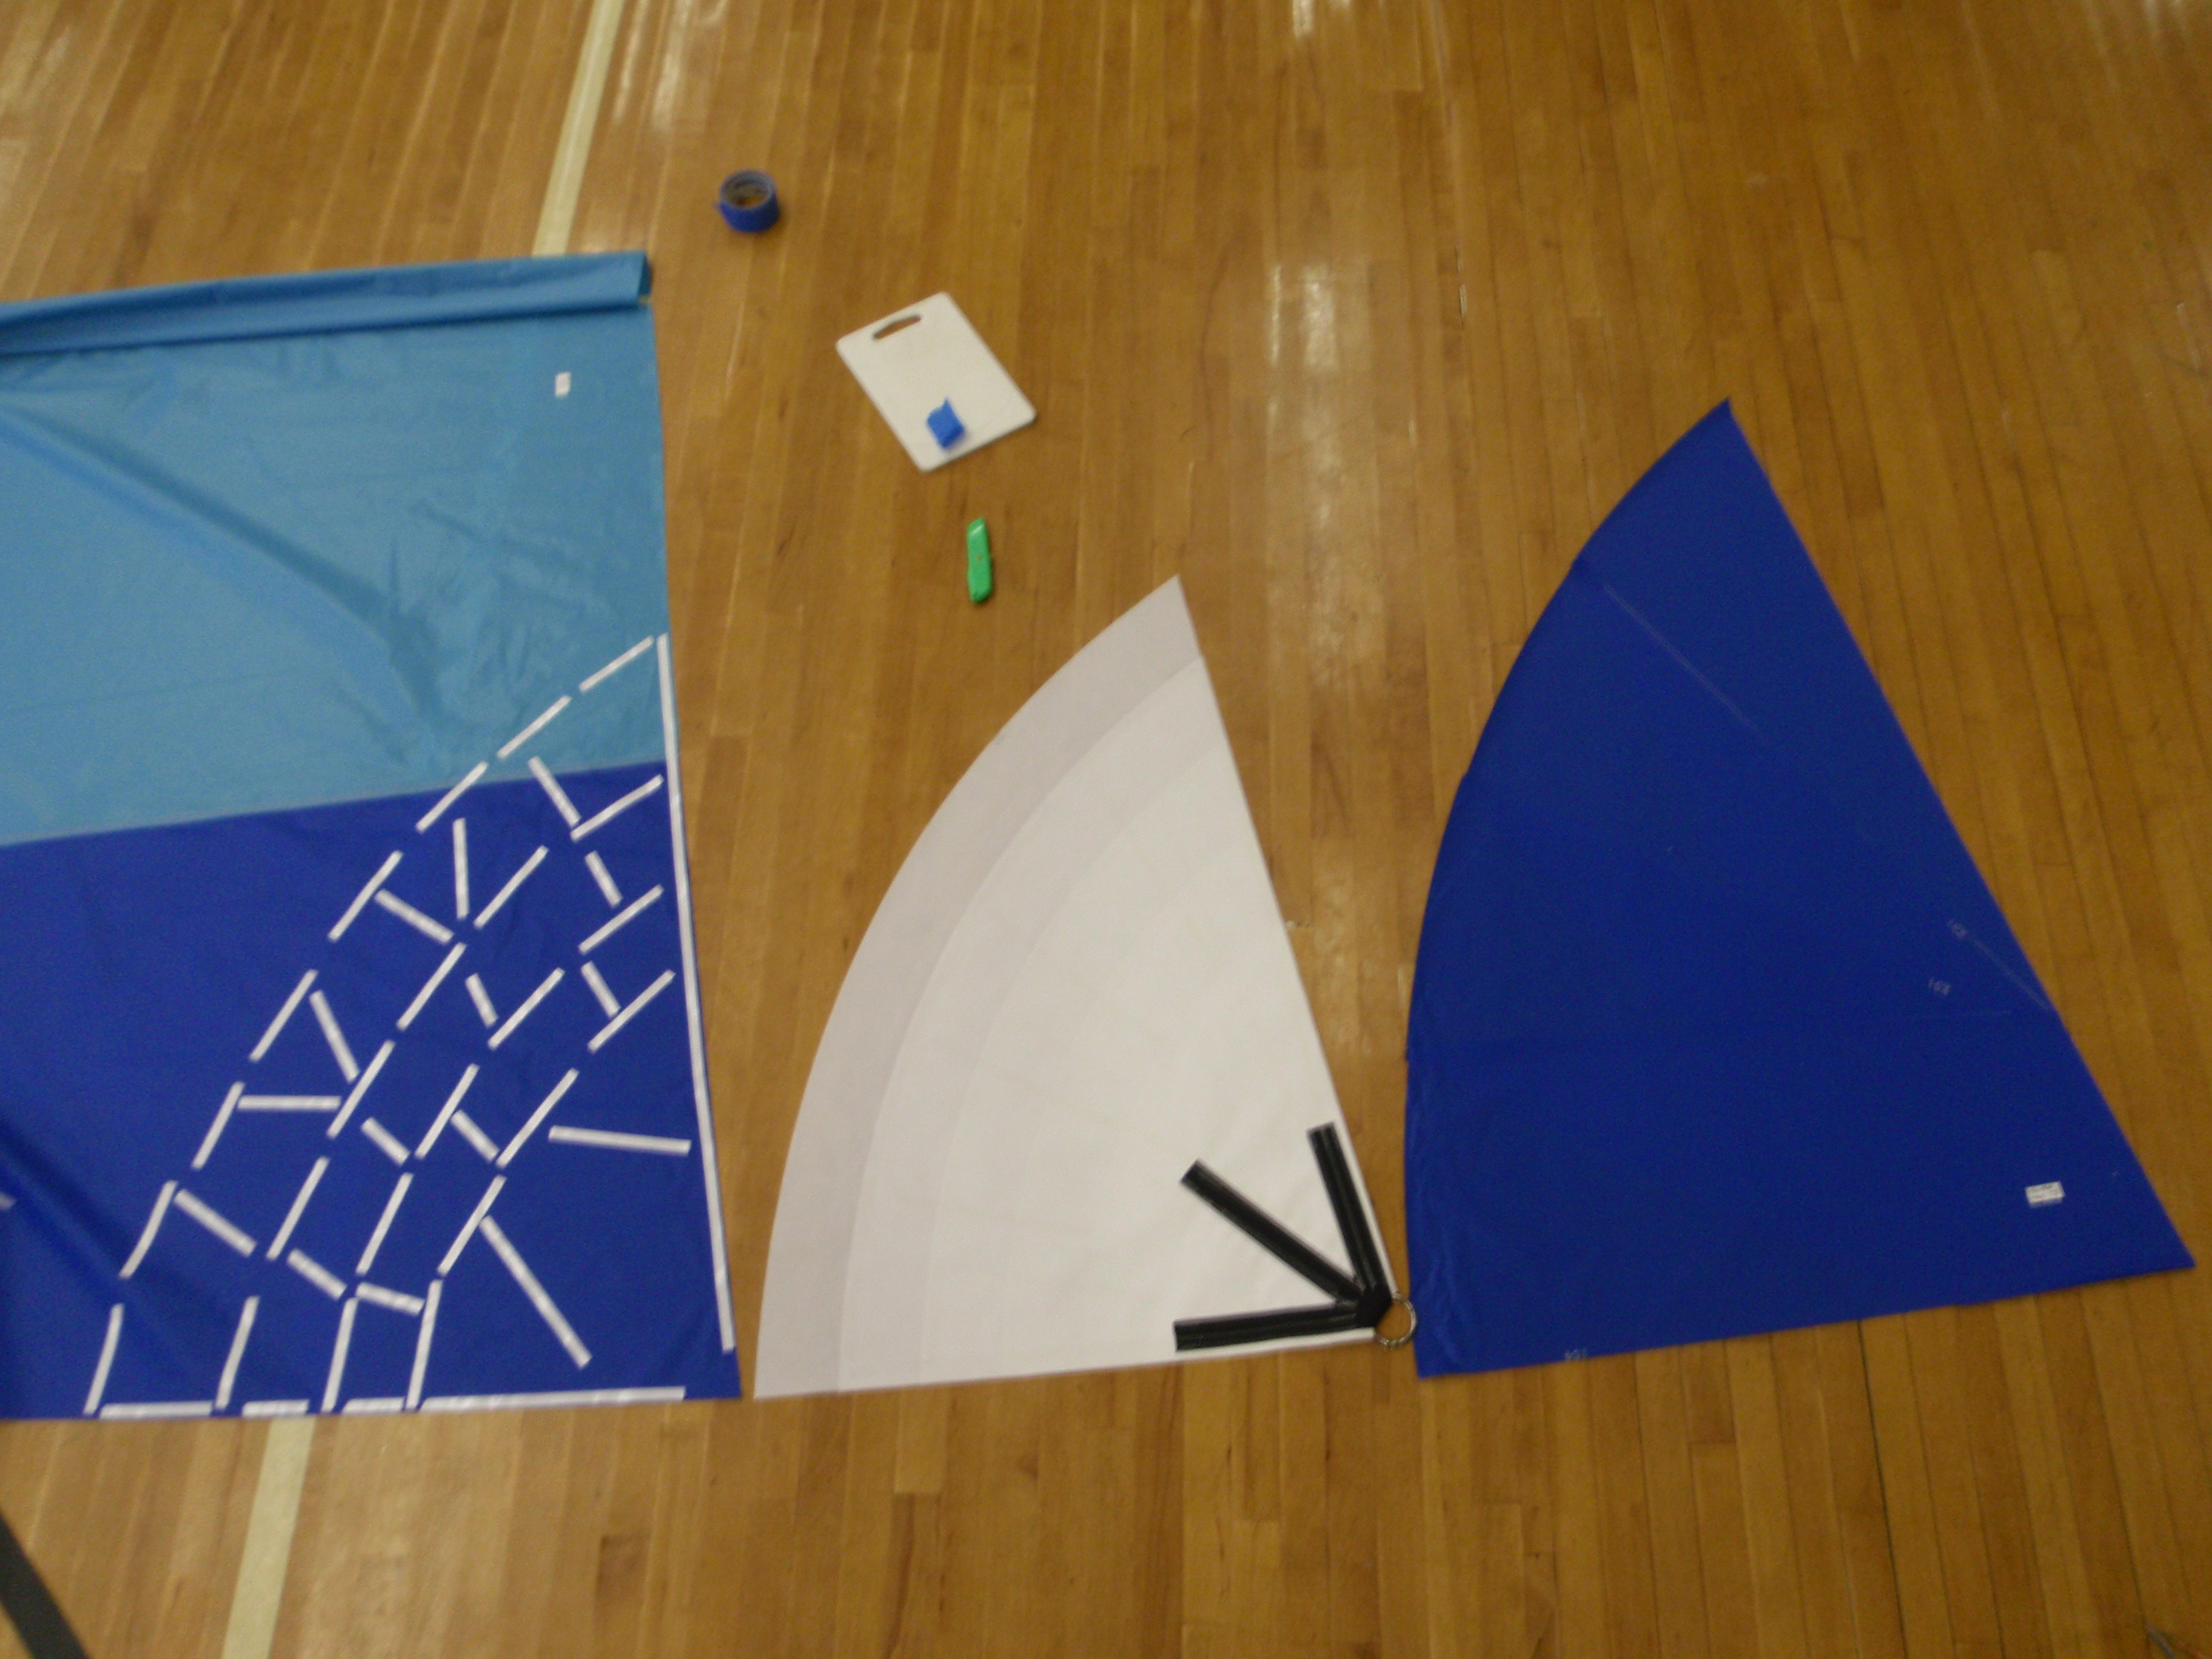
Step 1: Take a roll of Seamstick basting tape and methodically roll it on to the edge of one of the sail panels.
Note: Be careful to keep the sail taught but not stretched while applying. There can be no bunching or buckling of the sail or of the basting tape.Step 2: Line up two panels. Remove backing to basting tape.
Note: a little at a time is best.Step 3: Apply one sail panel on top of another, lining it up on the marks drawn on the sail by Sailrite.
Note: This time both sails must be taught, but not stretched, as they are joined together.
This results in awkward positioning wherein one knee is on the union of the sail panels where they have already been basted so as to provide the main anchor point for proper sail cloth tensioning for the next basting. The other leg, so as not to be on the sail cloth, thus providing another anchor point on the sail, resulting in improper tensioning, and consequently buckling or bunching of the sail cloth, must wrap on top of and behind the other leg. Now while balanced here, one hand pulls taught one sail, the other hand pulls taught and applies the other sail to the basting tape. Yoga helps. The position I would get into, incidentally, looks a little like a kneeling eagle pose.
Basting the panels together. 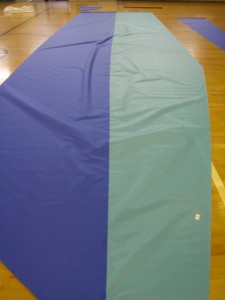
Panels basted together. Step 4: You should only do the joining of sail panels in small increments so as to ensure a proper sail union. “Basting is a critical step in sail-making.” So says Sailrite. Therefore, repeat step 3, 8 inches at a time, and just to join two sail panels you might be at this for 40 feet.
Step 5: Roll up both panels from each end so that only the seam is showing.
Note: Rolling the 4 foot wide panels at the head (top) of the sail by yourself is easy. Rolling 40 foot wide panels at the foot (bottom) of the sail by yourself is not.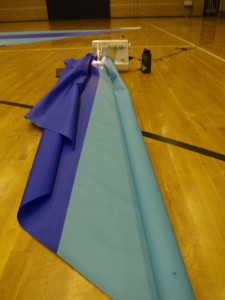
Panels lined up to sewing machine. Step 6: Finally some sewing! Drag entire ensemblage over to sewing station and begin to sew.
Note: A 45 degree zigzag stitch is proper, 3 mm wide. No backing of the thread is required at the edges because luff tape will cover and anchor the strands of thread. Be sure to sew as close to the edge of the seam as possible.
pictureStep 7: Repeat Step 6. Two rows of zigzag stitching are required at each seam.
Note: Three rows if using a straight stitch.
Note: On 40 foot sail panel seams, two rows of zigzag stitching will require you to change the bobbin on a standard consumer sewing machine a minimum of three times. This will be annoying.
Note: On 40 foot sail panel seams, two rows of zigzag stitching will take beginning sewers 2 hours.
Note: Your back will hurt from leaning over.
Note: Your eyes will get fuzzy from staring at one spot for hours.
Note: Your left leg will cramp from being awkwardly positioned to the side while controlling the speed with your foot on the footpad.
Note: Your right knee will hurt from being on the ground for hours. Even if wearing a knee pad.There you have it. Sewing the sail panels together in 7 easy steps. All it takes is time. Lots of time. Next comes the reinforcement patches on the corners and the edges. Both do not seem as straight forward as stitching in a straight line for 40 feet.
-
Refrigeration
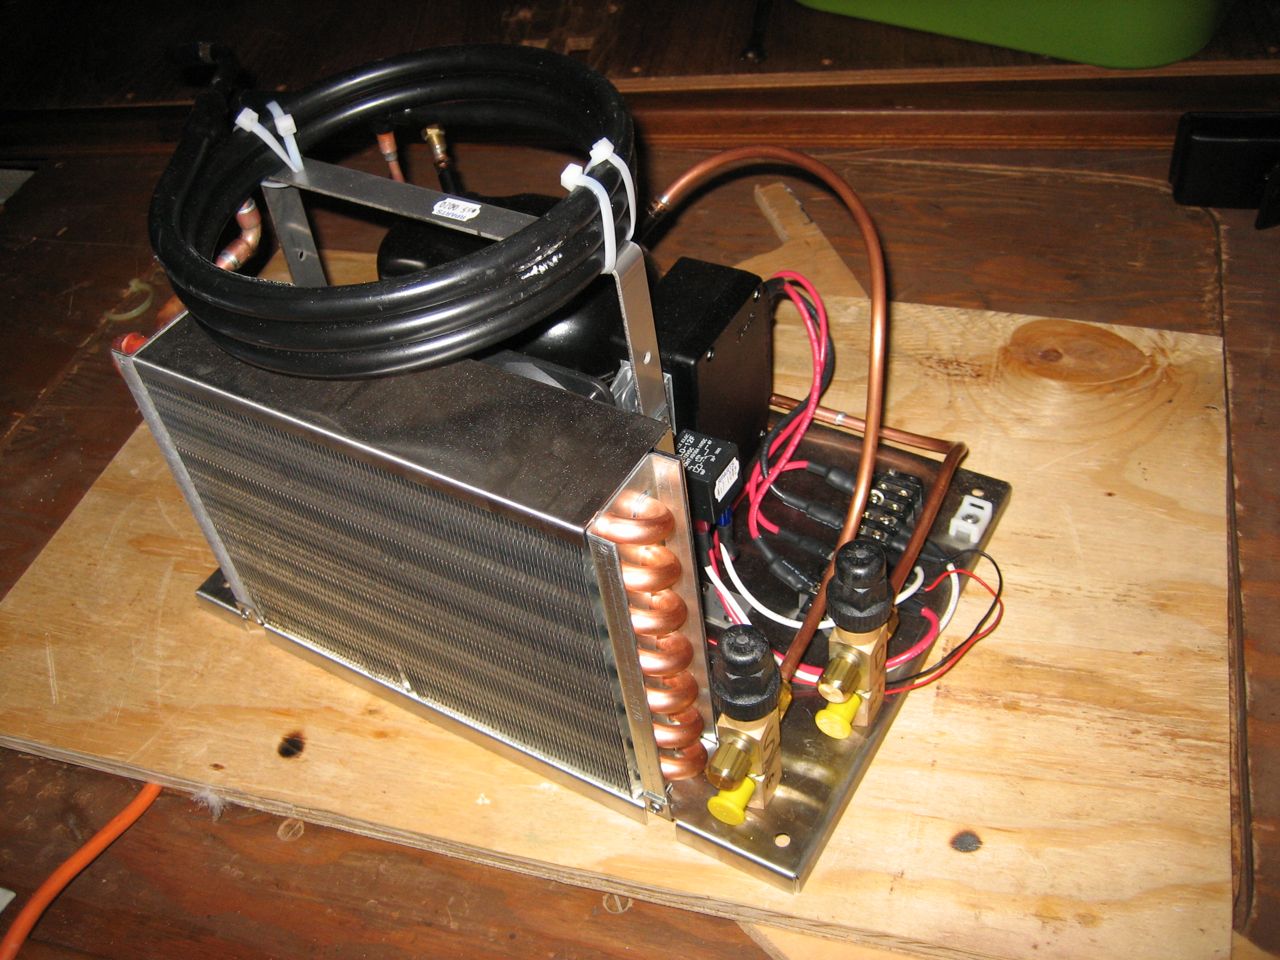
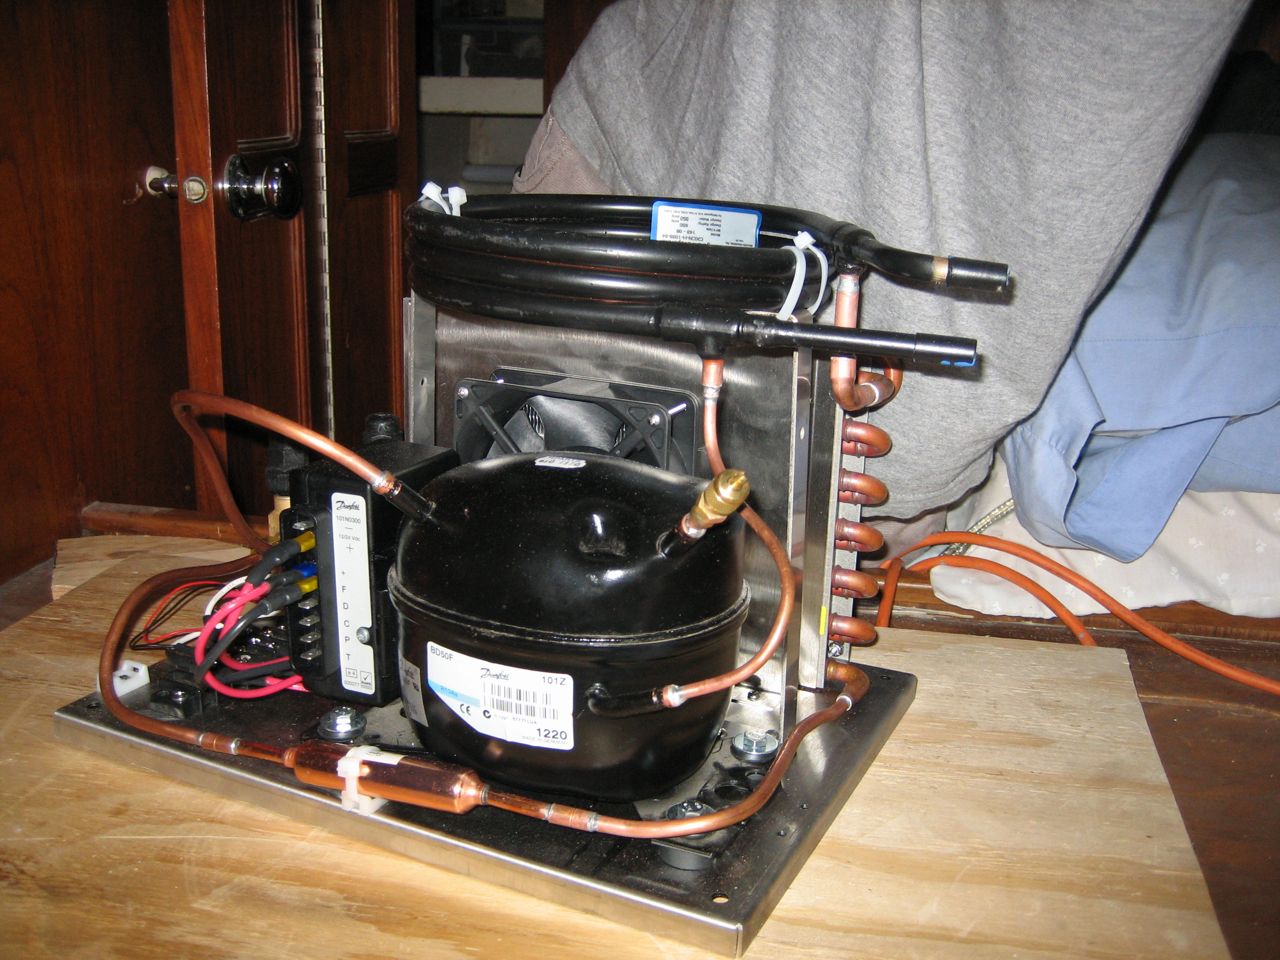
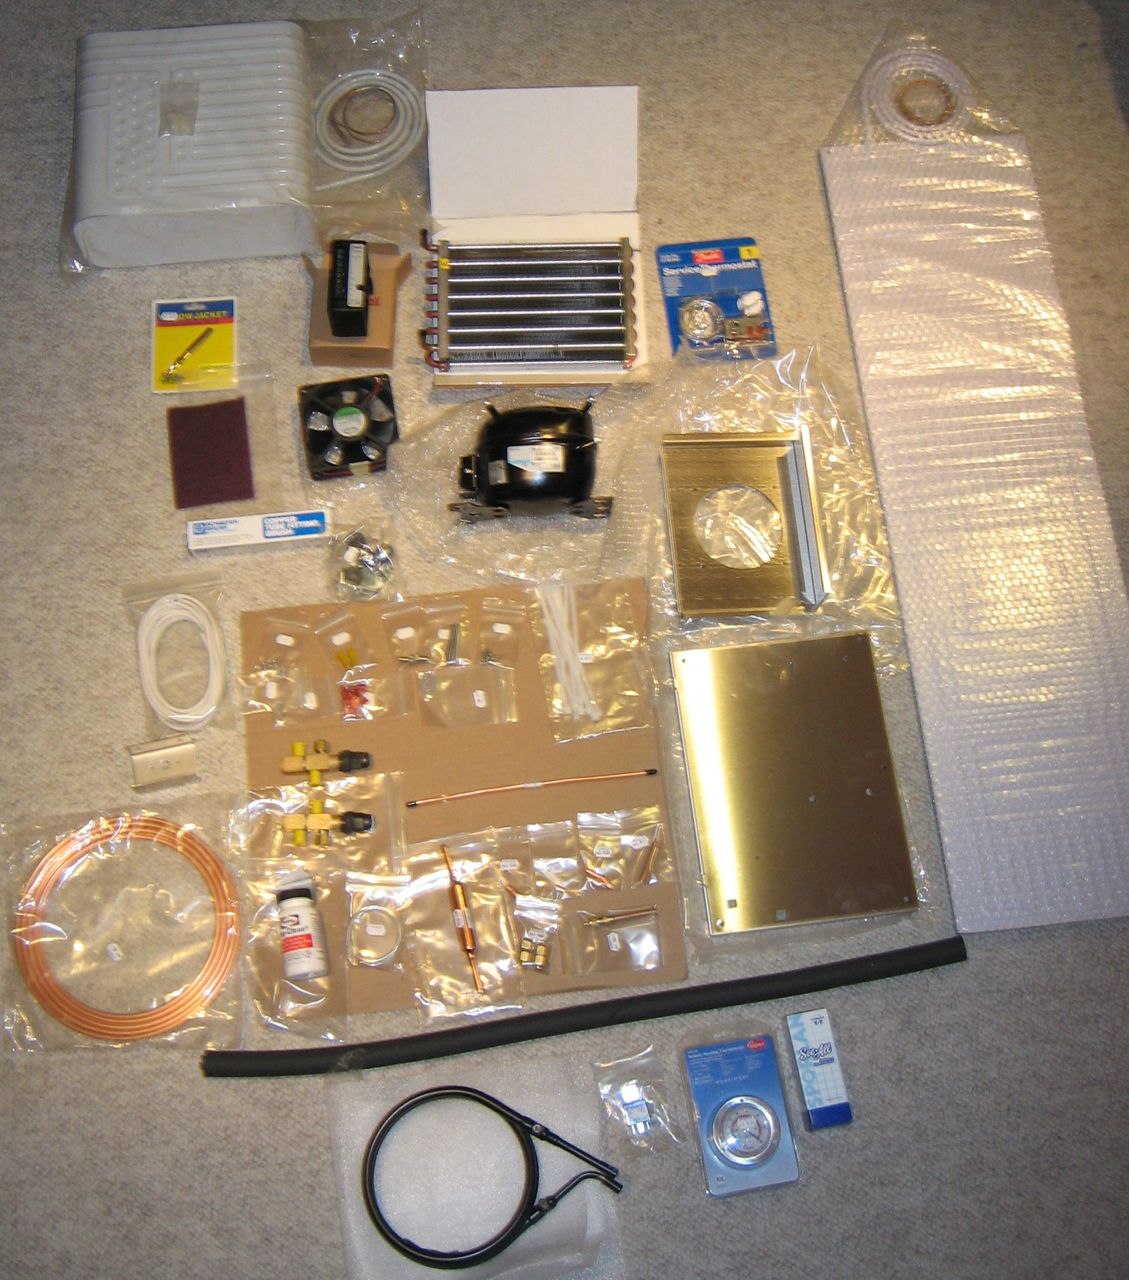
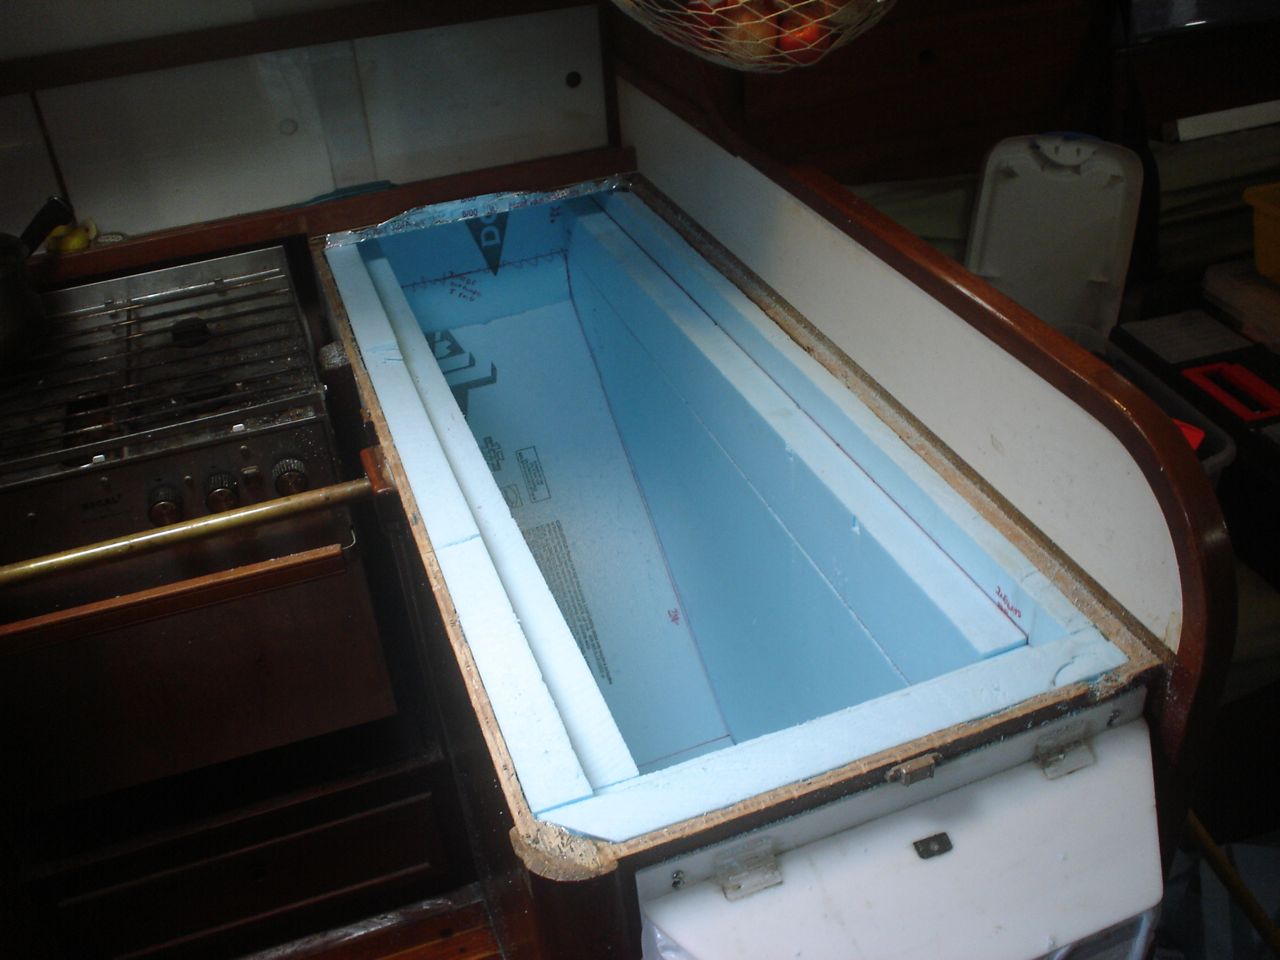
I built this:


Out of this:
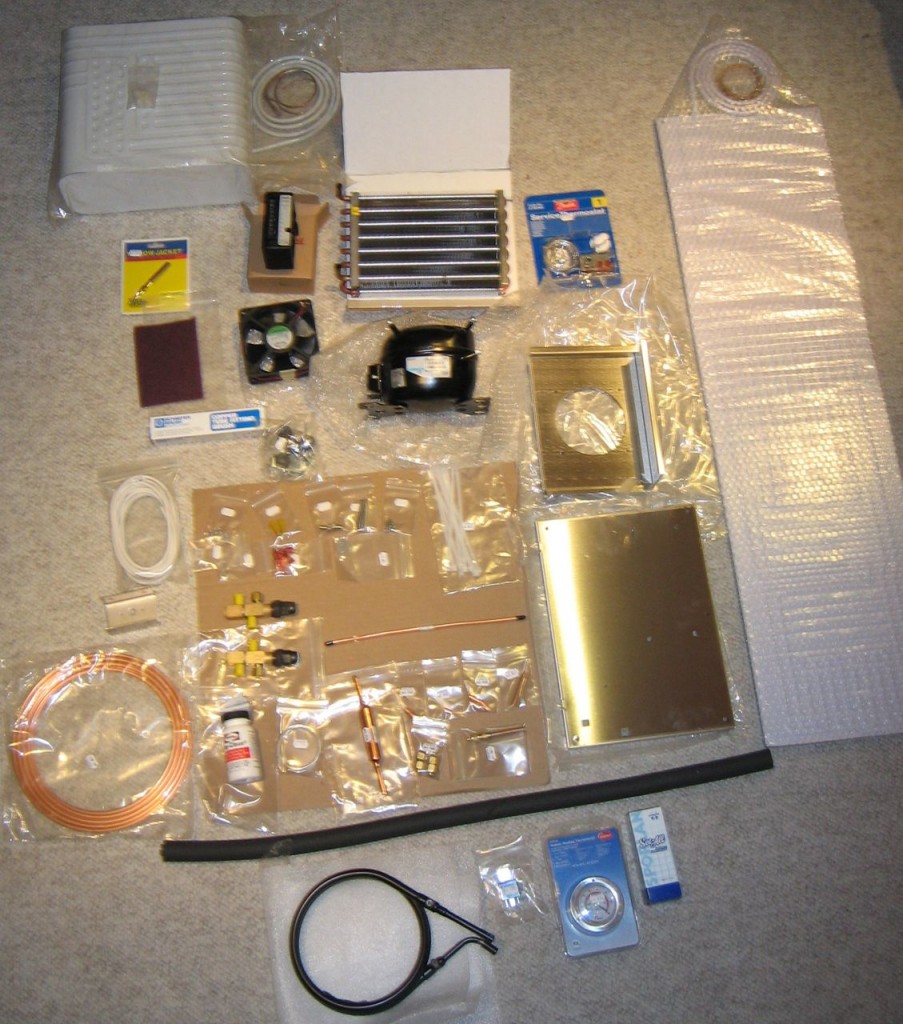
I read Nigel Calder’s “Refrigeration for Pleasureboats” three times, I read Richard Kollman’s forum on marine refrigeration, and I spoke with Marcus a few times (a fellow cruiser-friend in the marina). Marcus is lending me his top-quality, indispensable refrigeration tools (much thanks to Marcus!), and also turned me on to RParts, where I ordered all my stuff. I learned how to “sweat” copper tubing (i.e. silver soldering copper), how to form flare fittings, how to use a refrigeration gauge set, the detailed principles behind refrigeration, and I built my own refrigeration system. I’m pretty proud of this 1.5′ x 1.5′ x 1′ cube of refrigeration goodness–it’s hard to believe that a month ago I didn’t understand how this thing worked, and now I’ve built my own out of parts. It’s not making anything cold yet, but I pressure tested it yesterday and to my immense satisfaction and relief I have no leaks! (that’s huge–to find and fix a leak would have been a nightmare)
Refrigeration is a lot more interesting once you understand how it works. You don’t want to hear the details, but I have admin access on this blog so I’m going to tell you all about it.
A refrigerator works by moving heat from one place to another. It does not “create” cold. Heat is removed from the icebox and deposited at the “hotbox” (that’s my own term, it will be helpful for the discussion). On our boat, the hotbox happens to be the storage space under the quarterberth; for your fridge at home, the hotbox is just the space behind the fridge.
On each side of the circuit there is a heat exchanger. The heat exchanger transfers heat from the air to the refrigerant in the icebox, and from the refrigerant back to the air in the hotbox. The heat exchanger in the icebox is called the evaporator; the heat exchanger in the hotbox is called the condenser.
The refrigerant is the medium that moves the heat around the circuit. If the refrigerant was simply pushed around in a circle, it would not be inclined to transfer heat out of the cool icebox into the warm hotbox–that would be trying to push the heat uphill, so to speak. The key is to pressurize the refrigerant, using a compressor. When the refrigerant is compressed, it warms up; when it de-compresses (expands) it gets cold. The refrigerant comes out of the icebox medium-warm. The compressor pressurizes the refrigerant, which heats it up. Then the pressurized refrigerant passes through the condenser–which looks like a mini car radiator–and as the refrigerant passes through the condenser its heat is transferred to the air (just like your car radiator, in fact). The refrigerant returns to the icebox at a mediumish temperature, but this time it’s pressurized. At the icebox, the refrigerant is allowed to expand–which causes it to get cold. The cold refrigerant sucks up heat as it passes through the evaporator. Then the process is repeated. Good diagram.
There’s one more principle at work: phase changes. If you just pumped a liquid around in circles, from the evaporator to the condenser to the evaporator to the condenser, etc, then you might be able to remove a small amount of heat from the icebox and dump it at the condenser. However, you can’t suck up much heat just by warming up a liquid and then cooling it off. The real way to suck up heat and drop it off elsewhere is to use a PHASE CHANGE to your advantage. The phase change is the key to the whole process.
Consider heating a quart of water in a pot on the stove. It takes 320 BTU of energy to heat that water from 33 degrees F to 211 degrees–320 BTU to change the temperature of the water by 178 degrees. Then, to heat that water only 2 more degrees, from just 211 degrees to 213 degrees, it takes 1934 BTU! Because at 212 degrees, the H2O changes from water to steam; this is the phase change. During the entire process of converting water to steam, you keep dumping in large quantities of energy and the temperature stays the same–all the energy goes into the conversion from liquid to gas. The message is that the energy required to do a phase change from water to steam is WAY GREATER than the energy required to change the temperature of the water itself.
In refrigeration, we store our heat as a phase change of the refrigerant in order to efficiently transfer it from the icebox to the hotbox. We don’t use water though, because we want the phase change to take place around the 20 degrees F in our refrigerator (not very helpful to us for it to take place at 212 degrees). We use refrigerant specially formulated to undergo the phase change near freezing (in our case, R134a).
We pump a liquid to the evaporator, and then let it expand into a gas; that expansion to a gas sucks huge amounts of heat out of the box. Then back at the compressor we compress the gas, which heats it up (essentially exchanging “pressure energy” for heat). Then we send it through the condenser, where the the hot gas dumps off all its heat and turns back into a liquid (condenses!) in the process. Then we sent the liquid back to the evaporator, where it turns into a gas again . . . and so on. The refrigerant goes to the icebox as a liquid, but it returns as a gas; the phase changes that happens in the icebox and the hotbox are the primary means of temporarily storing the heat in the refrigerant for transfer from one location to another.
Refrigeration is by far the single largest energy sink on a cruising sailboat. In the average residential home, refrigeration is 5% of the energy bill–not an insignificant amount. One site says that the average fridge uses ~$8 of electricity per month, depending on how big, what kind, and where you live. The efficiency of the refrigeration system depends very strongly on the refrigerant dumping off heat as it passes through the condenser. Most systems use air-cooled condensers (I put in both air-cooled and water-cooled condensers–the air-cooled is the radiator-looking thing in the picture above; the water-cooled is the black circle of tubing on the top of the apparatus). If the air-cooled condenser is located in a cool spot with good air-flow, this heat dump can happen very effectively; if the condenser is located in a hot spot with stagnant air, or even worse in the hot engine room, then the refrigeration cycle’s efficiency plummets. Meaning that the fridge runs much longer, and consumes much more power. Moral: the quickest improvement you can make to reduce your energy needs on a sailboat is to improve the air circulation around the refrigeration condenser.
You can do the same for your fridge at home: just pull the fridge away from the wall an extra inch, and you’ll greatly increase the air-circulation around the condenser, improving the efficiency. Avoid shoving plastic or paper bags between the wall and the fridge for storage–that’s not helping out your fridge, or your electrical bill. Even better, use a vacuum to clean off the condenser tubing on the back of the fridge–that gunk kills the condenser’s ability to dump heat.
-
quick update
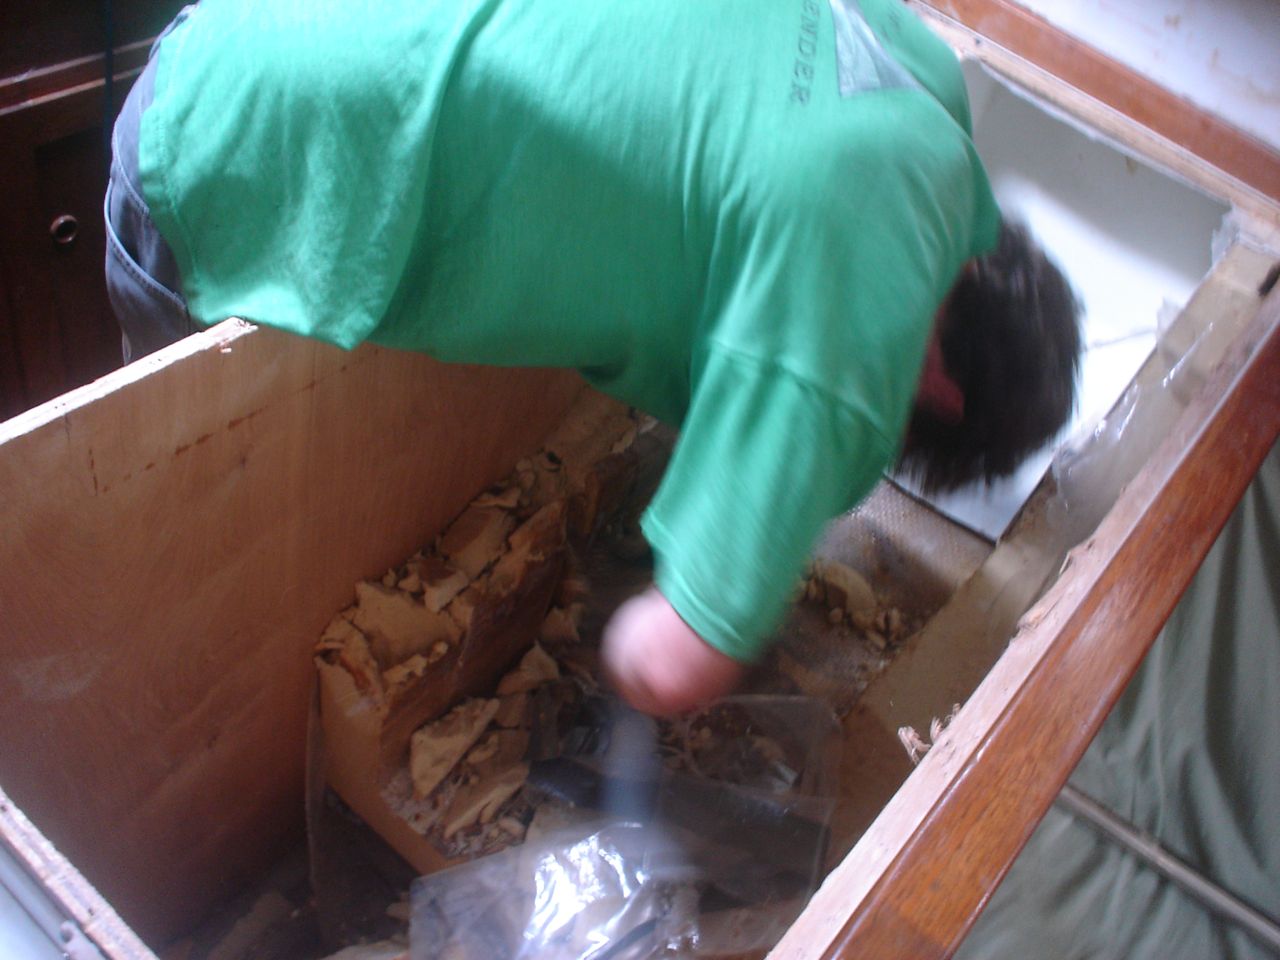
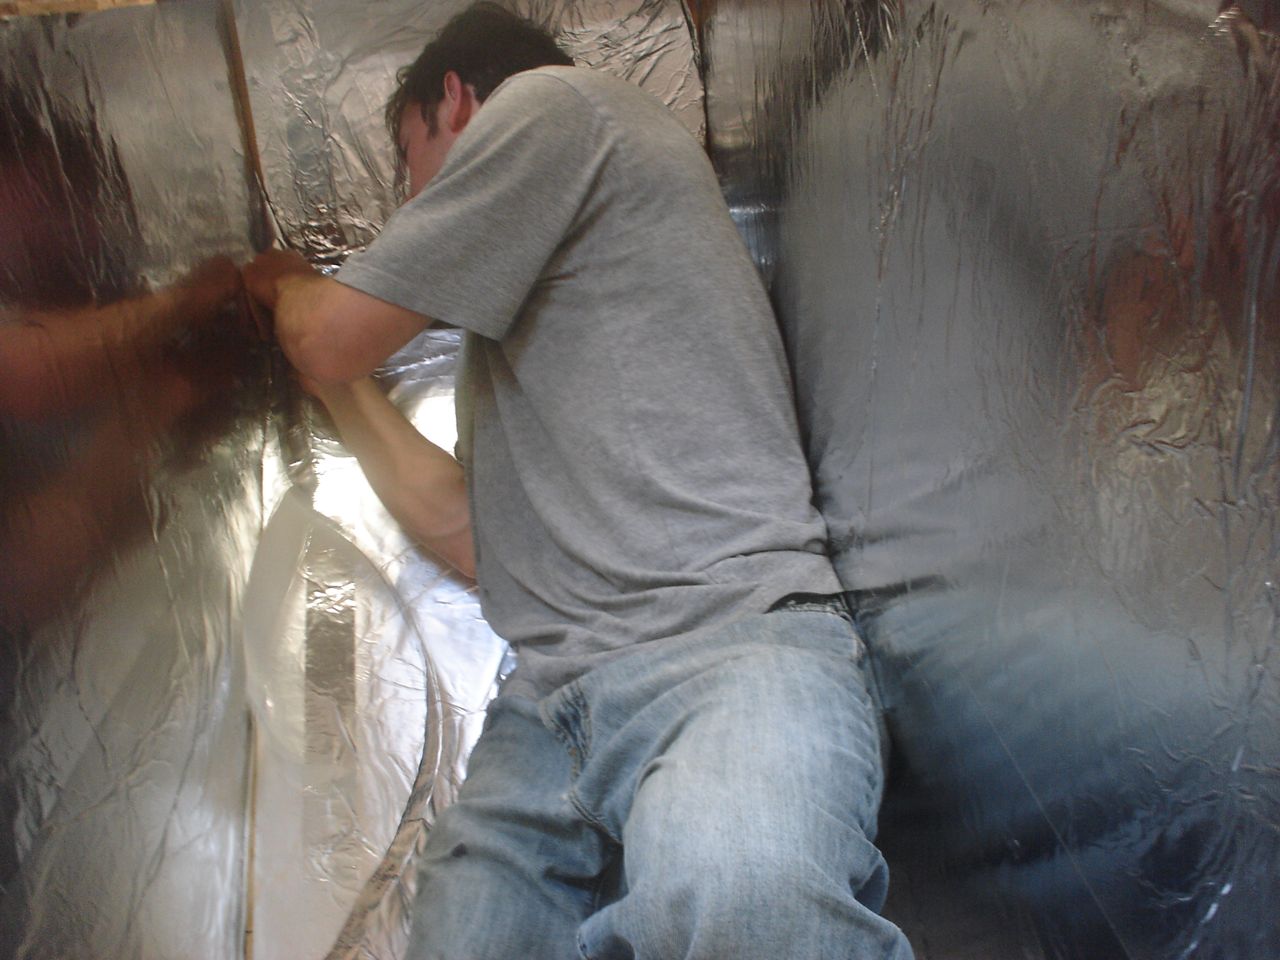
just to let you know what we’re up to . . . Jonny and I are taking the boat apart, starting too many huge projects all at once, and getting way in over our heads. Good times! We are simultaneously rebuilding the fridge, moving the propane locker to build a lazarette hatch, and rebuilding the entire radar arch/bimini/solar panel setup. A few pics:
hole where the propane locker used to bethe old radar archthe old bimininew view aft at sunsetnew wind generator pole back rightlove our rope lightsblueboard fridge insulationripping out old fridgelining cabinet with aluminum foil ("radiant thermal barrier")taking apart the old fridge -
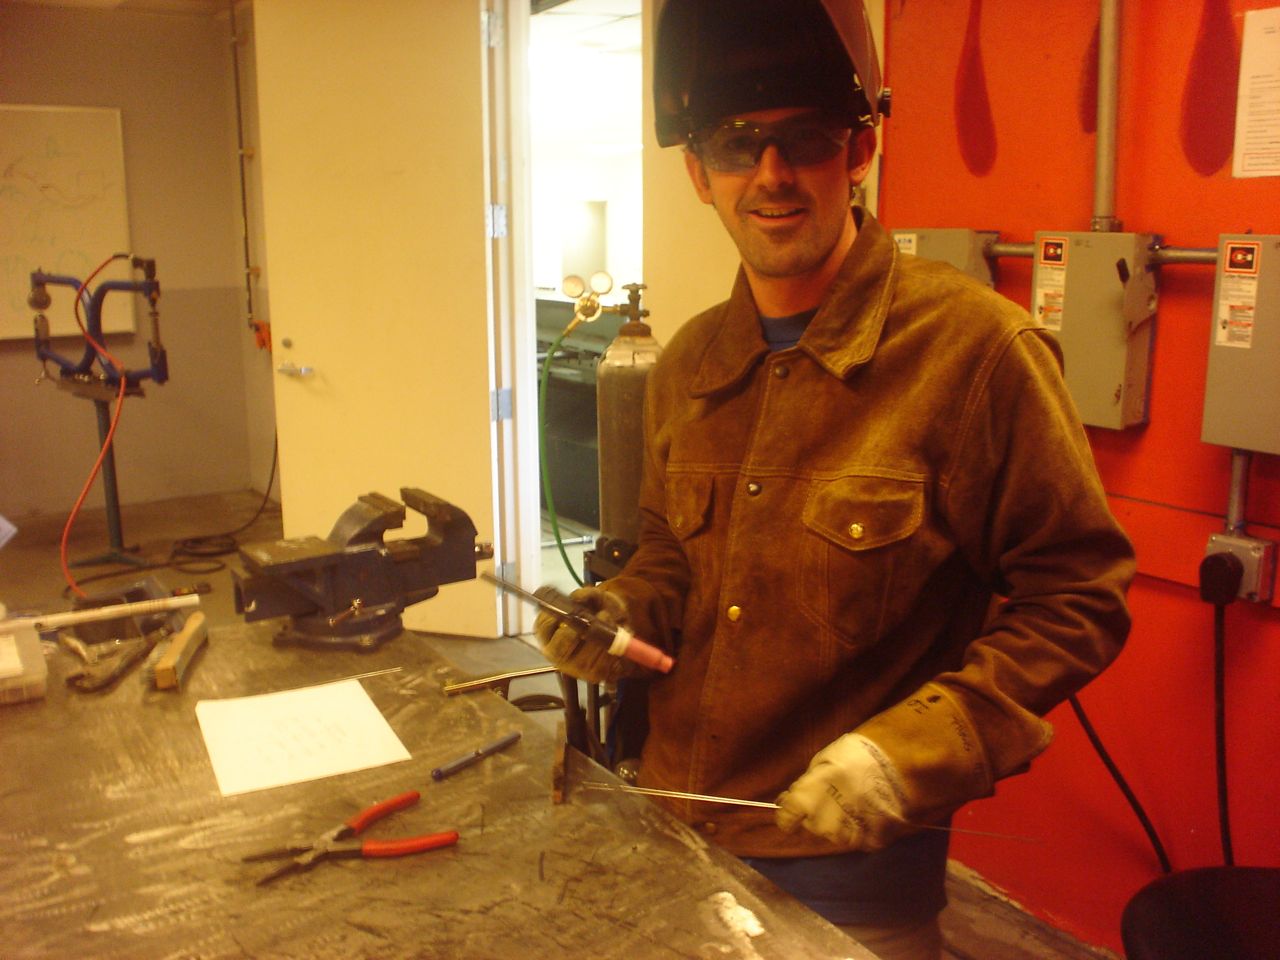
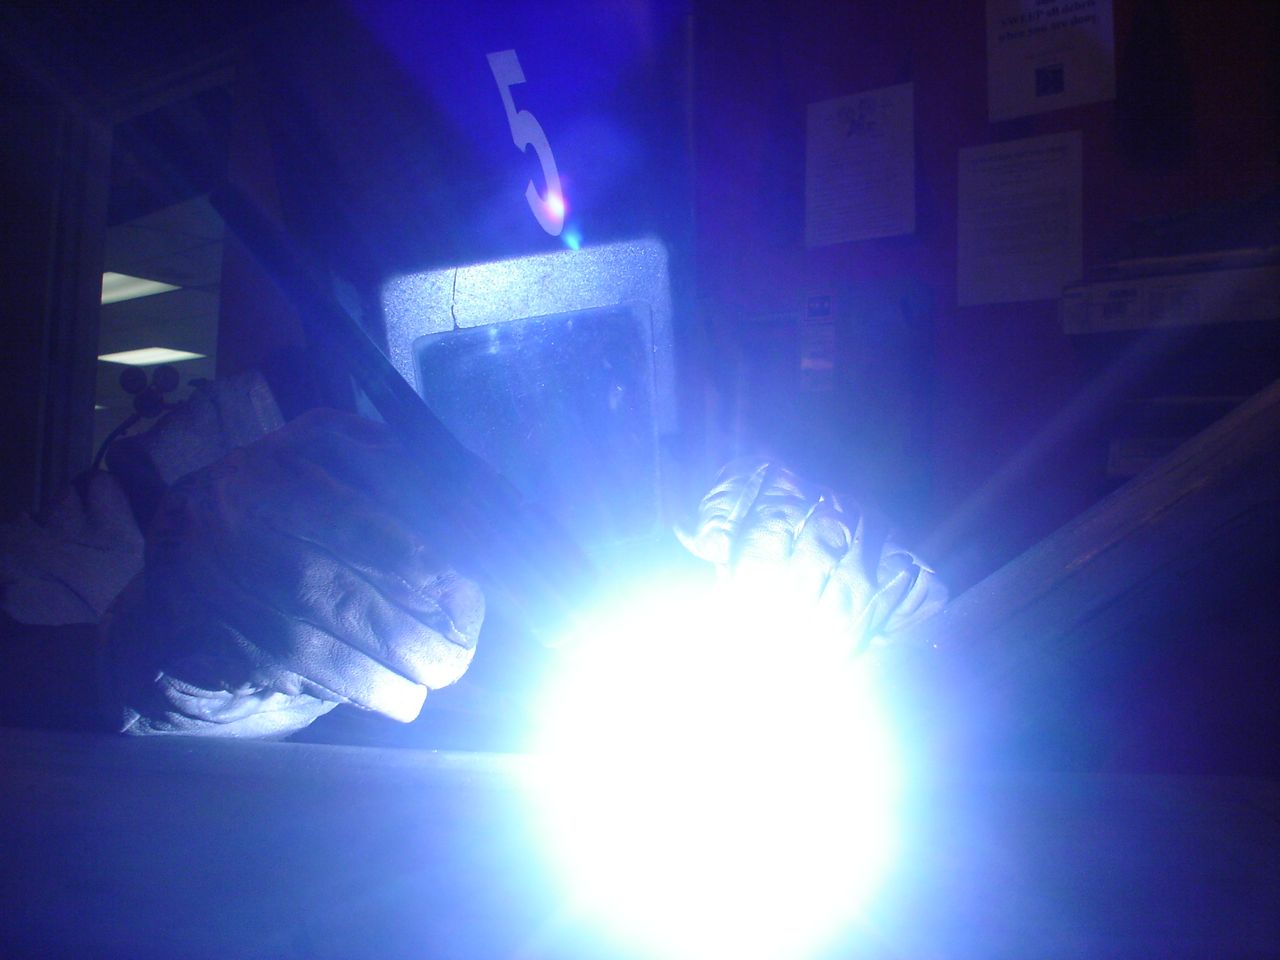
Learning to Weld
When I was growing up on the farm my dad would weld out in the shop all the time. And so I placed that activity in the same realm as everything else shop-related: loud, dirty, greasy, uncomfortable, involving flying hot shards of metal, and as a result I wanted nothing to do with it.
The boomerang of rebellious devil-may-care youth may fly far, but oh how often it eventually ends up right back where it started . . .
Since buying a boat I have become more and more fascinated with welding. I decided we needed a new radar arch to accommodate our future wind generator, solar panels, and radar antenna, and that I needed to learn how to weld so I could make it myself (of course, right? how else? everything always all by ourselves). Like Jon with his sailmaking–like everything else we’ve done–I went big all at once. I got a membership to the Tech Shop for $70/month, paid $50 for the introductory TIG welding class, and bought $250 worth of 20′ long sections of 2″ diameter 304 stainless steel pipe that were a real hassle to cart around on top of the xterra down the highway.
Maybe I used my learning to weld as an excuse to make a radar arch, or maybe I used the radar arch as an excuse to learn how to weld; either way at this point I’m in ‘ass deep to an elephant’, as jonny likes to say.
Turns out welding is absolutely amazing. Totally space-age modern-marvel out of this world activity. Welding is proof of how far science and technology has taken us. The welding machine that I use at the Tech Shop is a box approximately 1′ x 1.5′ x 2′ in size–much smaller than a suitcase. It plugs into the wall, and it hooks up to a gas tank. Then you grab a stylus-shaped “torch”, bring it close to a piece of metal, and press your foot on a pedal on the floor–and then would you believe that little machine ignites a 1/4″ cone of light hotter than the surface of the sun. That’s right: instant 10,000 degrees in the palm of your hand, a little mini sun that melts metal. (Crazy!) You have to wear a face mask too dark to see through in full daylight; without it the 10,000 degree arc will blind you in seconds. (Scary!) You have to wear gloves and cover all exposed skin, because it creates so much UV that it will give you a sunburn in a minute. (Hot!) When you hold that torch, your hand is 6″ away from a tiny 10,000 degree cone of orange and green plasma that dances on the metal. Now why didn’t they tell me THAT when I was younger? Who wouldn’t want to hold the sun and fire it up and melt some metal with 10,000 degrees of blinding light?
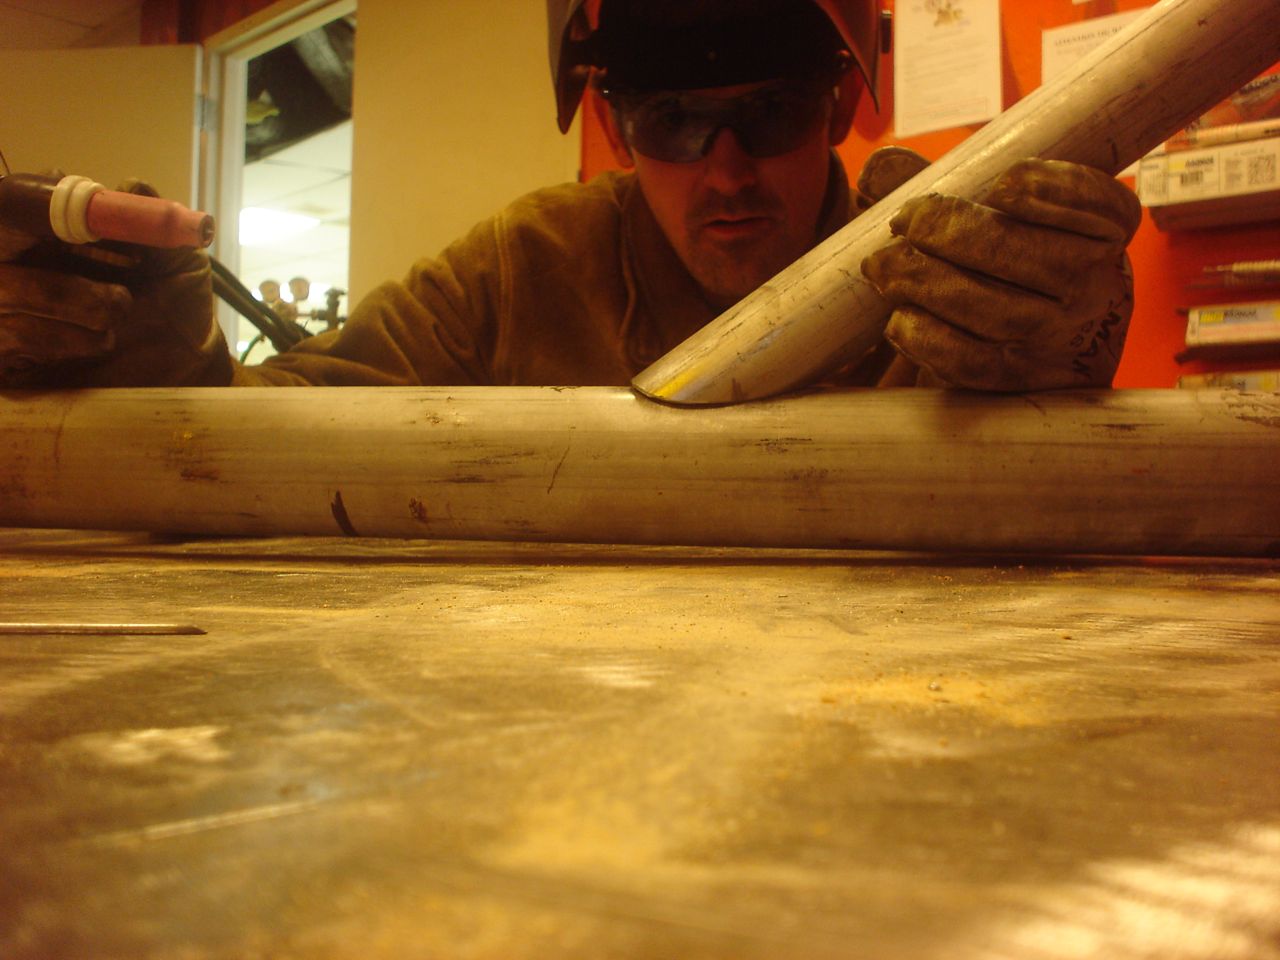
The type of welding I’m learning how to do is commonly referred to as TIG welding, which stands for “tungsten inert gas”. It’s more accurately called GTAW welding: “gas tungsten arc welding”. It is the most precise and most versatile, yet also slowest, most difficult, and least used form of welding. In TIG welding (as in other forms of welding), the metal is melted by heat created by an electric arc, EXACTLY like the static electric spark that jumps from your hand to the doorknob after you walk across a carpet with rubber soles. Welding is a sustained form of that static electric spark–if you could keep that spark going and then make it 100,000 times more powerful, you could be welding. In TIG welding, you connect the electricity to a thin, sharpened stake of tungsten (called the “electrode”) and then you bring the electrode really close to (but not touching!) the metal. Really close–like an 1/8″. Then you press the pedal to give it juice. And you have to hold it that exact distance while you move the torch along a path which you can hardly see because you have some dark-as-hell facemask on. And you have to move kind of fast but not too fast. And I haven’t even mentioned yet that with your left hand (the torch is in your right hand) you have to precisely jab (dab) a rod of “filler” metal into the melted pool of metal, to add metal to make the weld.
Get this: if the electrode touches the metal accidentally, or if you jab the filler rod into the electrode accidentally–both of which I do far too often–the event is punctuated by an even brighter spark and pop immediately followed by an accusatory green flame, which indicates that you have contaminated (i.e. fucked up) your weld with some of the metal from your electrode. At which point you have to CEASE AND DESIST, gingerly dismantle the torch (gingerly because it is still bloody hot, remember), and take your tungsten electrode over to the grinder to grind a fresh new uncontaminated tip onto it.
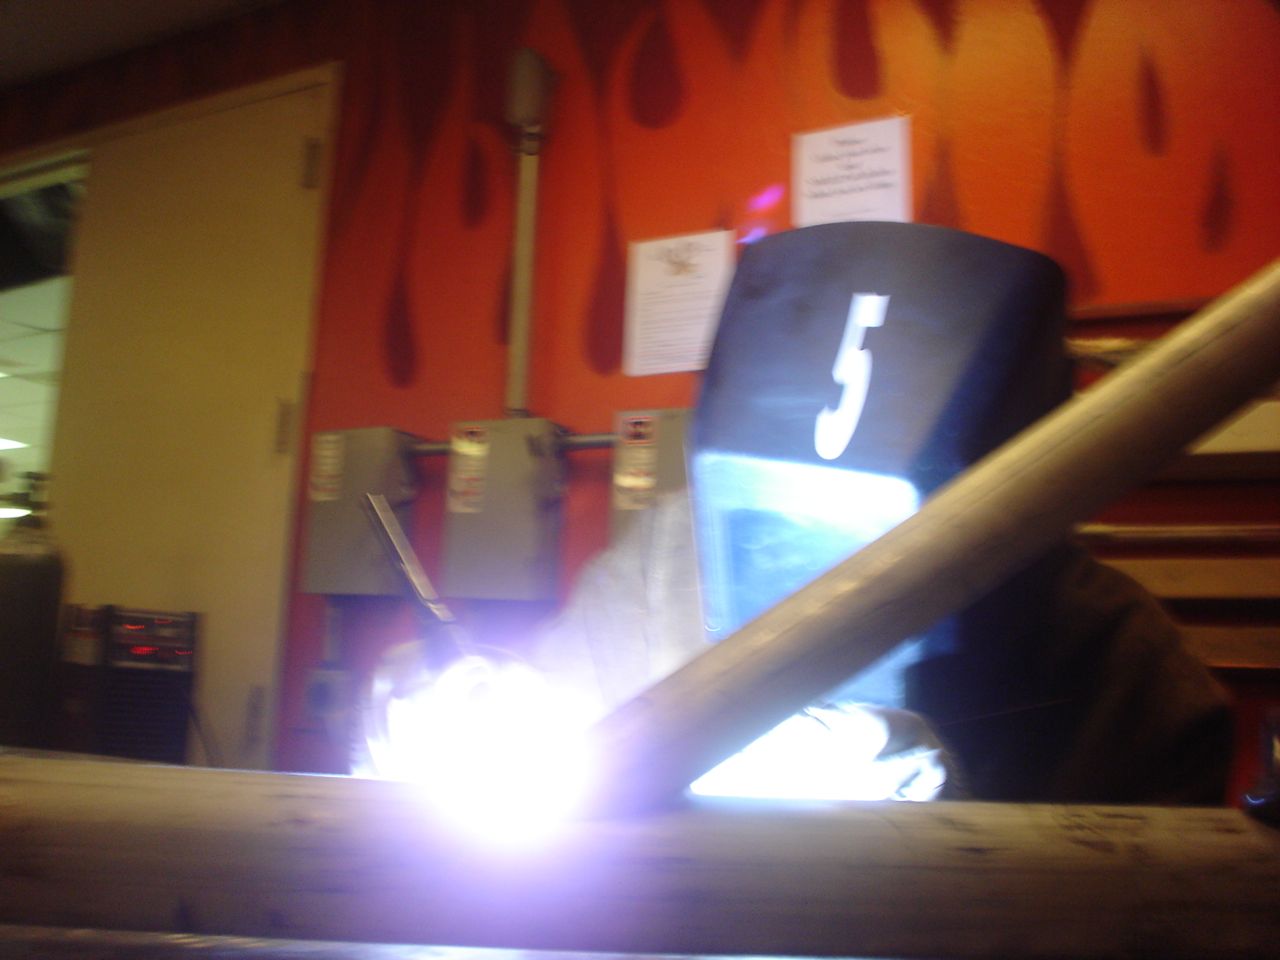
The whole thing is really hard. It’s really, really damn hard. It’s not hard to make any old arc, it’s not hard to melt any old metal. But it’s hard to get a result that doesn’t look like cyclops went wild on your metal with his phaser eye–I’m talking all black and gobby and bubbly and smoking crappy. And in welding (like in climbing), if it looks bad, it probably is bad: weak and worthless. Why is it so hard? There are tons of different settings, and it’s hard to tell which setting is having what effect. That little suitcase of a welding box is a freaking computer with a gazillion different options and blinking lights and whatnot. And then you have to have super fine motor skills to be able to hold both the torch and the filler rod so steady, and move them so quickly yet precisely, so close to the metal, all while you play this foot pedal to control how many thousands of degrees of heat you’re pumping into a tiny spot on the metal. And all metal is different, and different thicknesses need different settings, and each different joint requires a different technique . . .
All of which makes this radar-arch project daunting. I don’t want to add some ugly weak heavy janky piece of shit to the back of our boat now, do I? I agonized for months over what diameter and thickess and type of pipe to use, and how to join them, and where the support struts should go, and the moment of truth is coming in a day or so and I hope that it isn’t all shitty and stupid looking. I’ve spent a fair bit of time at the tech shop welding practice sections of tubing, and even at my best they are still black and ugly and melty. (You might well guess that at this point “ass deep to an elephant” may be too deep for me.) But I’m not getting much better and I don’t know what else to change and it’s time to move forward with this project and I think that my welds might be good enough. So tomorrow jonny and I go to the tech shop to make the first real welds on the actual radar arch. I KNOW they are going to be ugly. I’m hoping that they will at least be acceptably strong. I’ll post some pictures, regardless of how dissatisfied I am (especially now that I’ve laid the groundwork about how impossibly difficult it is :-). But damn! no matter what welding is a totally amazing thing that now I can (kind of) do!
*addition note: Pictures are complements of Jonny; I still have to add some shots of the resulting welds
-
Me and my boat

If you couldn’t tell, things are coming along swimmingly aboard Syzygy. I’m immensely proud. (Yes, that’s me on my banjo on my bike on my boat, drinking a beer, in black and white — how’s that for vainglory?)
I’m writing regularly about Syzygy — the work, the preparations, the doings in this new sailboat world — for Outside magazine’s blog — we have our own little Syzygy page, even.
I’m proud of these ramblings, too, and should have re-posted them here, but I hope you’ll understand that I was busy. I was probably cutting another hole in the boat. I’ve written about the hundreds times I’ve done that (cut holes in the boat, and also written about San Francisco’s notorious wind, about removing janky parts, about the modern history of metals, about the love/hate nature of sailing, about waging a war on stainless steel, about the cult of the Valiant, about inspiration from a sailing legend, and more. The pipelines are full, too.
Enjoy,
-Jonny -
Sailboat not Required
I’ll give you two really good reasons why I shouldn’t sew a sail: 1) I know nothing about sewing. 2) I know nothing about sails.
All I know is that two months ago, while chatting about money and our sailboat, Matt said to me, “We definitely need a new sail. Why don’t you sew it for us? It will save us a lot of money and you could do it in Denver. It’s a boat project that doesn’t require a boat.”
It seemed so logical, so rational. Even Sailrite, the company that sells sail-making kits, said it was easy. Zip, zip, zip — and voila — done. Check out the video and see.
Still, intuition suggested that the task would be daunting. When I told my friends, “I’m thinking about sewing a sail,” I couldn’t even keep a straight face. Like so many other boat projects, sailmaking was unfamiliar and overwhelming.
Now, ankle deep as I am in this sailmaking endeavor, I wonder if Matt asked the question in jest. A completed sail is wider and almost as long as my condo (ehem..currently for rent). How the heck am I supposed to do this?
I do know, however, the difference between a code zero, gennaker, asymetric spinaker, drifter, crusing spinaker, and genoa. I know how to thread a bobbin. I know what tension can be applied to different sail luff configurations and how that affects the ability of a sail to go to windward. I also know what tension can be applied to a piece of thread and how that affects looping above and below the fabric. I understand roach. I understand how to walk the dog.
I know this because I did hours of personal research, had several discussions with Matt, read a book, and talked for 30 minutes on the phone with Jeff, the head sailmaster at Sailrite, hitting him with questions I barely have enough knowledge to even be asking, let alone understand the answers. He was extremely helpful, though I’m pretty sure he realized I was a complete greenhorn. We need a sail though, so I pressed on, e-mailed him even more questions the next day, and then called again a few days later.
I know we want something that would work in light air. You see, the breezes in the trade-winds (which blow from 20 degrees north to 20 degrees south of the equator minus about 5 degrees of doldrums right on the equator) are actually fairly wispy most of the time, only 5-15 knots. All of our current sails are made of Dacron, the most common synthetic sail fabric, but which would be too heavy for those light trade winds. Our new sail, called a drifter, will be made of super lightweight nylon, much like tent fabric. We’ll mostly be flying it in what’s called a double-head sail set-up: the jib and the drifter are attached at the forestay, one going to port and the other to starboard, each at about a 90 degree angle to the boat. They create a big parachute the wind pushes against, moving the boat. To use this set-up the wind needs to be coming from generally directly behind you, give or take 20 degrees. Coincidentally, that’s what the wind will usually be like in the trades.
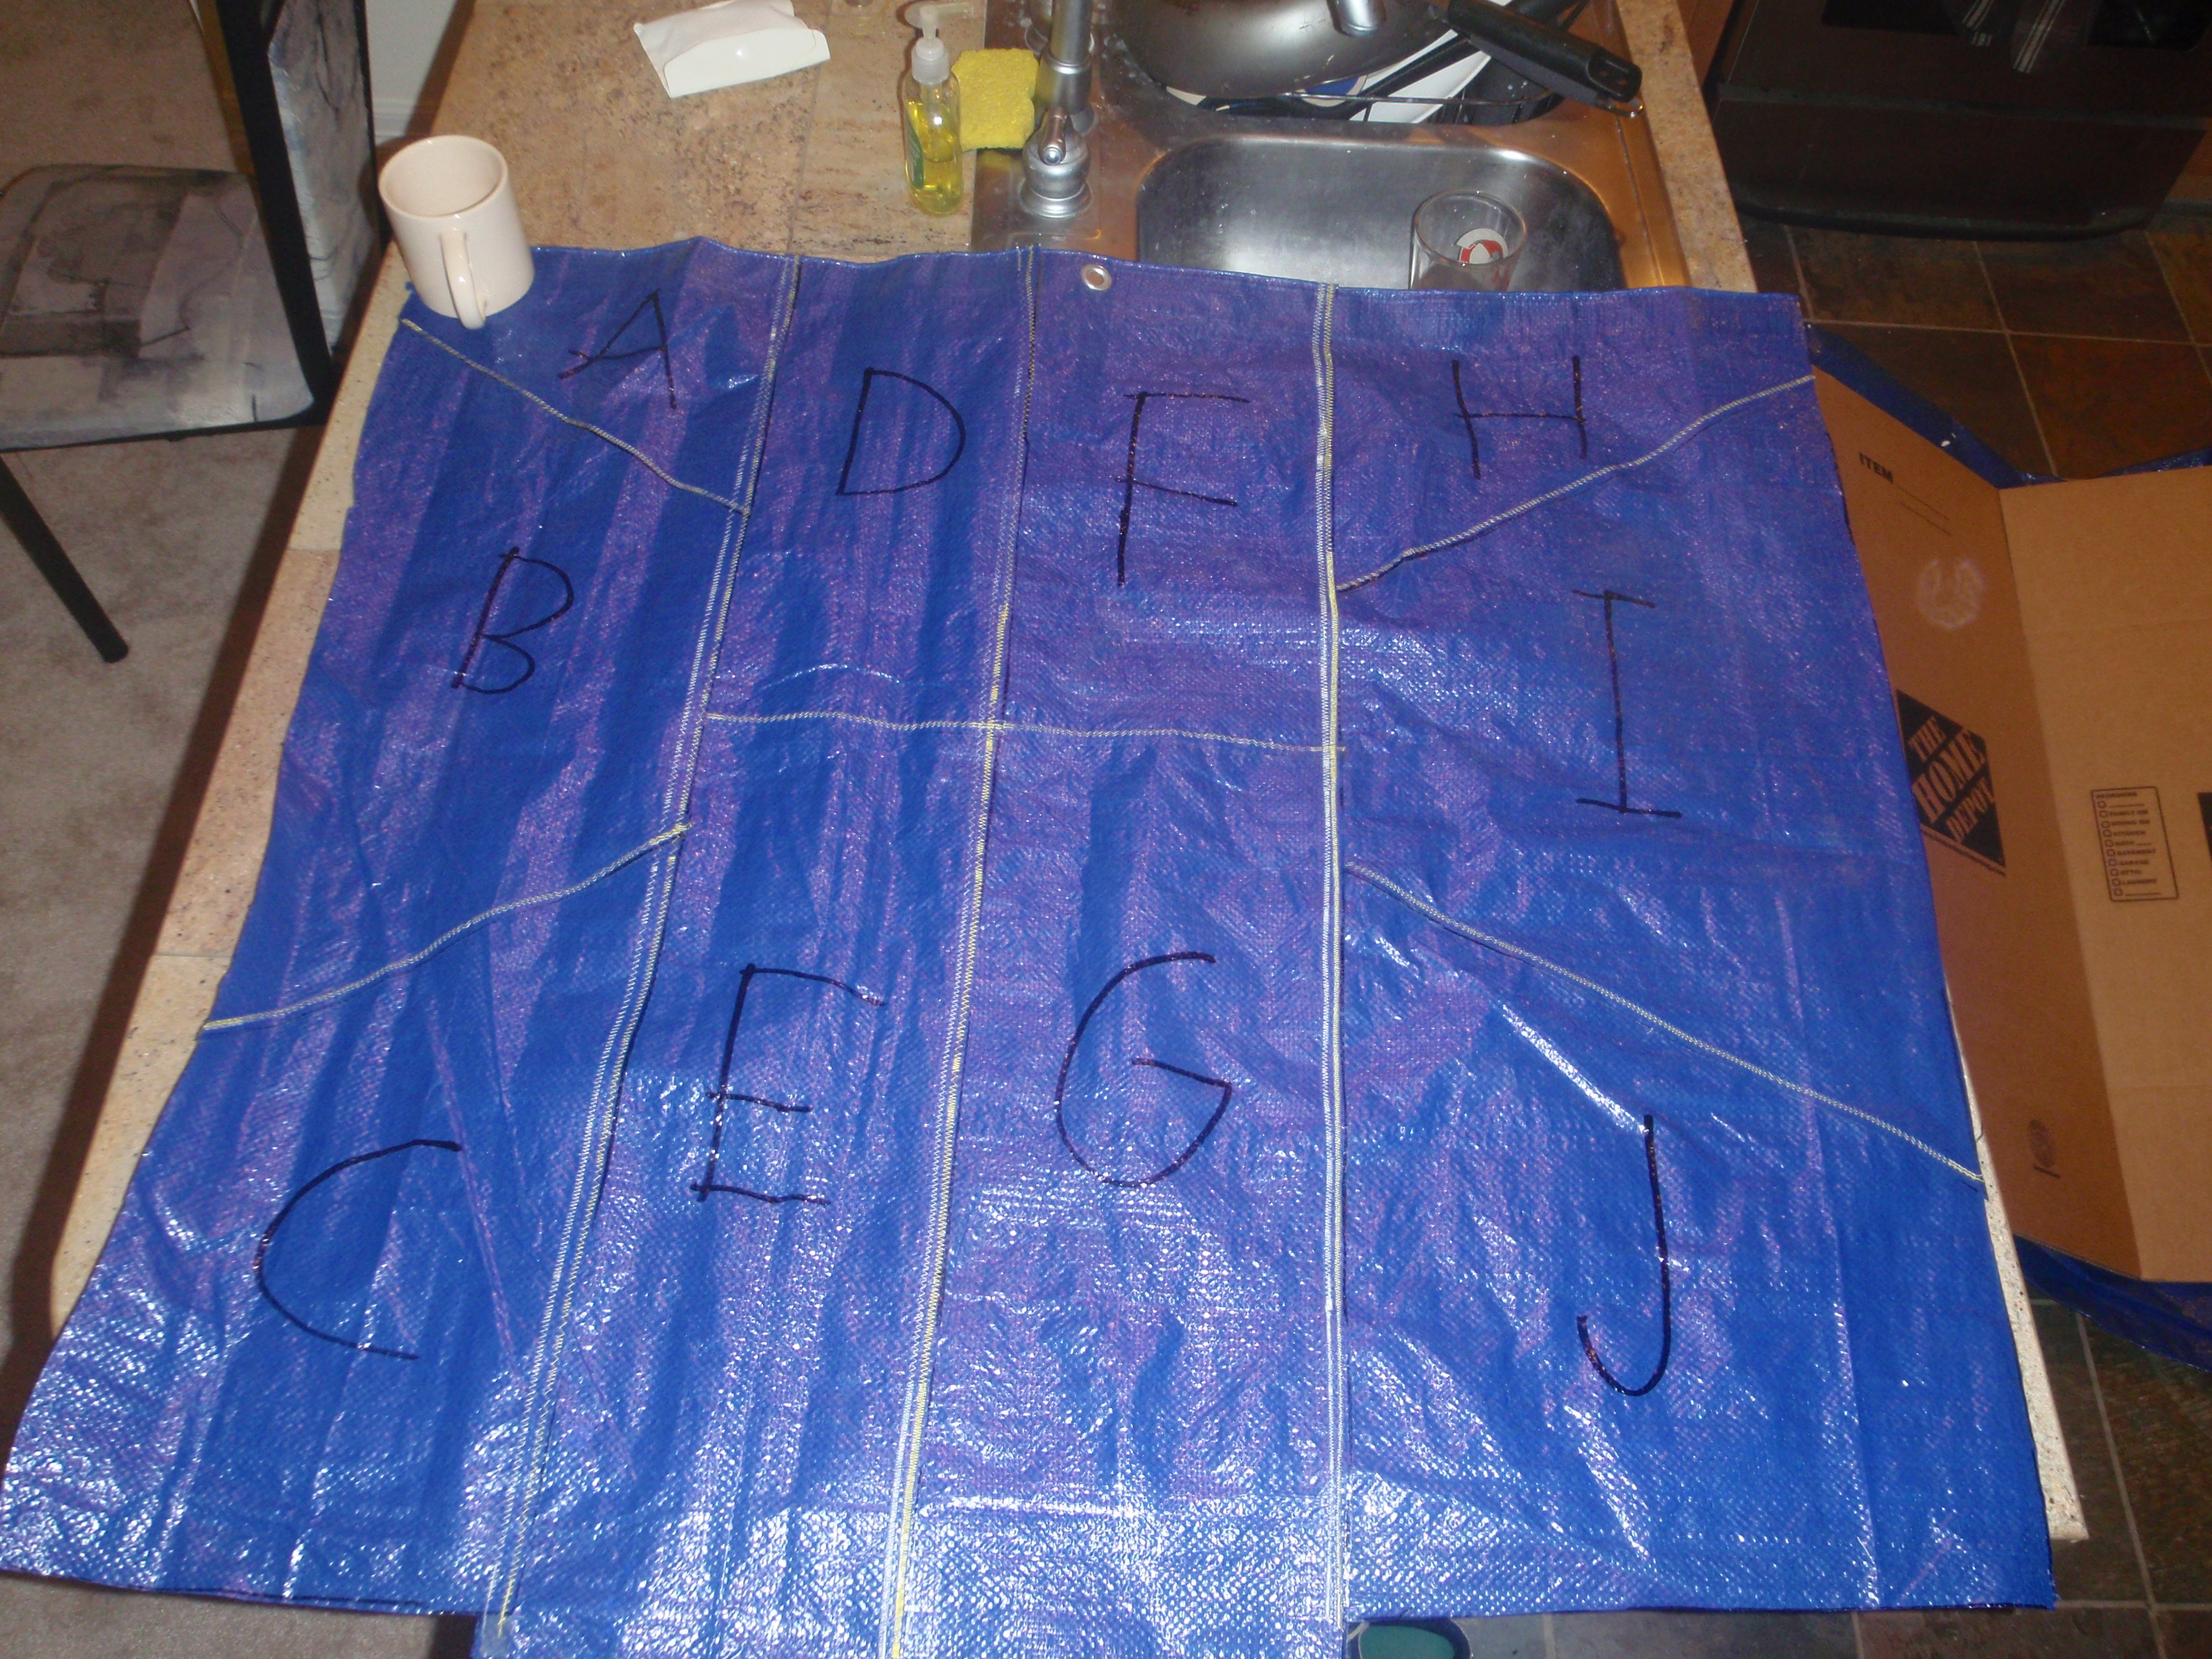
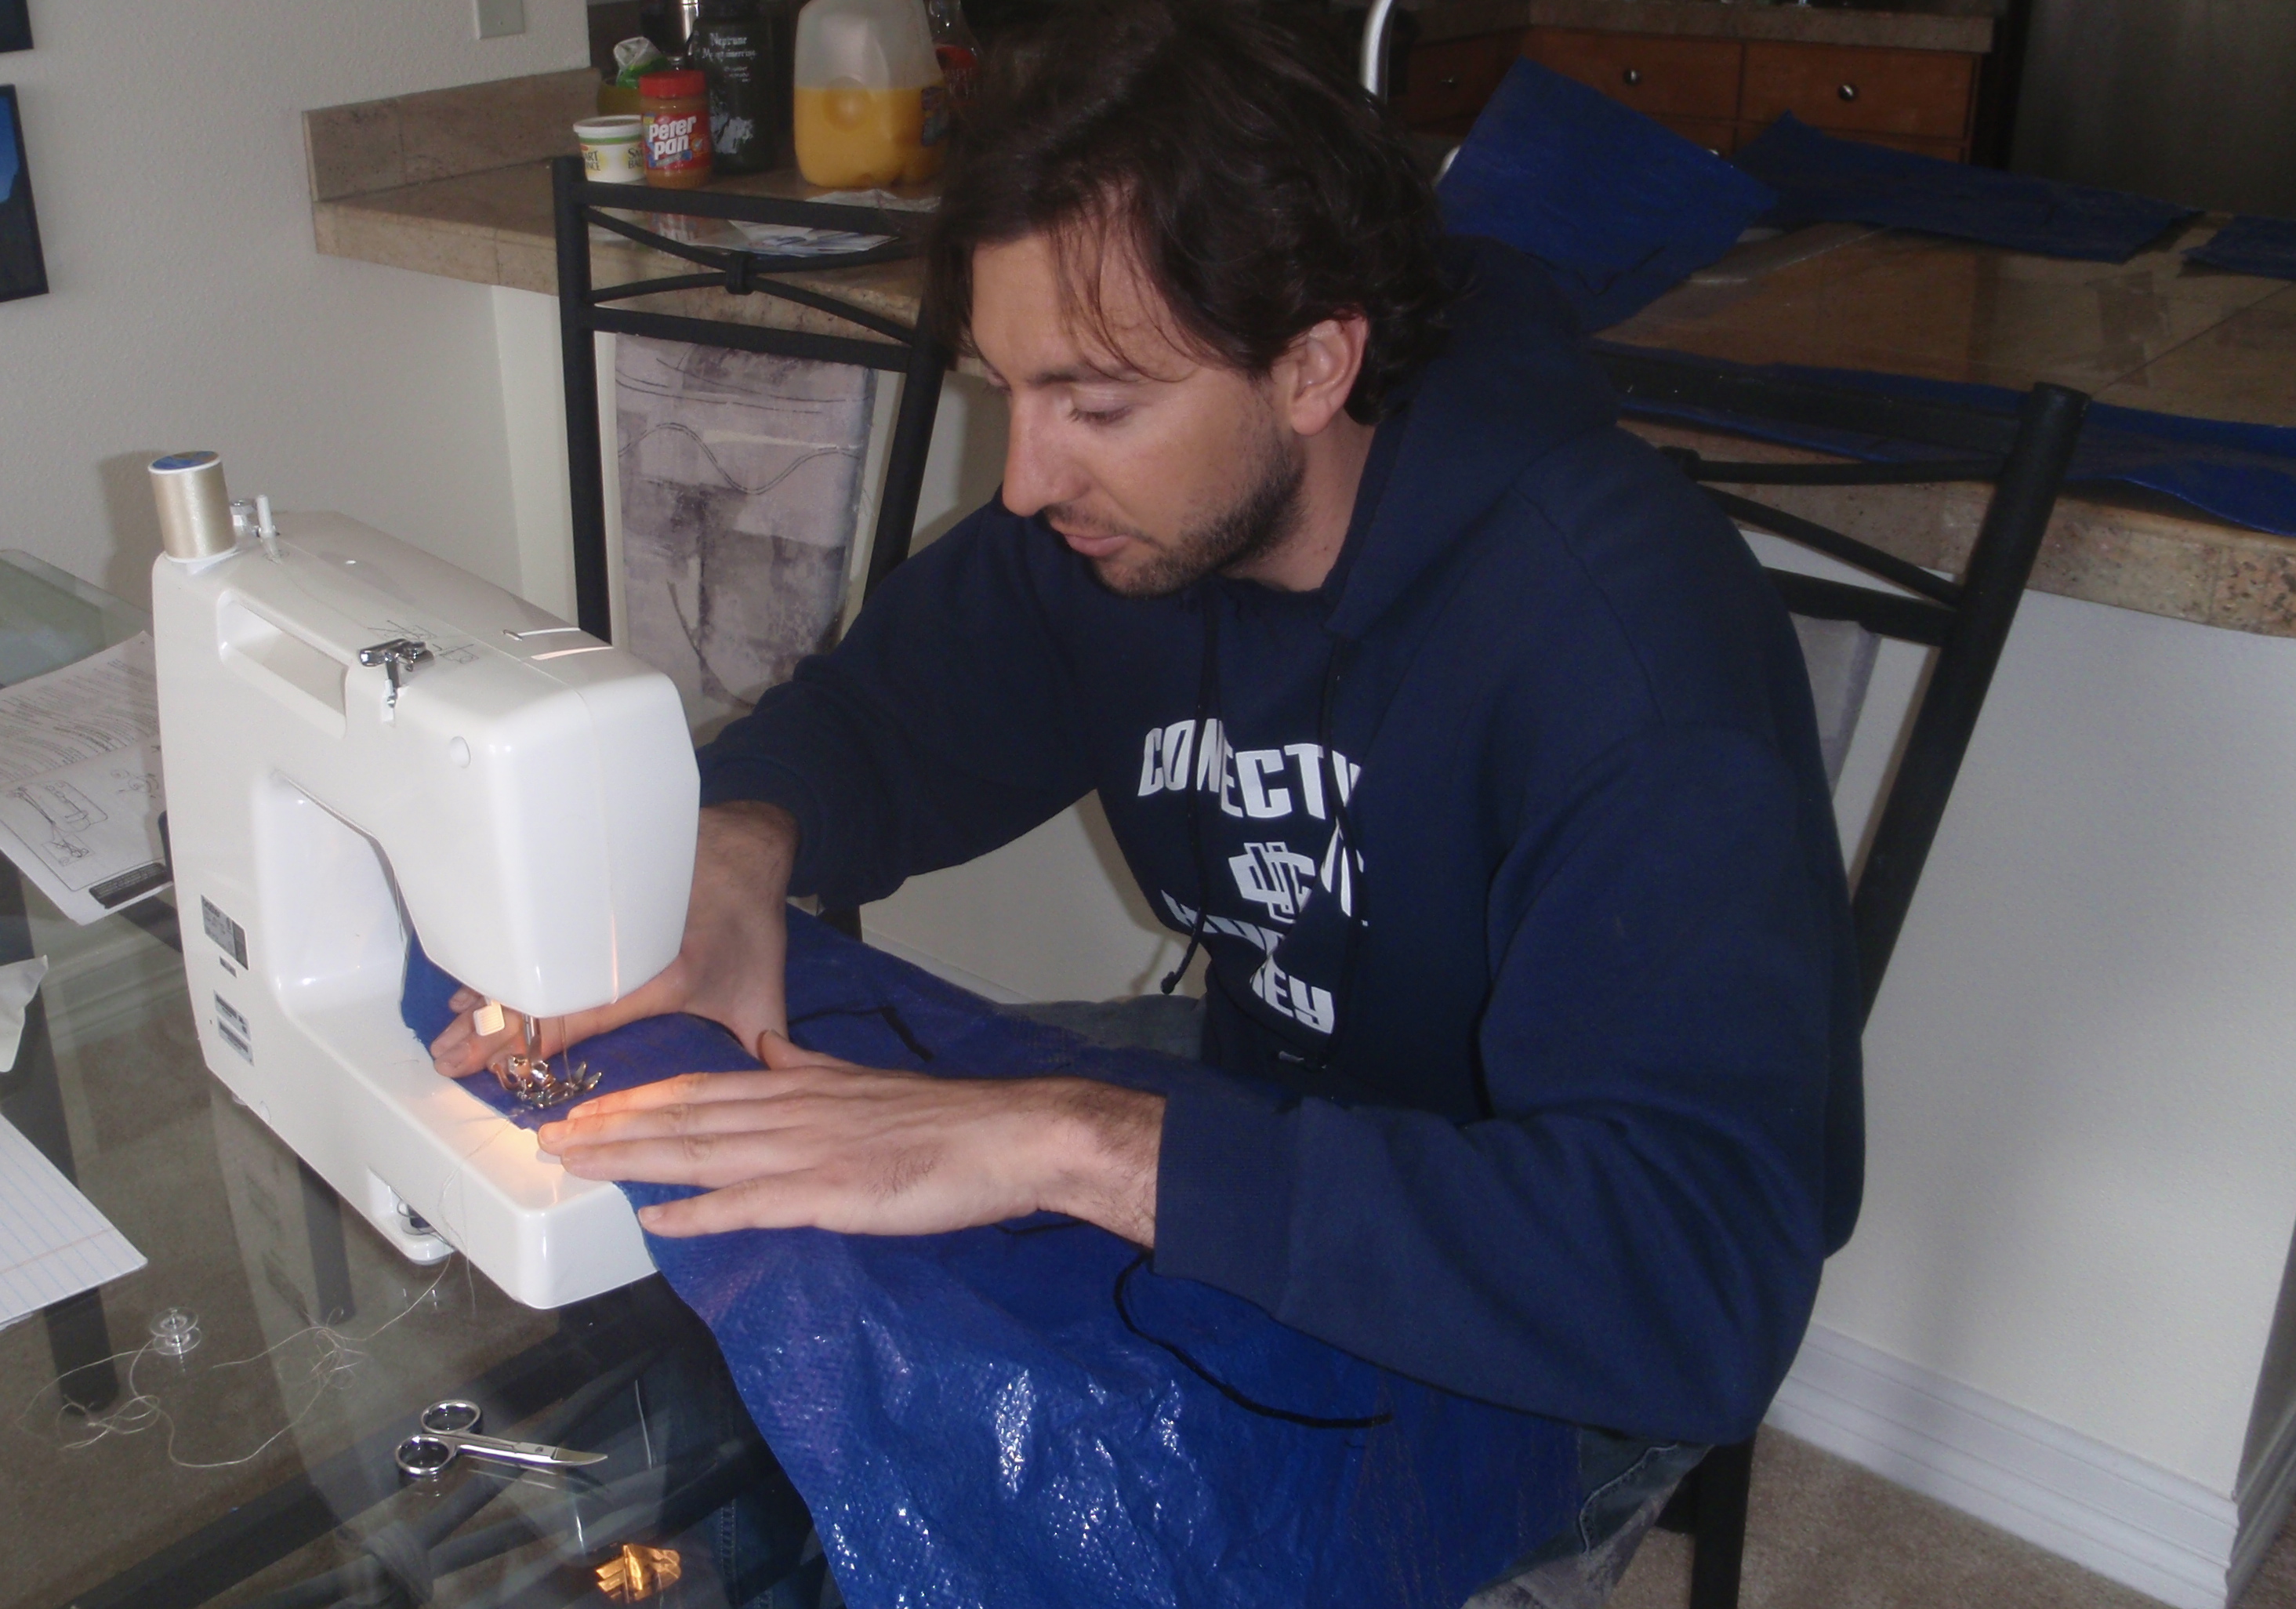
I also know this because I borrowed my sister’s sewing machine, and had my newfound mentor, Lauren, gave me a brief tutorial on using it. Like a good mentor, she stepped back and let me have fun. To start, I ripped off a 4’x4′ section from my 20 foot square blue ground tarp, hoping that it would mimic nylon, because I wasn’t willing to cut up my tent. I then impatiently cut the 4’x4′ square into 6 different pieces to sew back together. Once in a while, when something stopped working and I couldn’t fathom why, I’d ask for help. Otherwise, I showed her my stitching, asked for feedback, and generally felt proud of what I had done.
The process reminded me of the internship programs that my students go through. Every week, they see new things, learn new skills, and push themselves beyond their normal boundaries — under the guidance of amazing mentors. Such opportunities — in school!— are awesome, and I smiled just thinking about it.Three significant lessons emerged from the reassembly of the first tarp:
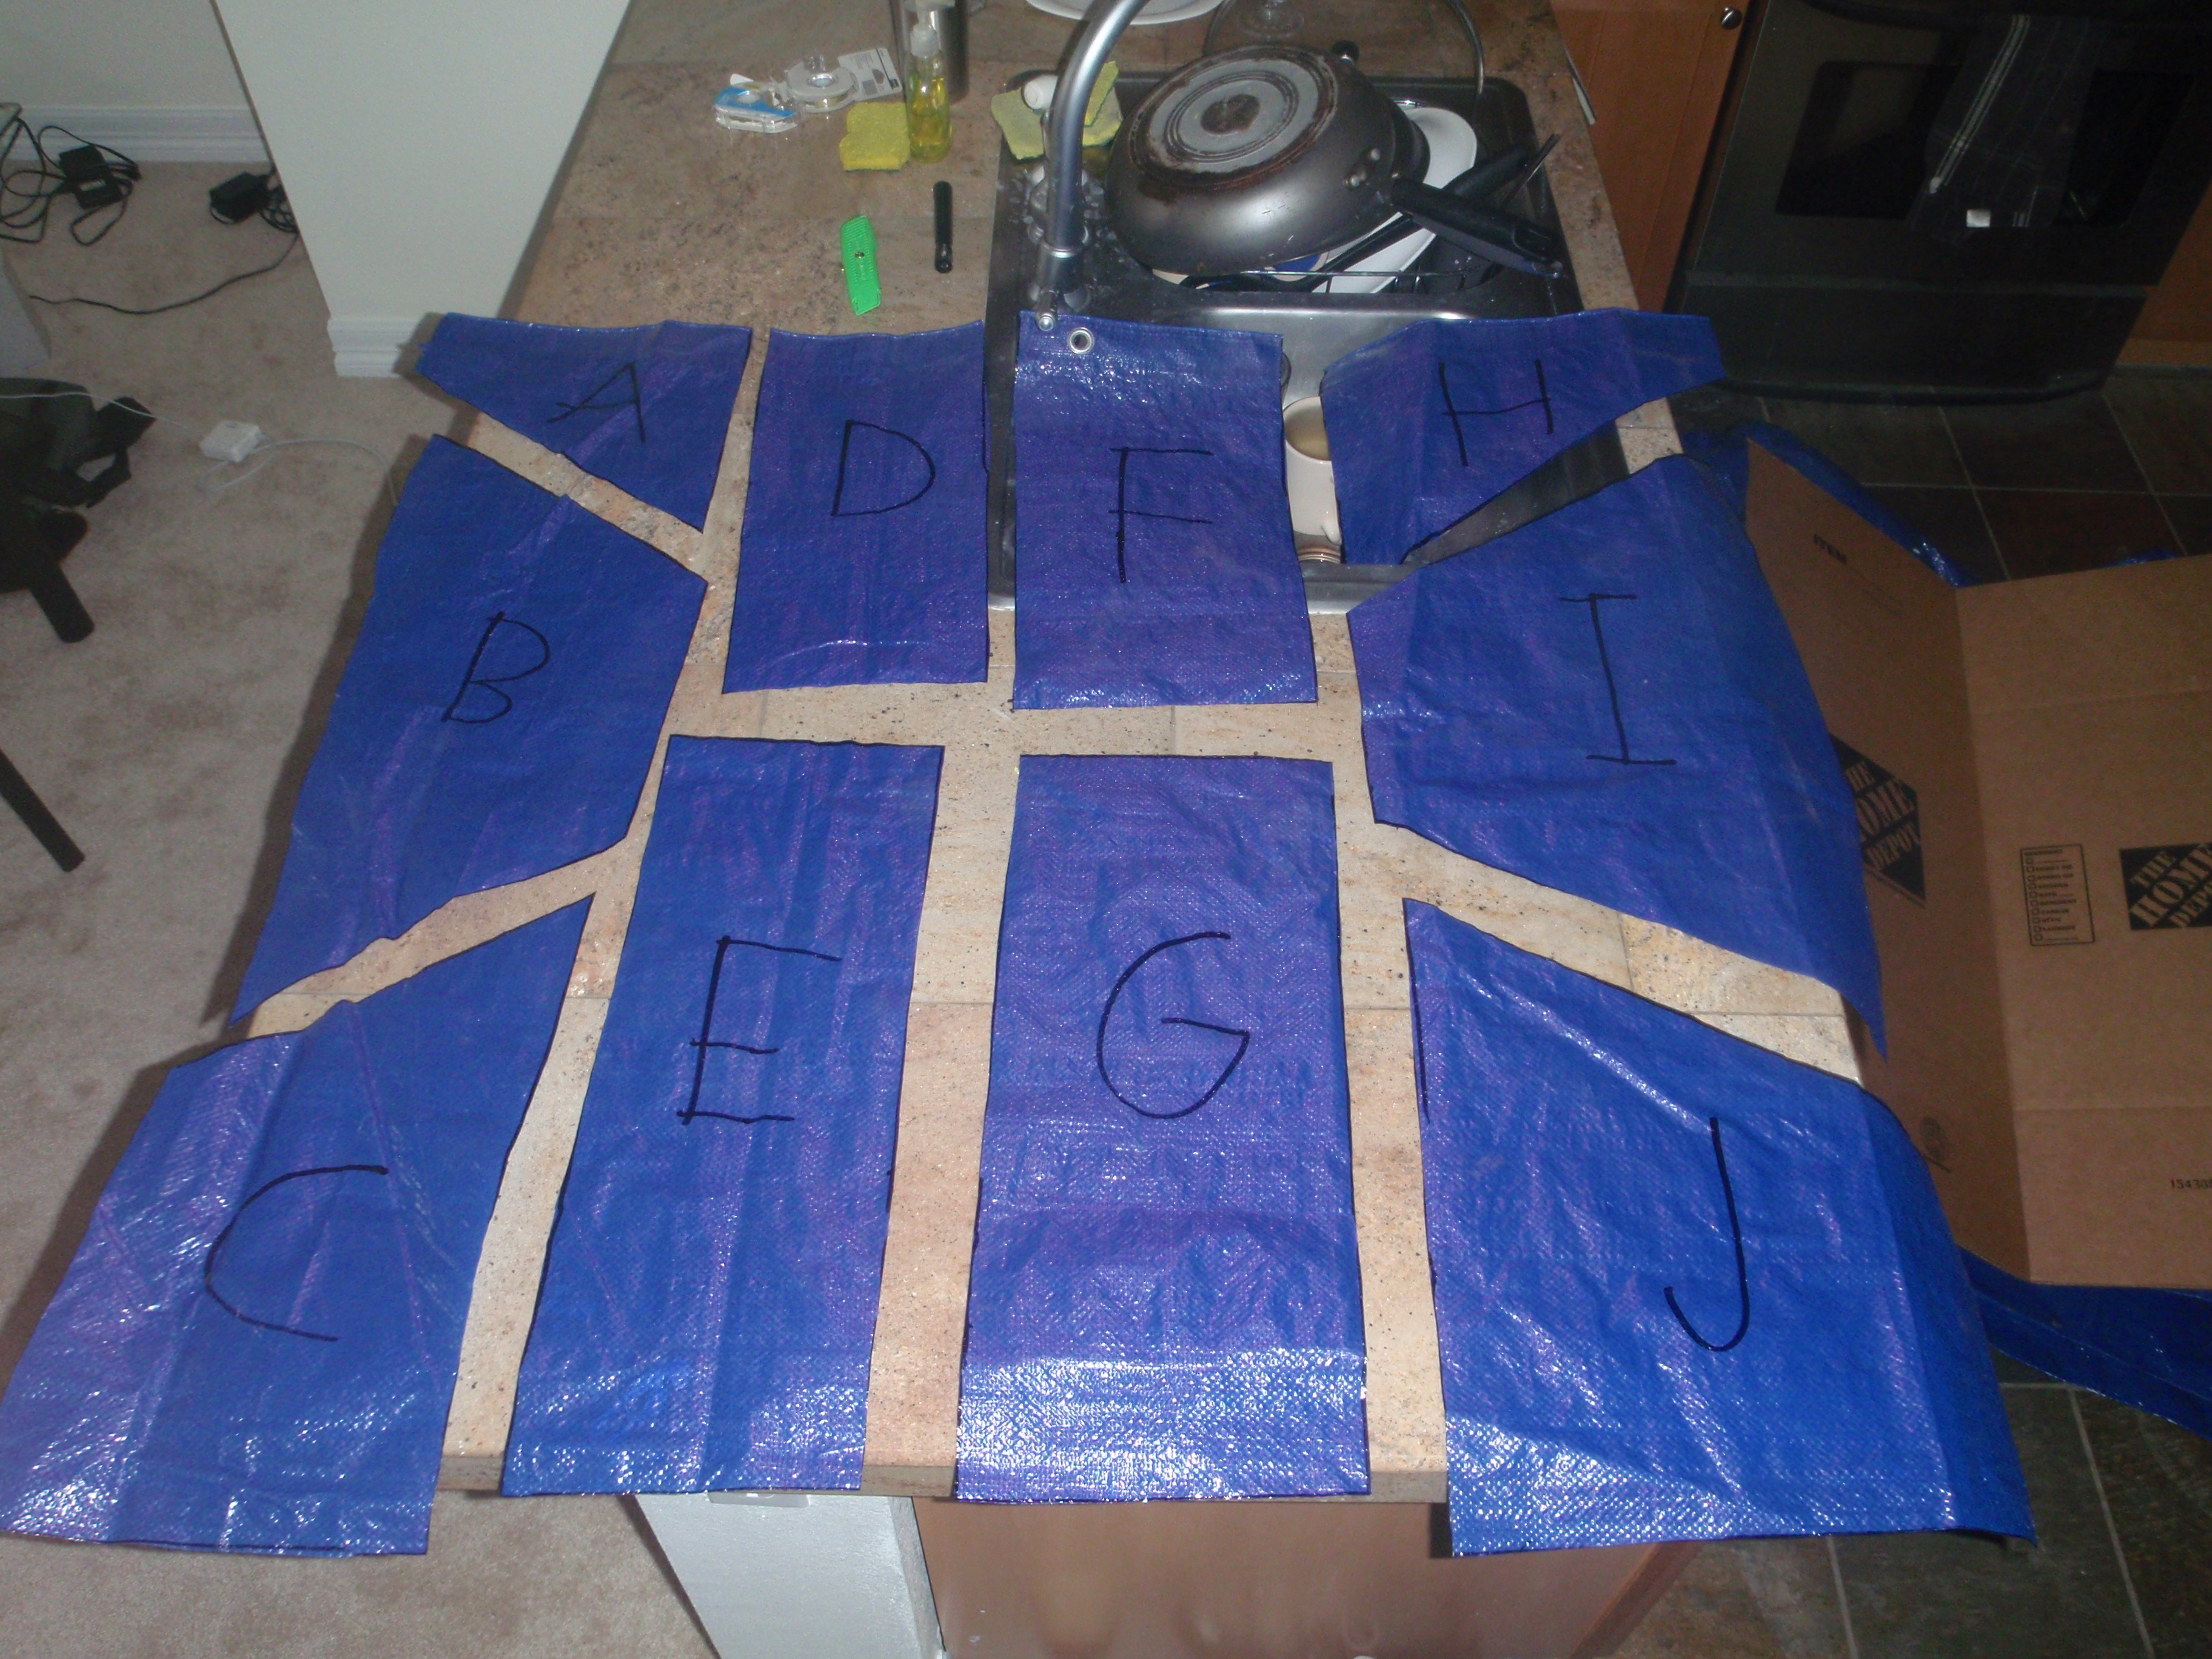
1) It would help if I cut up the tarp in straight lines.
2) It would help if I mimicked the way the sail panels would be pre-attached with double-sided tape.
3) It would help if I had more thread.So we drove over to Fancy Tiger, a local boutique thread-shop. They have a surprising lack of thread, needles, and fabric, but an ungodly amount of yarn, and they also have sewing classes! You get to bring in your own projects and get help! It’s like getting 10 mentors at once, for free! As far as I can tell, there’s no other shop like it for 500 miles.
Back home, I cut out a second piece of tarp. This time with straight lines. I tacked the pieces together with double-sided tape. I used my new, bright yellow (Lauren raised her eyes at my choice, but I wanted bold) thread. The second go was a significant improvement, and my confidence rose ten-fold.
So, now, thanks to so much help, this project seems more manageable. I’ve got Lauren, and my sister, and Jeff, and the entire staff of the local thread-shop as support. With all that scaffolding, it should be easy. Right?
-
Another tool bites the dust
At first, the returns lady at Home Depot didn’t wanna let me return the Dremel tool, since I didn’t have a receipt or the plastic box it came in. I pressed on.
“It’s broken,” I said. “Try it. It turns on, but you can’t change the bits.”
She examined the tool, turning it over mid-air. She held it gingerly, as if it were a sex toy, or a rotten vegetable.
“What’s wrong with it?” she asked, bringing up the refund screen.
“Broken collet,” I said, and she began typing. I spelled it out: C-O-L-L-E-T.
A wave of joy swept through me. Success! I thought. Replacement Dremel, here we come!
Alas, all was not right according to the returns lady. I had picked up a brand new Dremel tool, still in the box, for demonstration purposes, and now she looked at the image on the box — model 400XPR, with 70 bits and 3 attachments — and pointed to the attachments. She asked if I had those with me.
“I don’t,” I said. “I brought everything I have.” This was definitely a lie. I had left all the good dremel bits on the boat, because we are down to a precious few of them.
“You can’t return it without the box,” the returns lady said.
“But it’s broken,” I said. “The tool is broken, and it’s guaranteed.”
“I can’t return it like this,” she said. “There’s a code on the box that the manufacturer needs.” I begged. I pleaded.
“What if you let me return the old tool, without the box, and then i give you the new box, since I won’t need it?” This calculus was beyond her. It didn’t work like that.
The returns lady had me move over, to make way for another customer. Not a good sign. Not success. I felt like $100 was about to be pulled out of my pocket. My problem tool and I were handed off to Mike, apparently the fix-it guy at the service counter. I recognized him (I guess I’ve made too many trips to Home Depot) but tried to hide it. Mike grabbed a wrench, depressed the collet button with his thumb, and tried to turn the collet with the wrench. It didn’t budge.
“That’s what I spent the last half hour trying to do,” I said, trying to establish rapport. He tried again, this time with two wrenches: one on the collet, and the other on the bit.
“I tried that too,” I said. I wanted to say: I’m not a dumbass, dude, but I restrained myself. Mike tried a few more times. By now the manager had walked over, to see if Mike had made any progress.
“What were you grinding?” Mike said.
“Balsa wood,” I said, which was true.
“It’s rusted shut,” Mike said. “It won’t open.”
“I told you,” I said. “It’s broken. I wasn’t even running it hot,” I added, which was also true.
“I’ve never seen a broken Dremel,” Mike said, with an air of fascination. He looked up at the manager.
“I’ve never seen a broken Dremel,” the manager said, with a sense of gravity. He seemed troubled, as if he’d just learned that the world was not round, but octagonal. I thought for a moment, and decided it was against my interest to point out that I had seen three broken Dremel tools before, in my own hands, by my own doing. I also restrained myself from blurting out: Are you guys serious? You work in a friggin’ hardware store! Instead, I lied again, and said I’d looked online and seen that a lot of people have this problem. It seemed innocent enough; how could people like me NOT have this problem
Grudgingly, the manager said he’d take care of it. As the manager walked back to the returns counter, Mike made some joke about running a retail establishment, where the point is to sell things. Then, to me, he said a lot of people come in with “I.D. 10-T problems, saying it like that: I.D. ten dash tee. I tried not to laugh. I knew he wasn’t comparing me to the people who can’t find the ON button, or who think their CD-drives are coffee cup holders, but I didn’t want to be mentioned in the same breath as them. I did not want to be cataloged anywhere near the Incompetents.
The manager printed a refund slip and receipt, and I walked out into the world with a brand new Dremel, in a new case, in a new box, complete with 3 attachments and 70 bits. No money was sucked from my pocket. Success!
Of course, halfway home, I realized I was missing one key bit: the coring bit that was stuck in the broken tool. The single best bit we owned! Curses!
But I was too happy to turn around. Back at the boat, I swore I’d save the box, the case, and the receipt, because it’s only a matter of time before this one, too, bites the dust. Given how much work remains on the boat, it’s inevitable. I’d put money on it.
-
a frustrating work day
For the next two months I’m unemployed. This condition is not by choice. Nevertheless I intend to avoid feelings of guilt or worry by constantly working on the boat. Today was the second day of this mandated vacation.
Today I didn’t succeed in rewiring the nav lights (yesterday I didn’t succeed in fixing the diesel fuel leak). I spent all day doing it, and I finished maybe half of it. This is a job which I’ve already done twice and didn’t want to do even once. This third time it was because I accidentally cut through the wires while we were installing a portlight, in such a way that I couldn’t reuse the old wiring. Of course I only accepted this after taking apart half the ceiling which I enjoyed putting right back even less. Usually these things don’t faze me, they take their own time and I give it to them patiently. But today my coping system took a vacation and left me with the desire to hammer on everything in sight, to hammer the entire boat to nothingness. Nothingness wouldn’t need any maintenance.
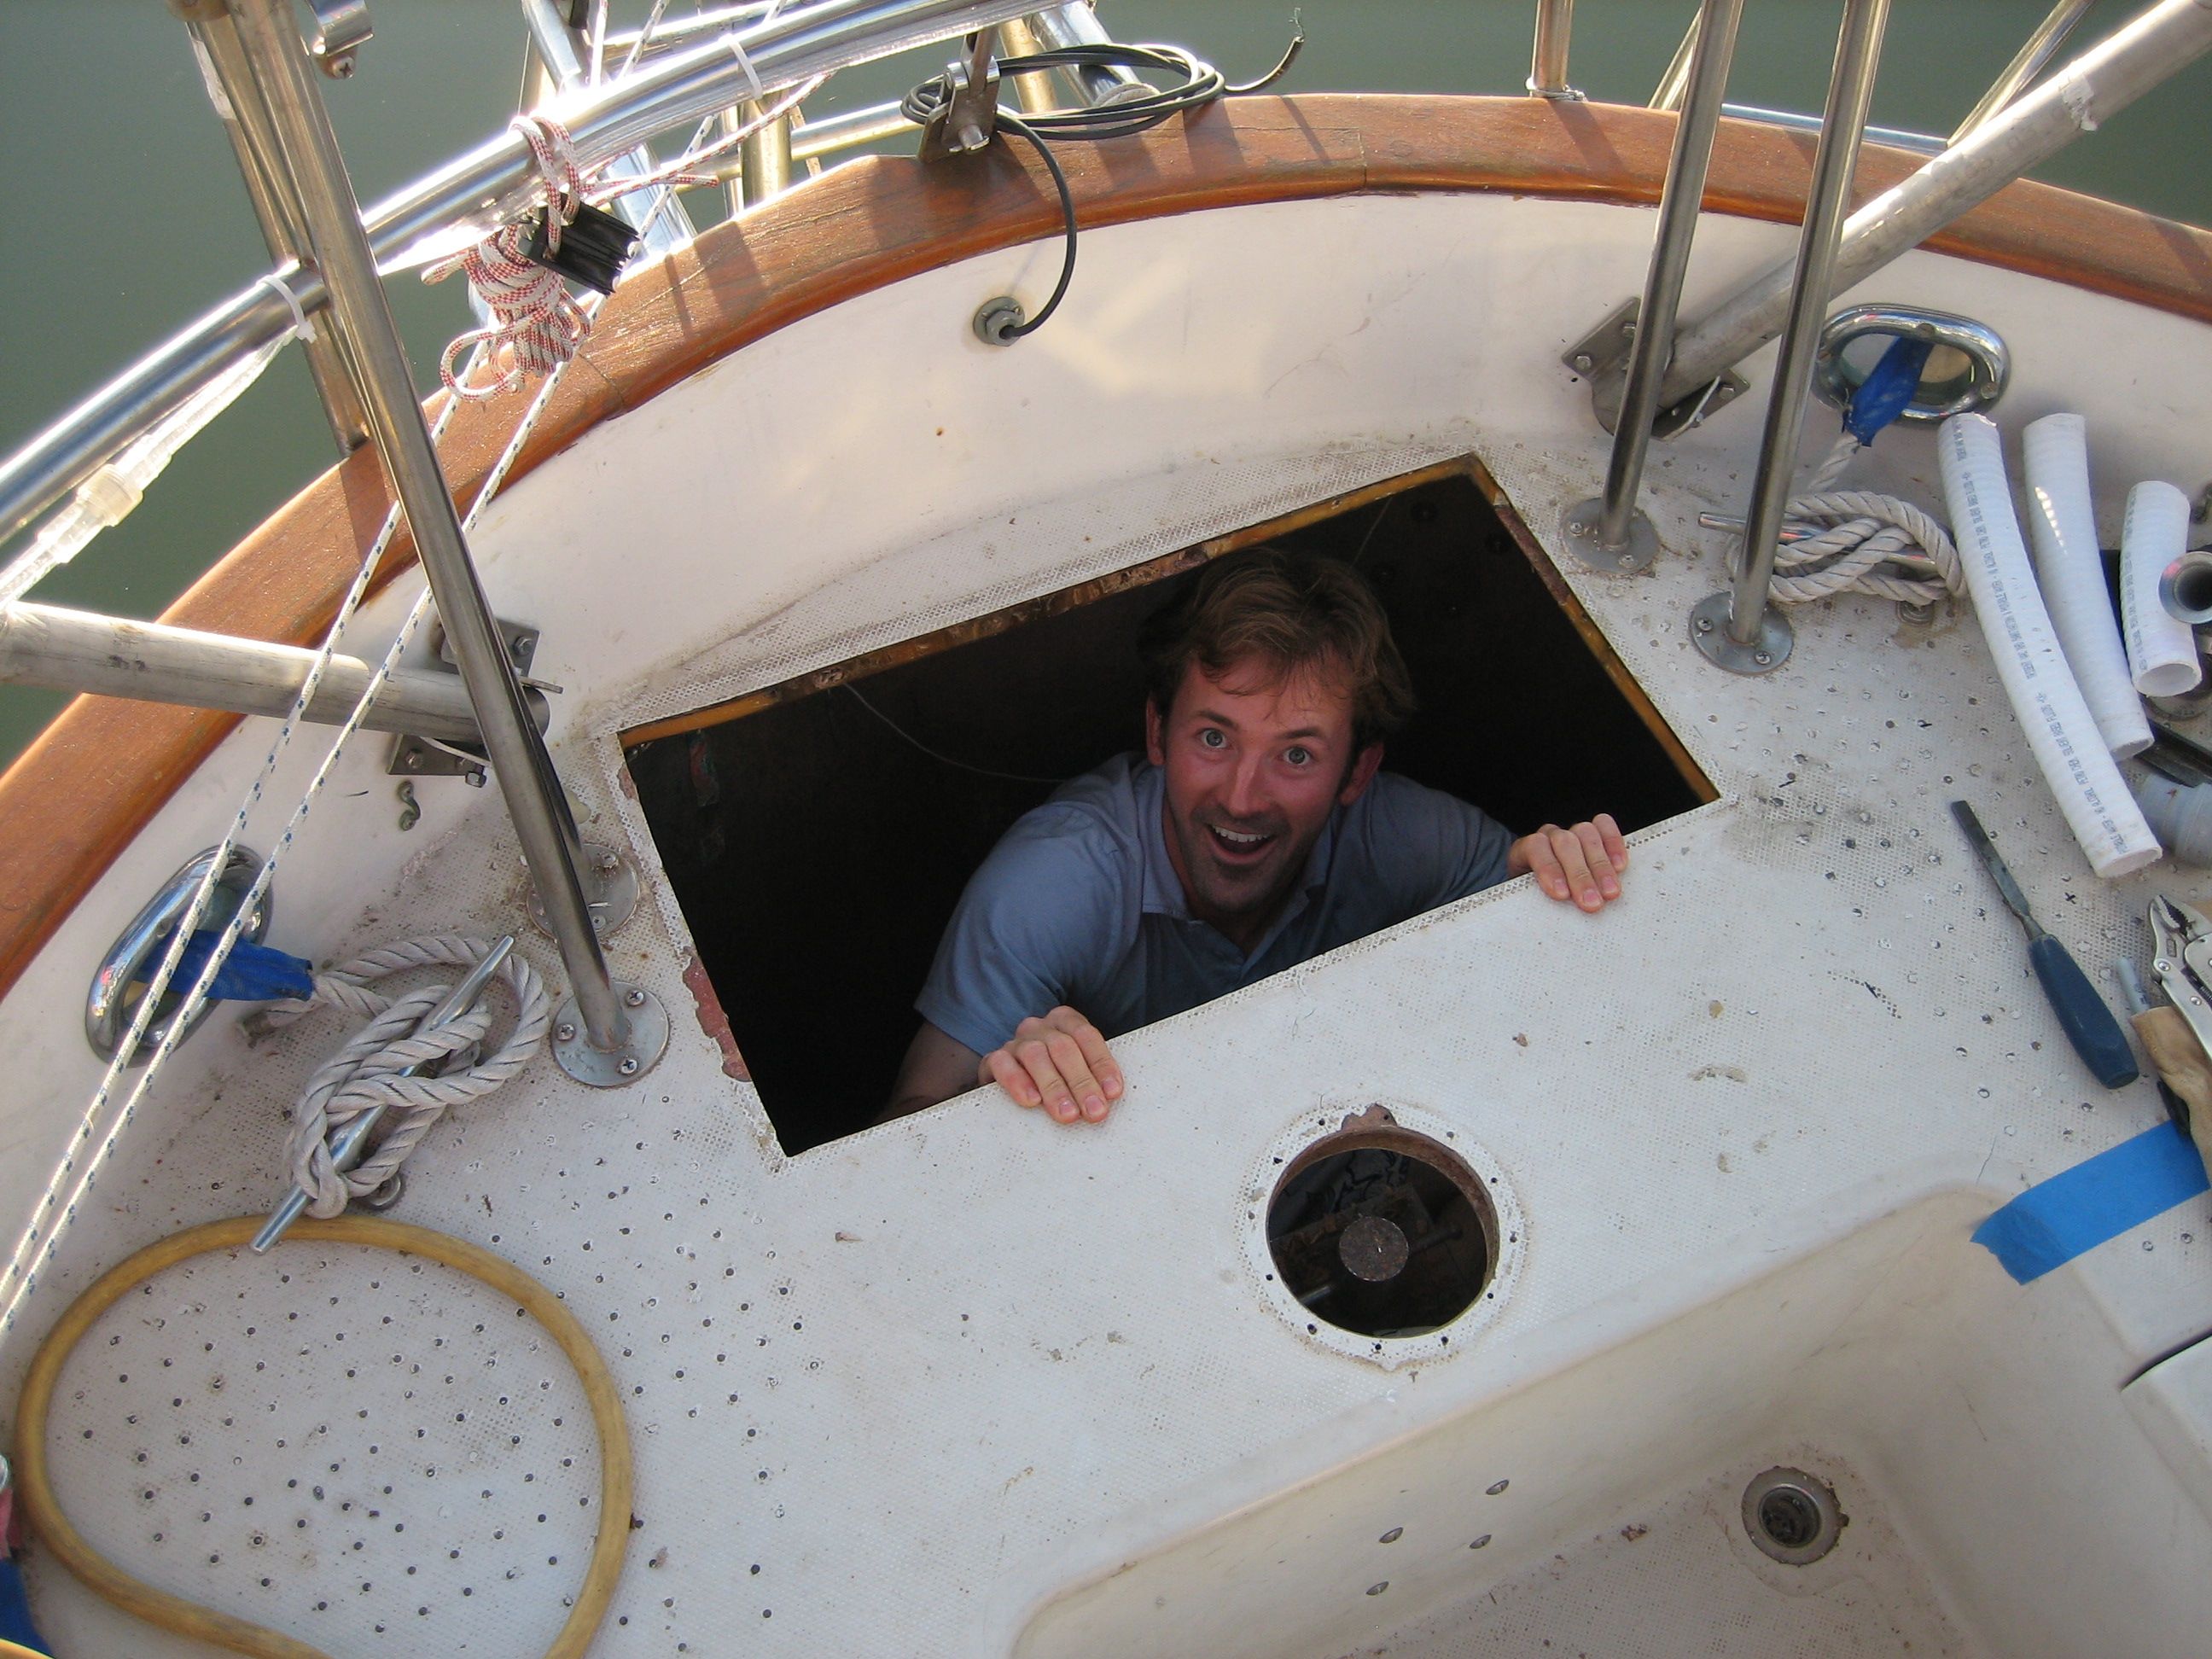
So I spent much of the morning stuck up in the anchor locker again, and I wasn’t wearing a smile and feeling goofy like the last time I shoved myself in that uncomfortable hole.
This undertaking–i.e. planning to sail around the world–may be grand and romantic, but the reality of making it happen are thousands upon thousands of small victories and defeats. Each small task is necessary and requires total concentration; in such a state it becomes difficult to keep the big picture in mind. And sometimes I’d rather not think of that big picture, lest I become overwhelmed by the magnitude of the work that remains.
Tomorrow is another day, I know. Take the bad with the good, I know.


