Jun 29 2009
Sewing. Exciting!
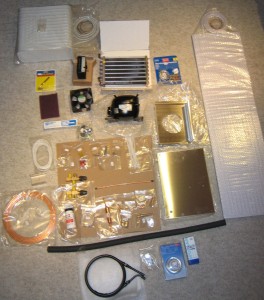
The sail-making kit arrived from Sailrite two months ago. I immediately opened the box and had, on a mini-scale, the same feeling upon seeing our boat for the first time. “What the hell am I getting myself into?” I slowly plodded through the instructions and all of the components. Like poking around the boat for the first time, this induced more feelings of dread.
34 yards each of light blue and dark blue ripstop Nylon Sailcloth
79 feet of leech line
81 feet of 5-ply Waxed Bobbin Twine (I still don’t know what this is for)
1 square foot of 2-3 oz Pearl Gray Cowhide Leather
240 yards of Seamstick Basting Tape (both 1/2” and 1/4”)
a variety of other stuff
One last item caught my eye. 2400 yards of 1 oz V-46 White Polyester UV Thread. Over 1.36 miles of thread. It would take me 9 minutes to sprint a distance the length of the thread included in the Sailrite kit. It would take our boat over 7 minutes, at top speed in heavy winds to cover the distance. I tried not to think about how much sewing this implied.
I did know the first step, though, of this project: securing a location to do the sewing. My condo would not do. The total square footage of my condo is 1126 feet, not including the balcony. The largest room is a mere 220 square feet. The square footage of our sail: 706.37 square feet. My condo would not do.
I had been to another sail-making shop though, when we needed a patch put on our jib. They had an enormous wood floor that immediately made me harken back to my high school basketball days. The perfect location was so obvious. I even work at a school… easy access! A week later I sheepishly asked my principal at my school if I could use the gymnasium after school the next week.
“For what?” she inquired.
“I’m sewing a sail for our sailboat.”
“Wow. Do you know how to make a sail?”
“No.”
“Do you know how to sew?”
“No.”
She laughed and wished me luck.
A week later I carted into the gym a box of supplies, including my sewing machine, some scissors, pens, black clips and scotch tape that I borrowed from school, and the Sailrite kit.
I then left and fetched a 48-inch wide dust mop. Because I knew the floor was gross. No way was I laying our brand new thousand dollar sail down on that floor.
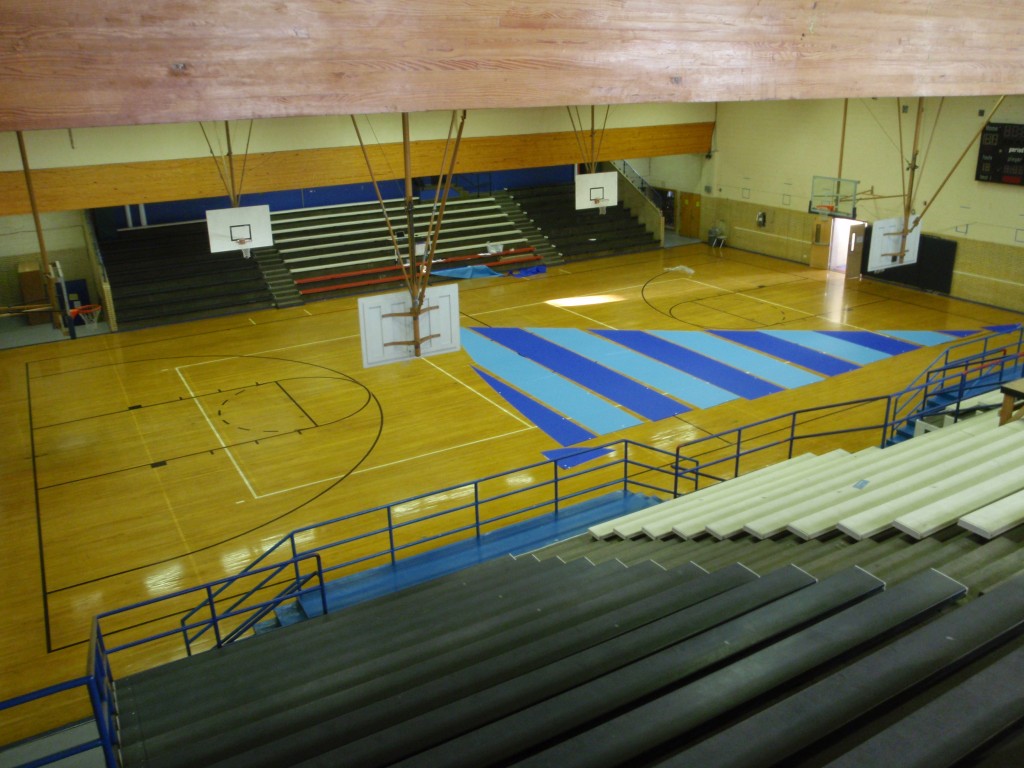
Sail laid out on gym floor
I pulled out the scraps they include for patches and making sure the settings on your sewing machine are correct; they would be my practice test runs and only the fourth time I had ever operated the sewing machine. I hemmed and hawed, but finally set up a work station in the middle of the gym floor and went at it.
And it was surprisingly easy!
Step 1: Take a roll of Seamstick basting tape and methodically roll it on to the edge of one of the sail panels.
Note: Be careful to keep the sail taught but not stretched while applying. There can be no bunching or buckling of the sail or of the basting tape.
Step 2: Line up two panels. Remove backing to basting tape.
Note: a little at a time is best.
Step 3: Apply one sail panel on top of another, lining it up on the marks drawn on the sail by Sailrite.
Note: This time both sails must be taught, but not stretched, as they are joined together.
This results in awkward positioning wherein one knee is on the union of the sail panels where they have already been basted so as to provide the main anchor point for proper sail cloth tensioning for the next basting. The other leg, so as not to be on the sail cloth, thus providing another anchor point on the sail, resulting in improper tensioning, and consequently buckling or bunching of the sail cloth, must wrap on top of and behind the other leg. Now while balanced here, one hand pulls taught one sail, the other hand pulls taught and applies the other sail to the basting tape. Yoga helps. The position I would get into, incidentally, looks a little like a kneeling eagle pose.
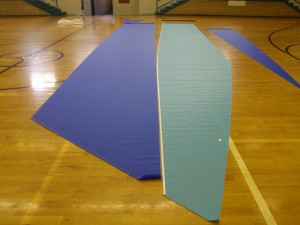
Sail panel with basting tape applied.
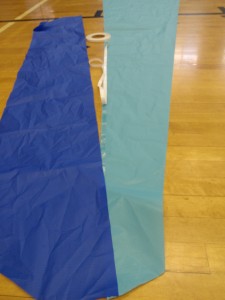
Basting the panels together.
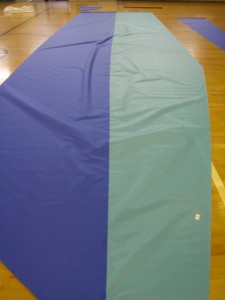
Panels basted together.
Step 4: You should only do the joining of sail panels in small increments so as to ensure a proper sail union. “Basting is a critical step in sail-making.” So says Sailrite. Therefore, repeat step 3, 8 inches at a time, and just to join two sail panels you might be at this for 40 feet.
Step 5: Roll up both panels from each end so that only the seam is showing.
Note: Rolling the 4 foot wide panels at the head (top) of the sail by yourself is easy. Rolling 40 foot wide panels at the foot (bottom) of the sail by yourself is not.
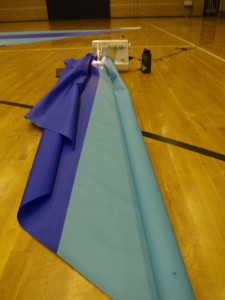
Panels lined up to sewing machine.
Step 6: Finally some sewing! Drag entire ensemblage over to sewing station and begin to sew.
Note: A 45 degree zigzag stitch is proper, 3 mm wide. No backing of the thread is required at the edges because luff tape will cover and anchor the strands of thread. Be sure to sew as close to the edge of the seam as possible.
picture
Step 7: Repeat Step 6. Two rows of zigzag stitching are required at each seam.
Note: Three rows if using a straight stitch.
Note: On 40 foot sail panel seams, two rows of zigzag stitching will require you to change the bobbin on a standard consumer sewing machine a minimum of three times. This will be annoying.
Note: On 40 foot sail panel seams, two rows of zigzag stitching will take beginning sewers 2 hours.
Note: Your back will hurt from leaning over.
Note: Your eyes will get fuzzy from staring at one spot for hours.
Note: Your left leg will cramp from being awkwardly positioned to the side while controlling the speed with your foot on the footpad.
Note: Your right knee will hurt from being on the ground for hours. Even if wearing a knee pad.
There you have it. Sewing the sail panels together in 7 easy steps. All it takes is time. Lots of time. Next comes the reinforcement patches on the corners and the edges. Both do not seem as straight forward as stitching in a straight line for 40 feet.
