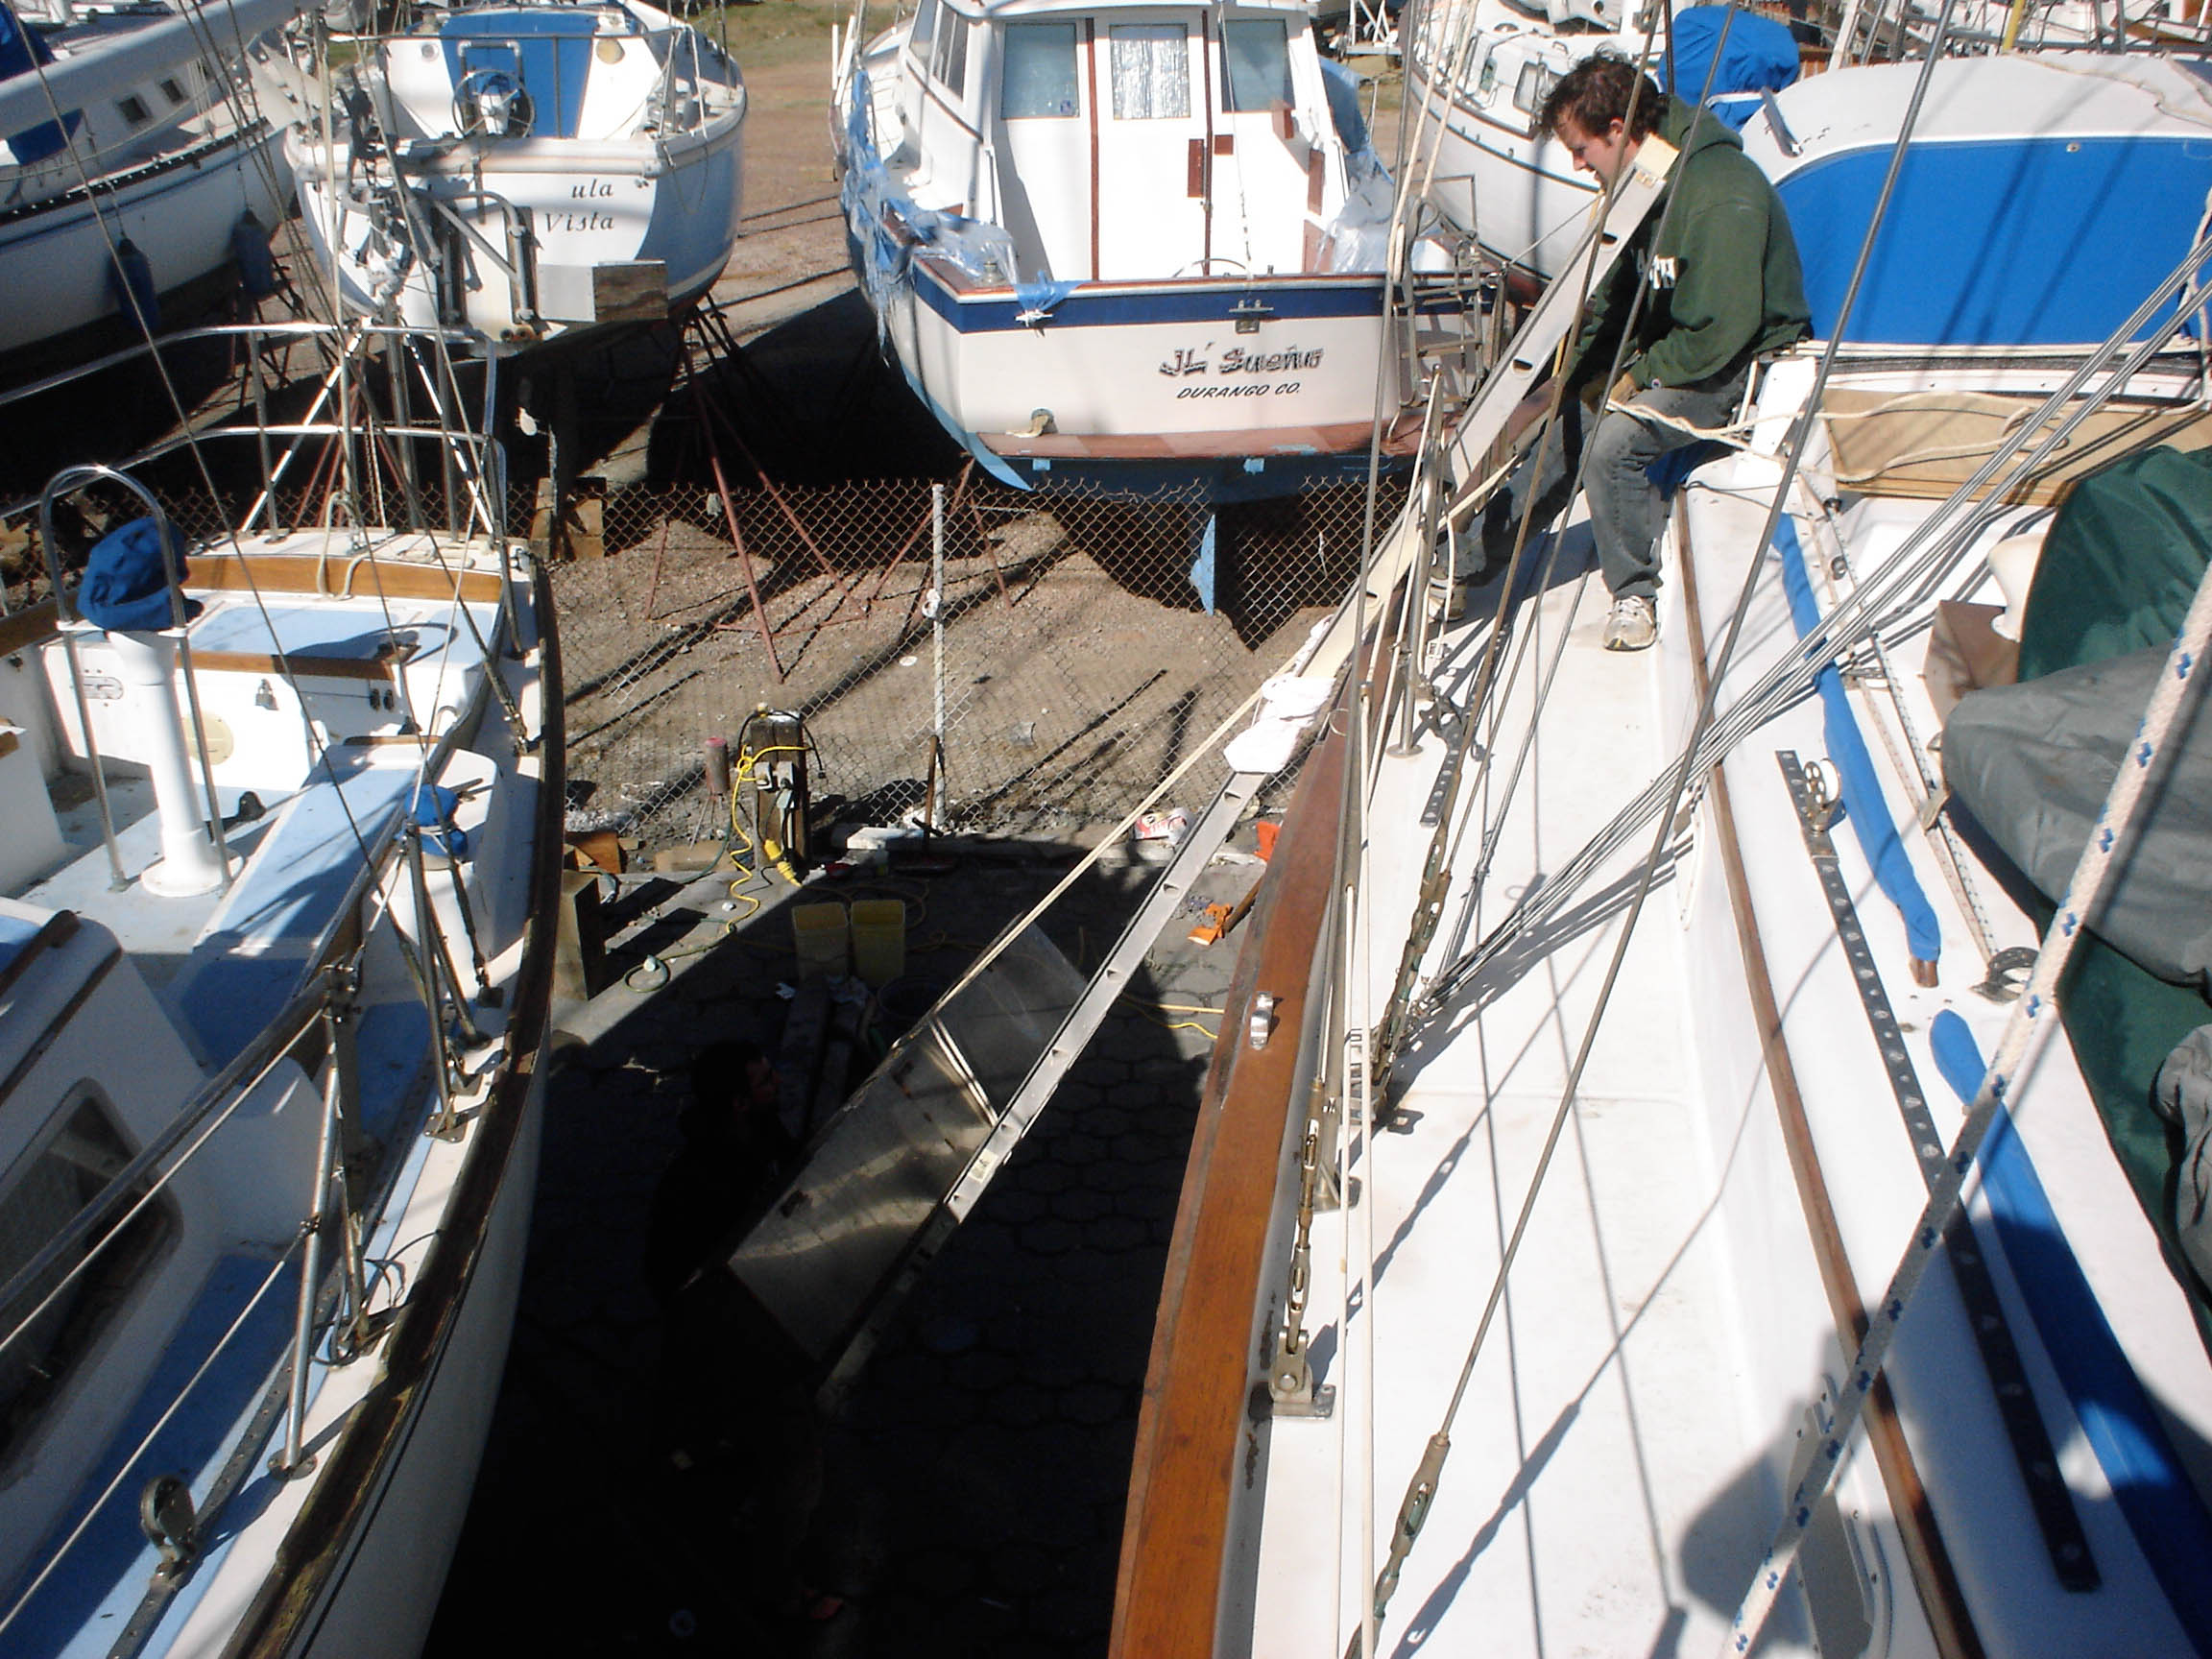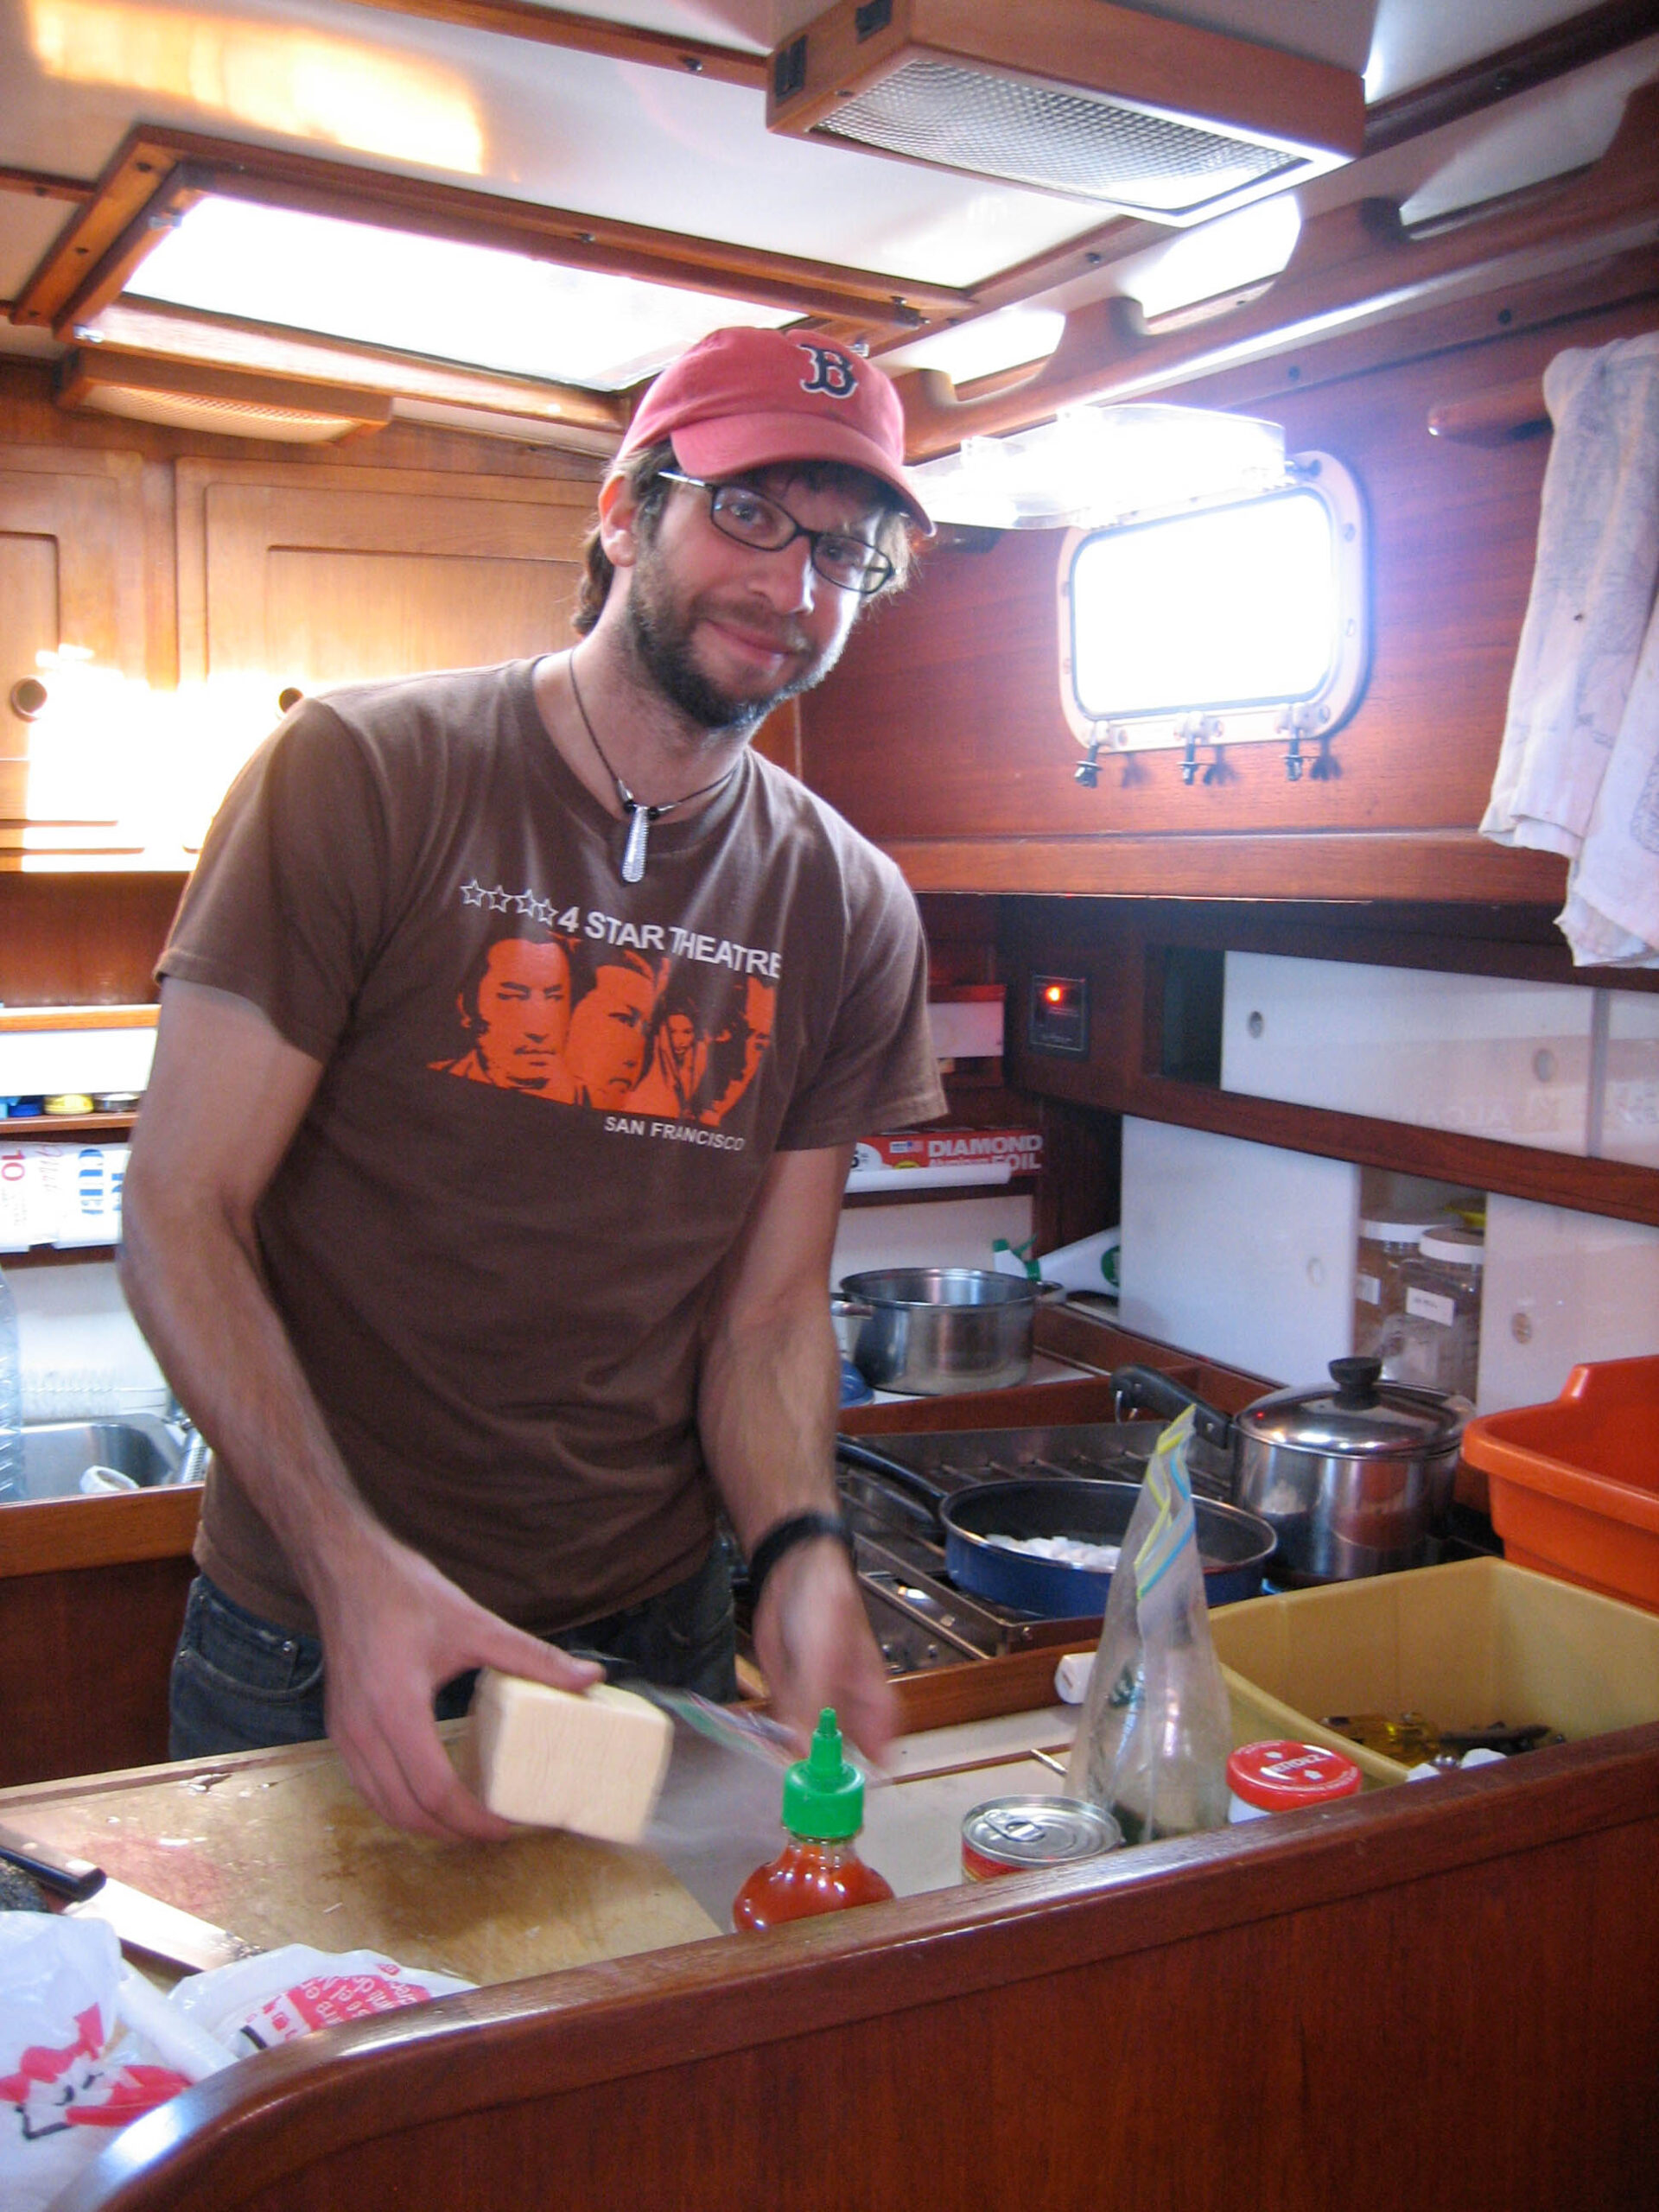
At 6pm wednesday afternoon, as we were sailing out of the Berkeley Marina, there was substantial reason to be proud of ourselves.
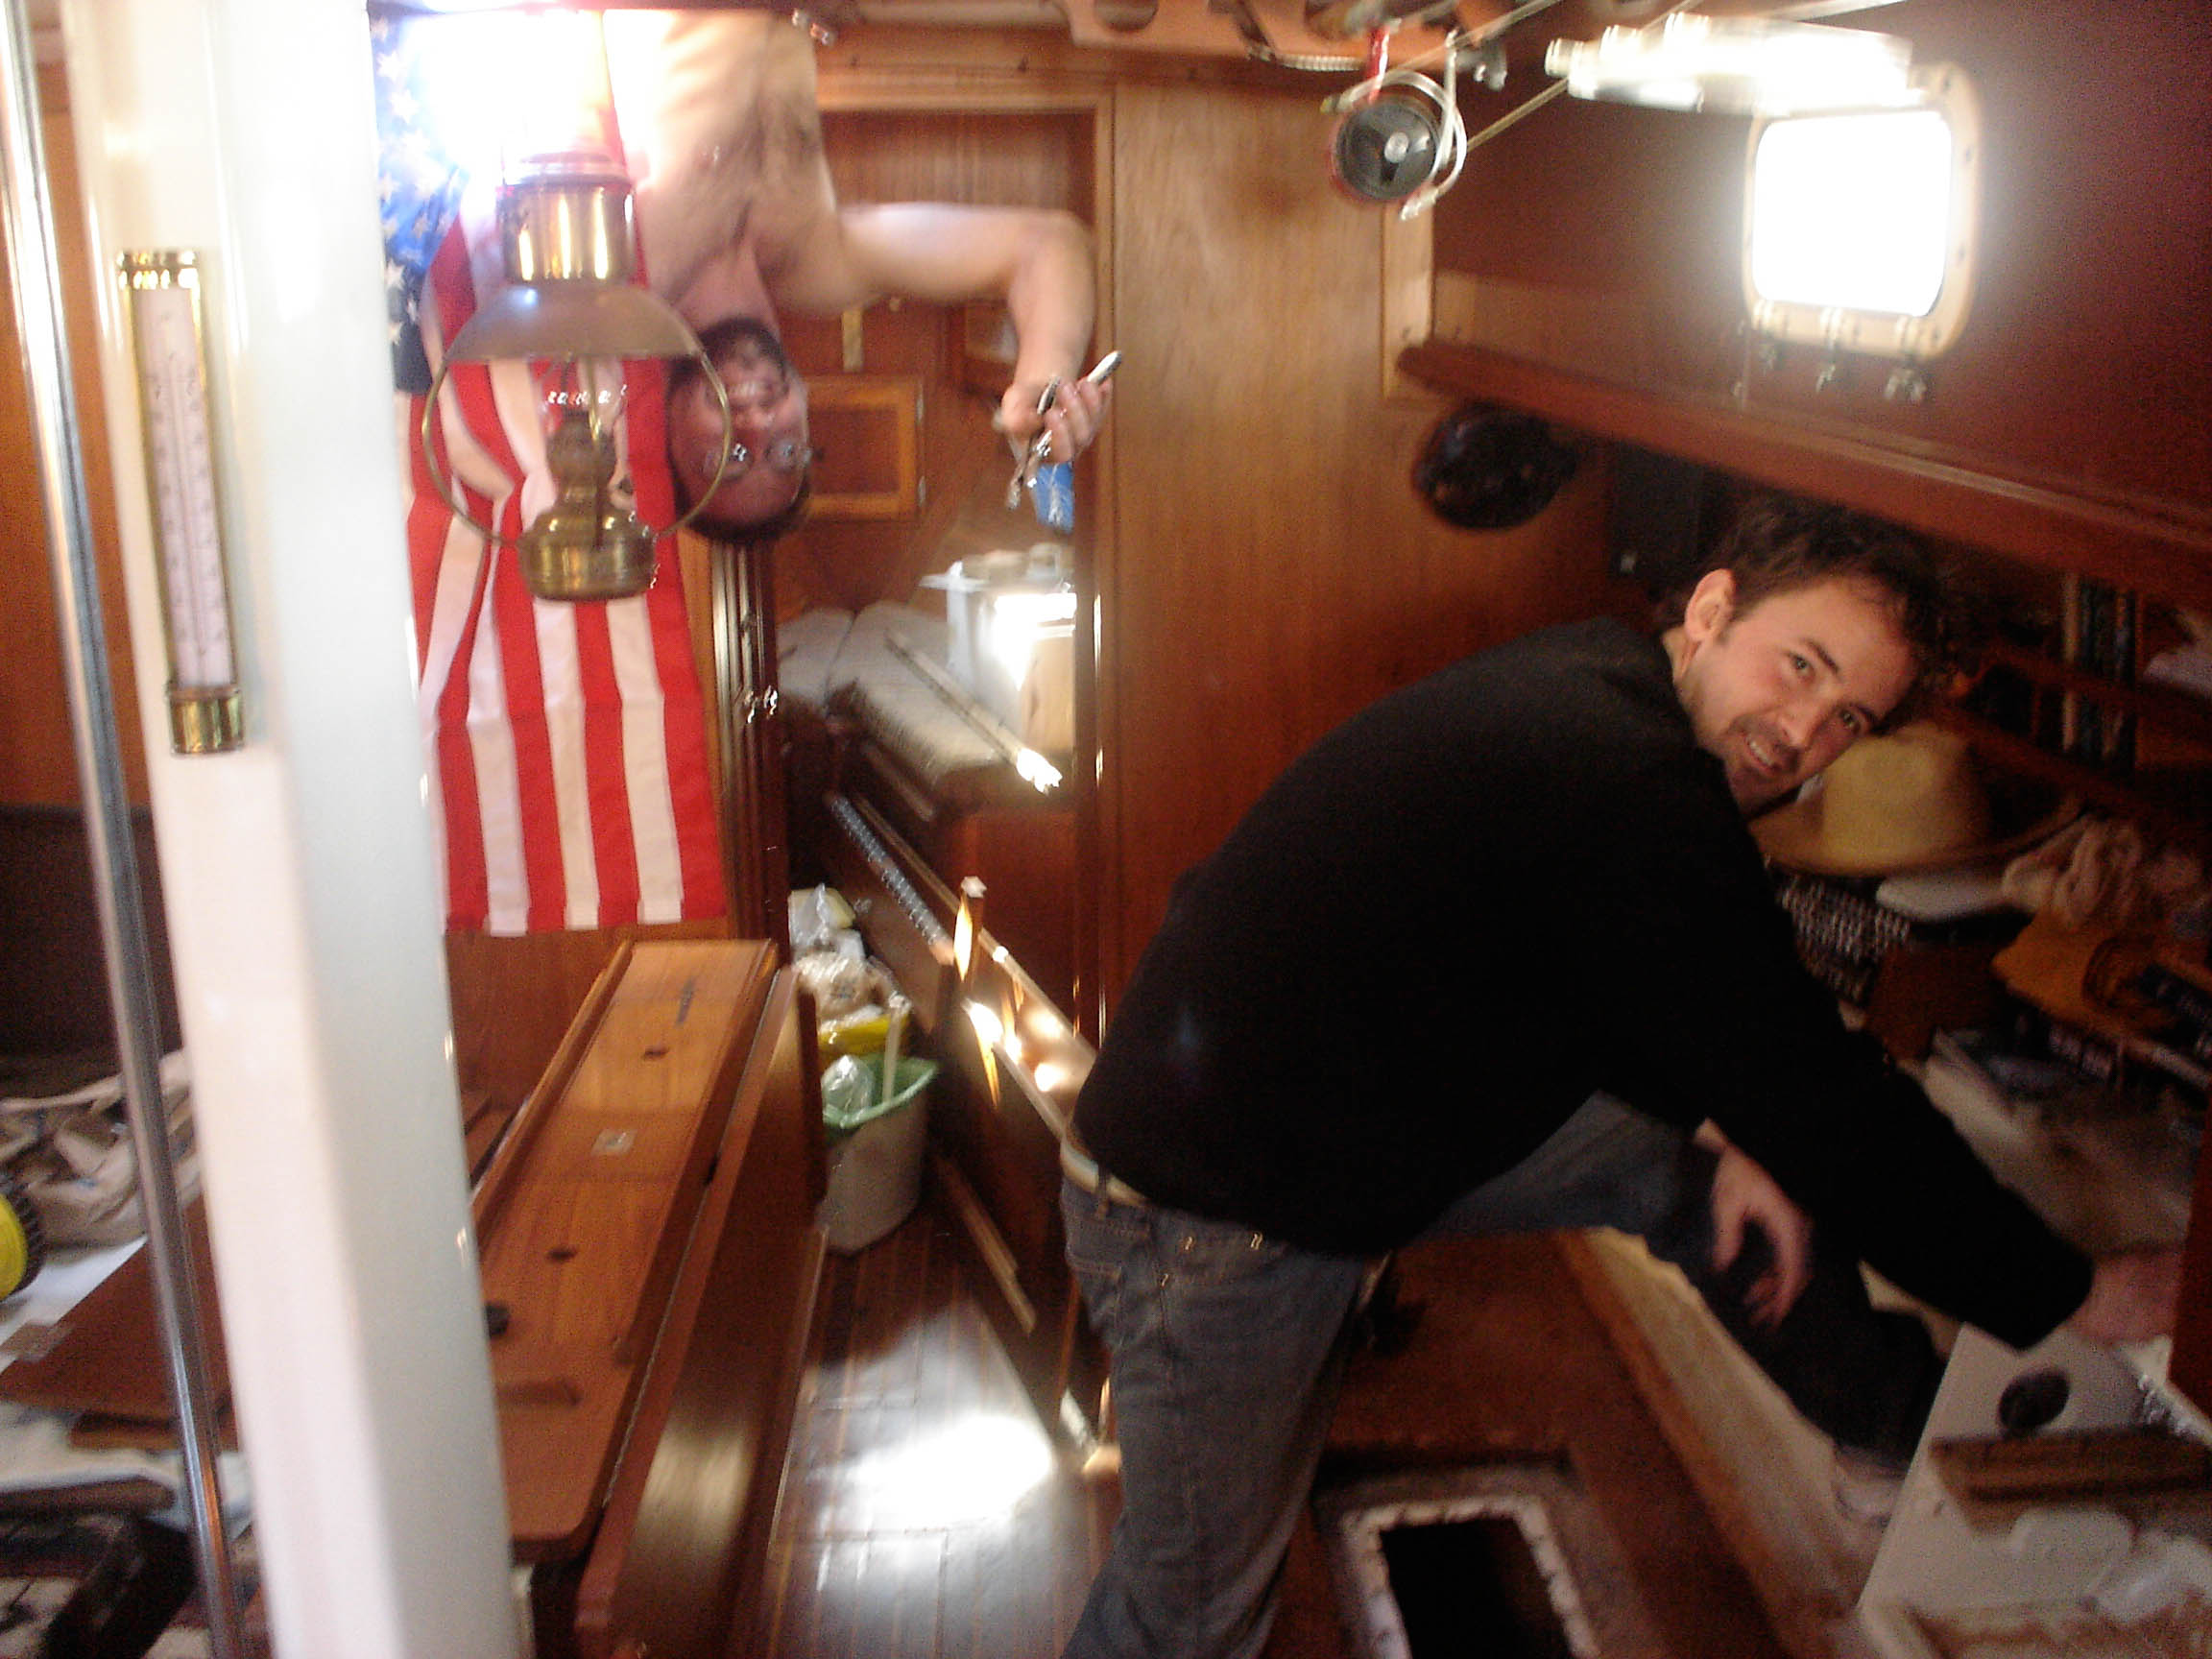
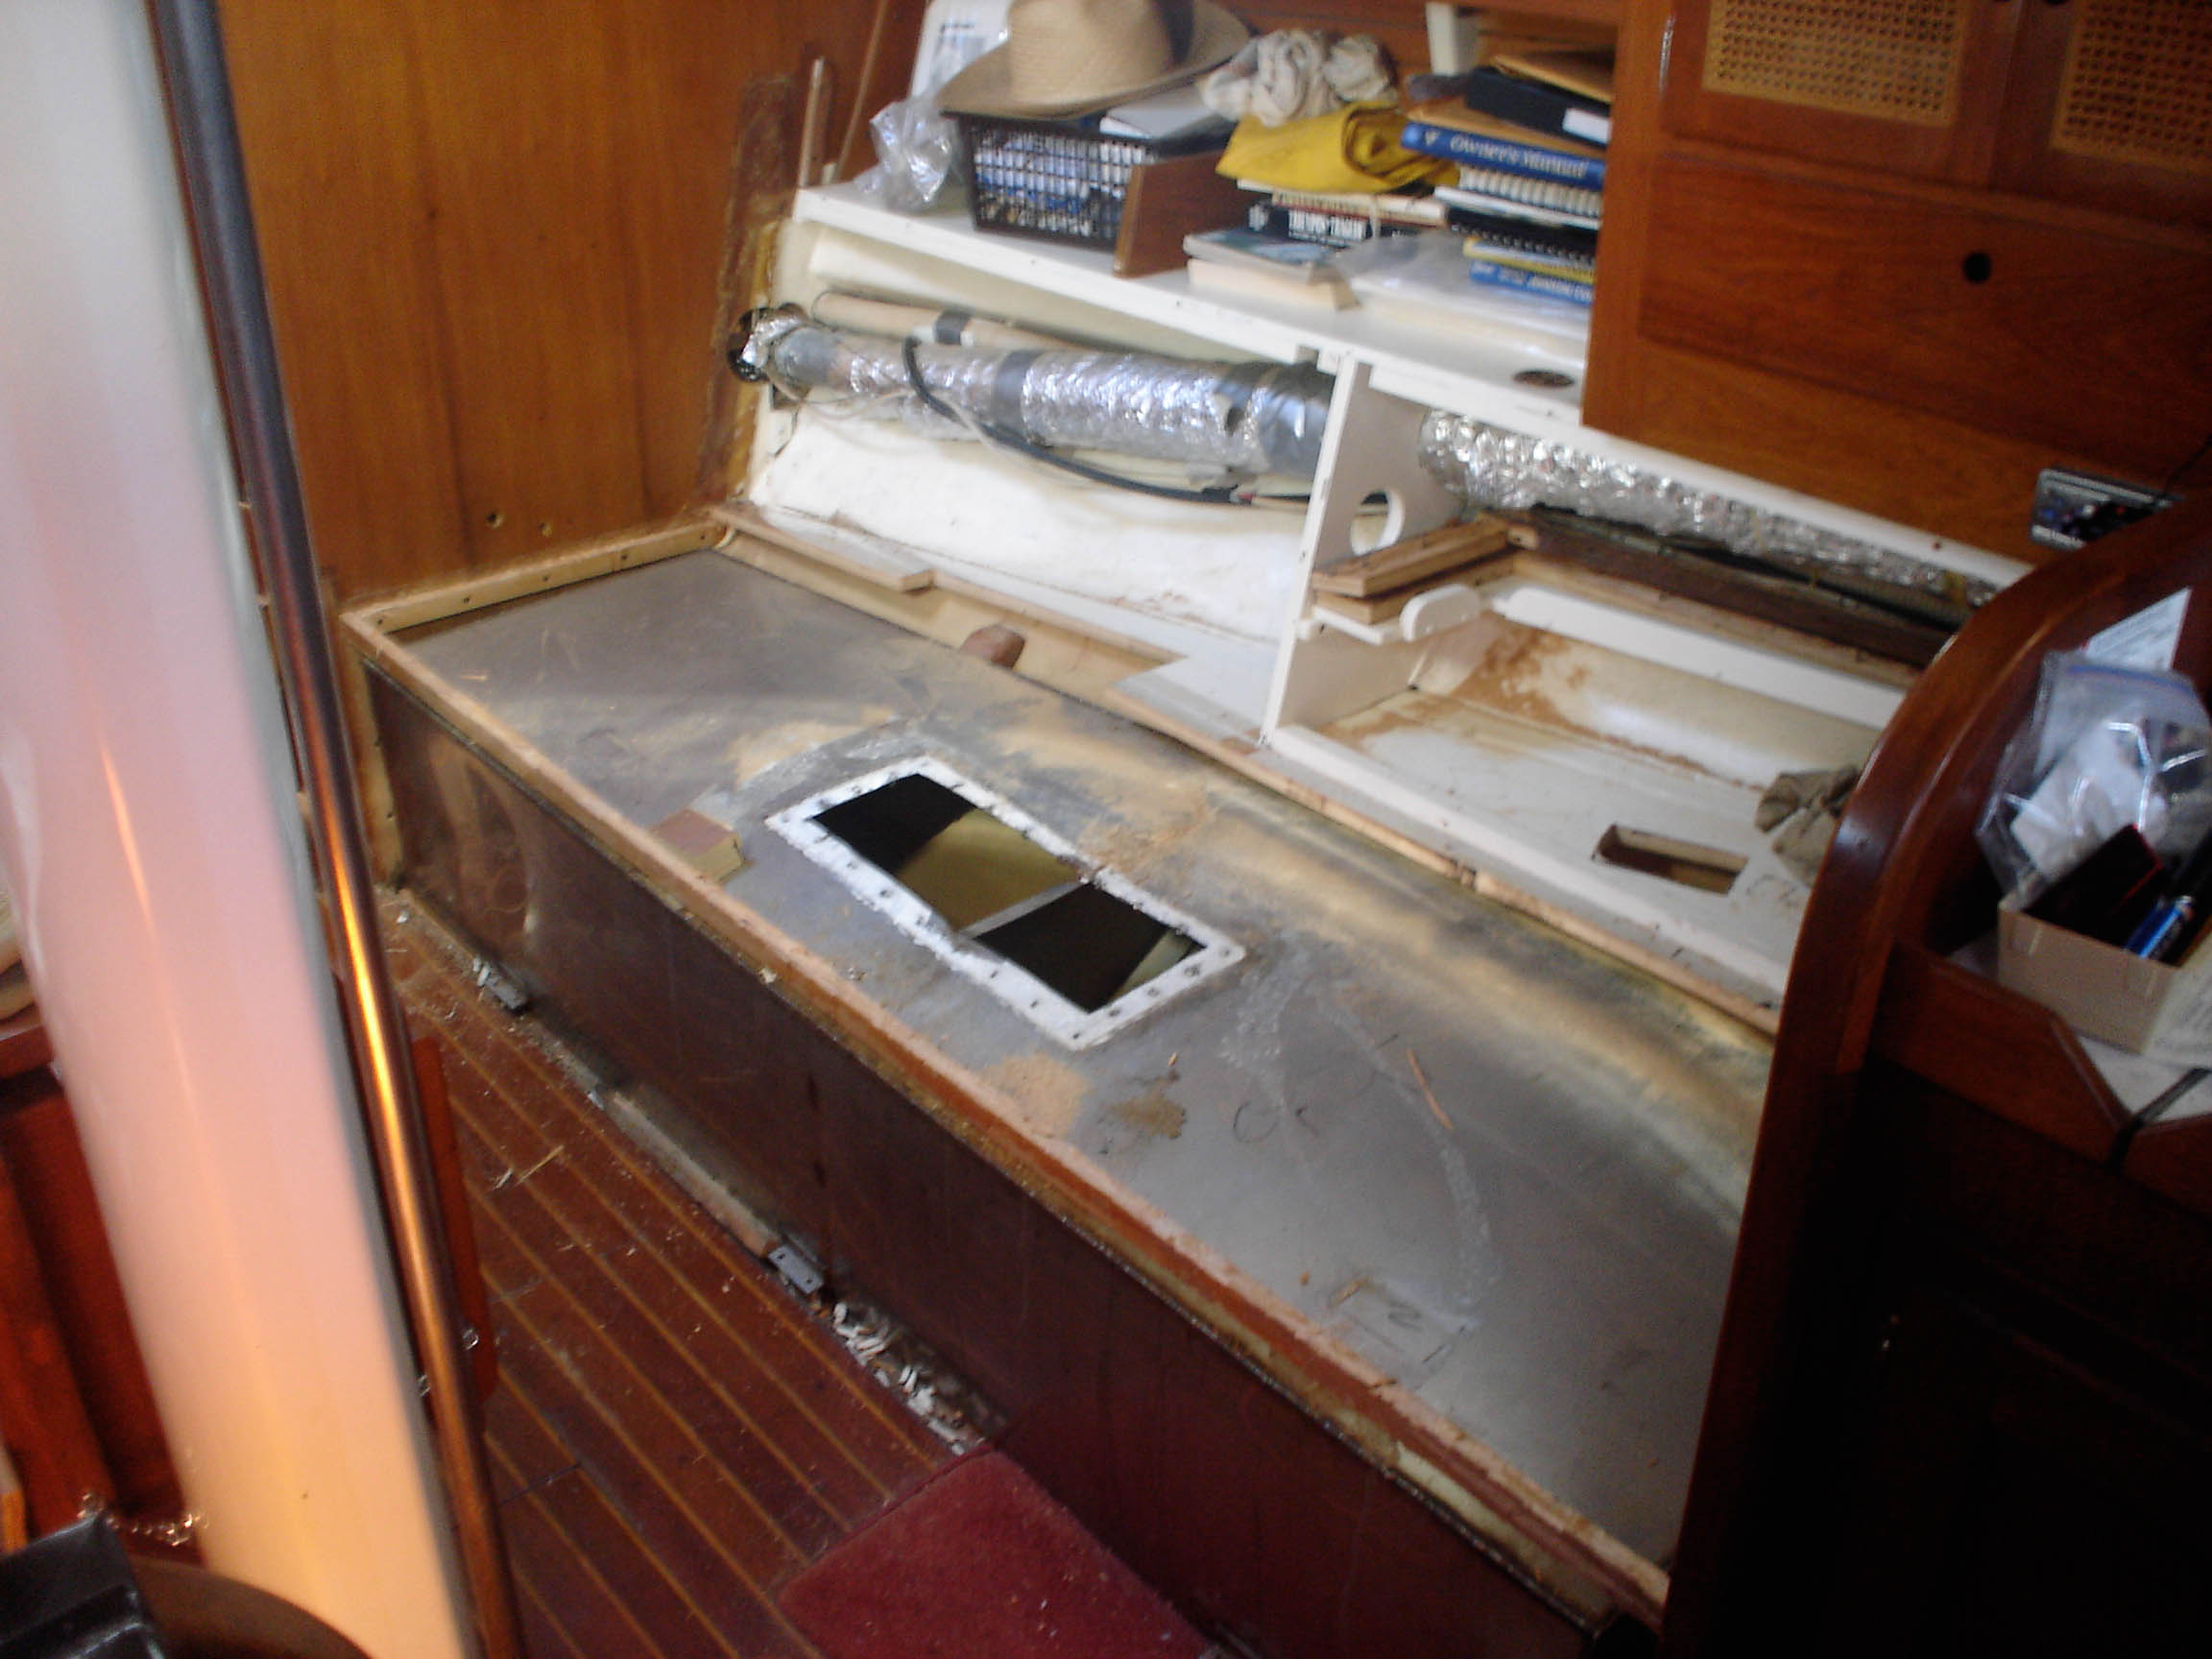
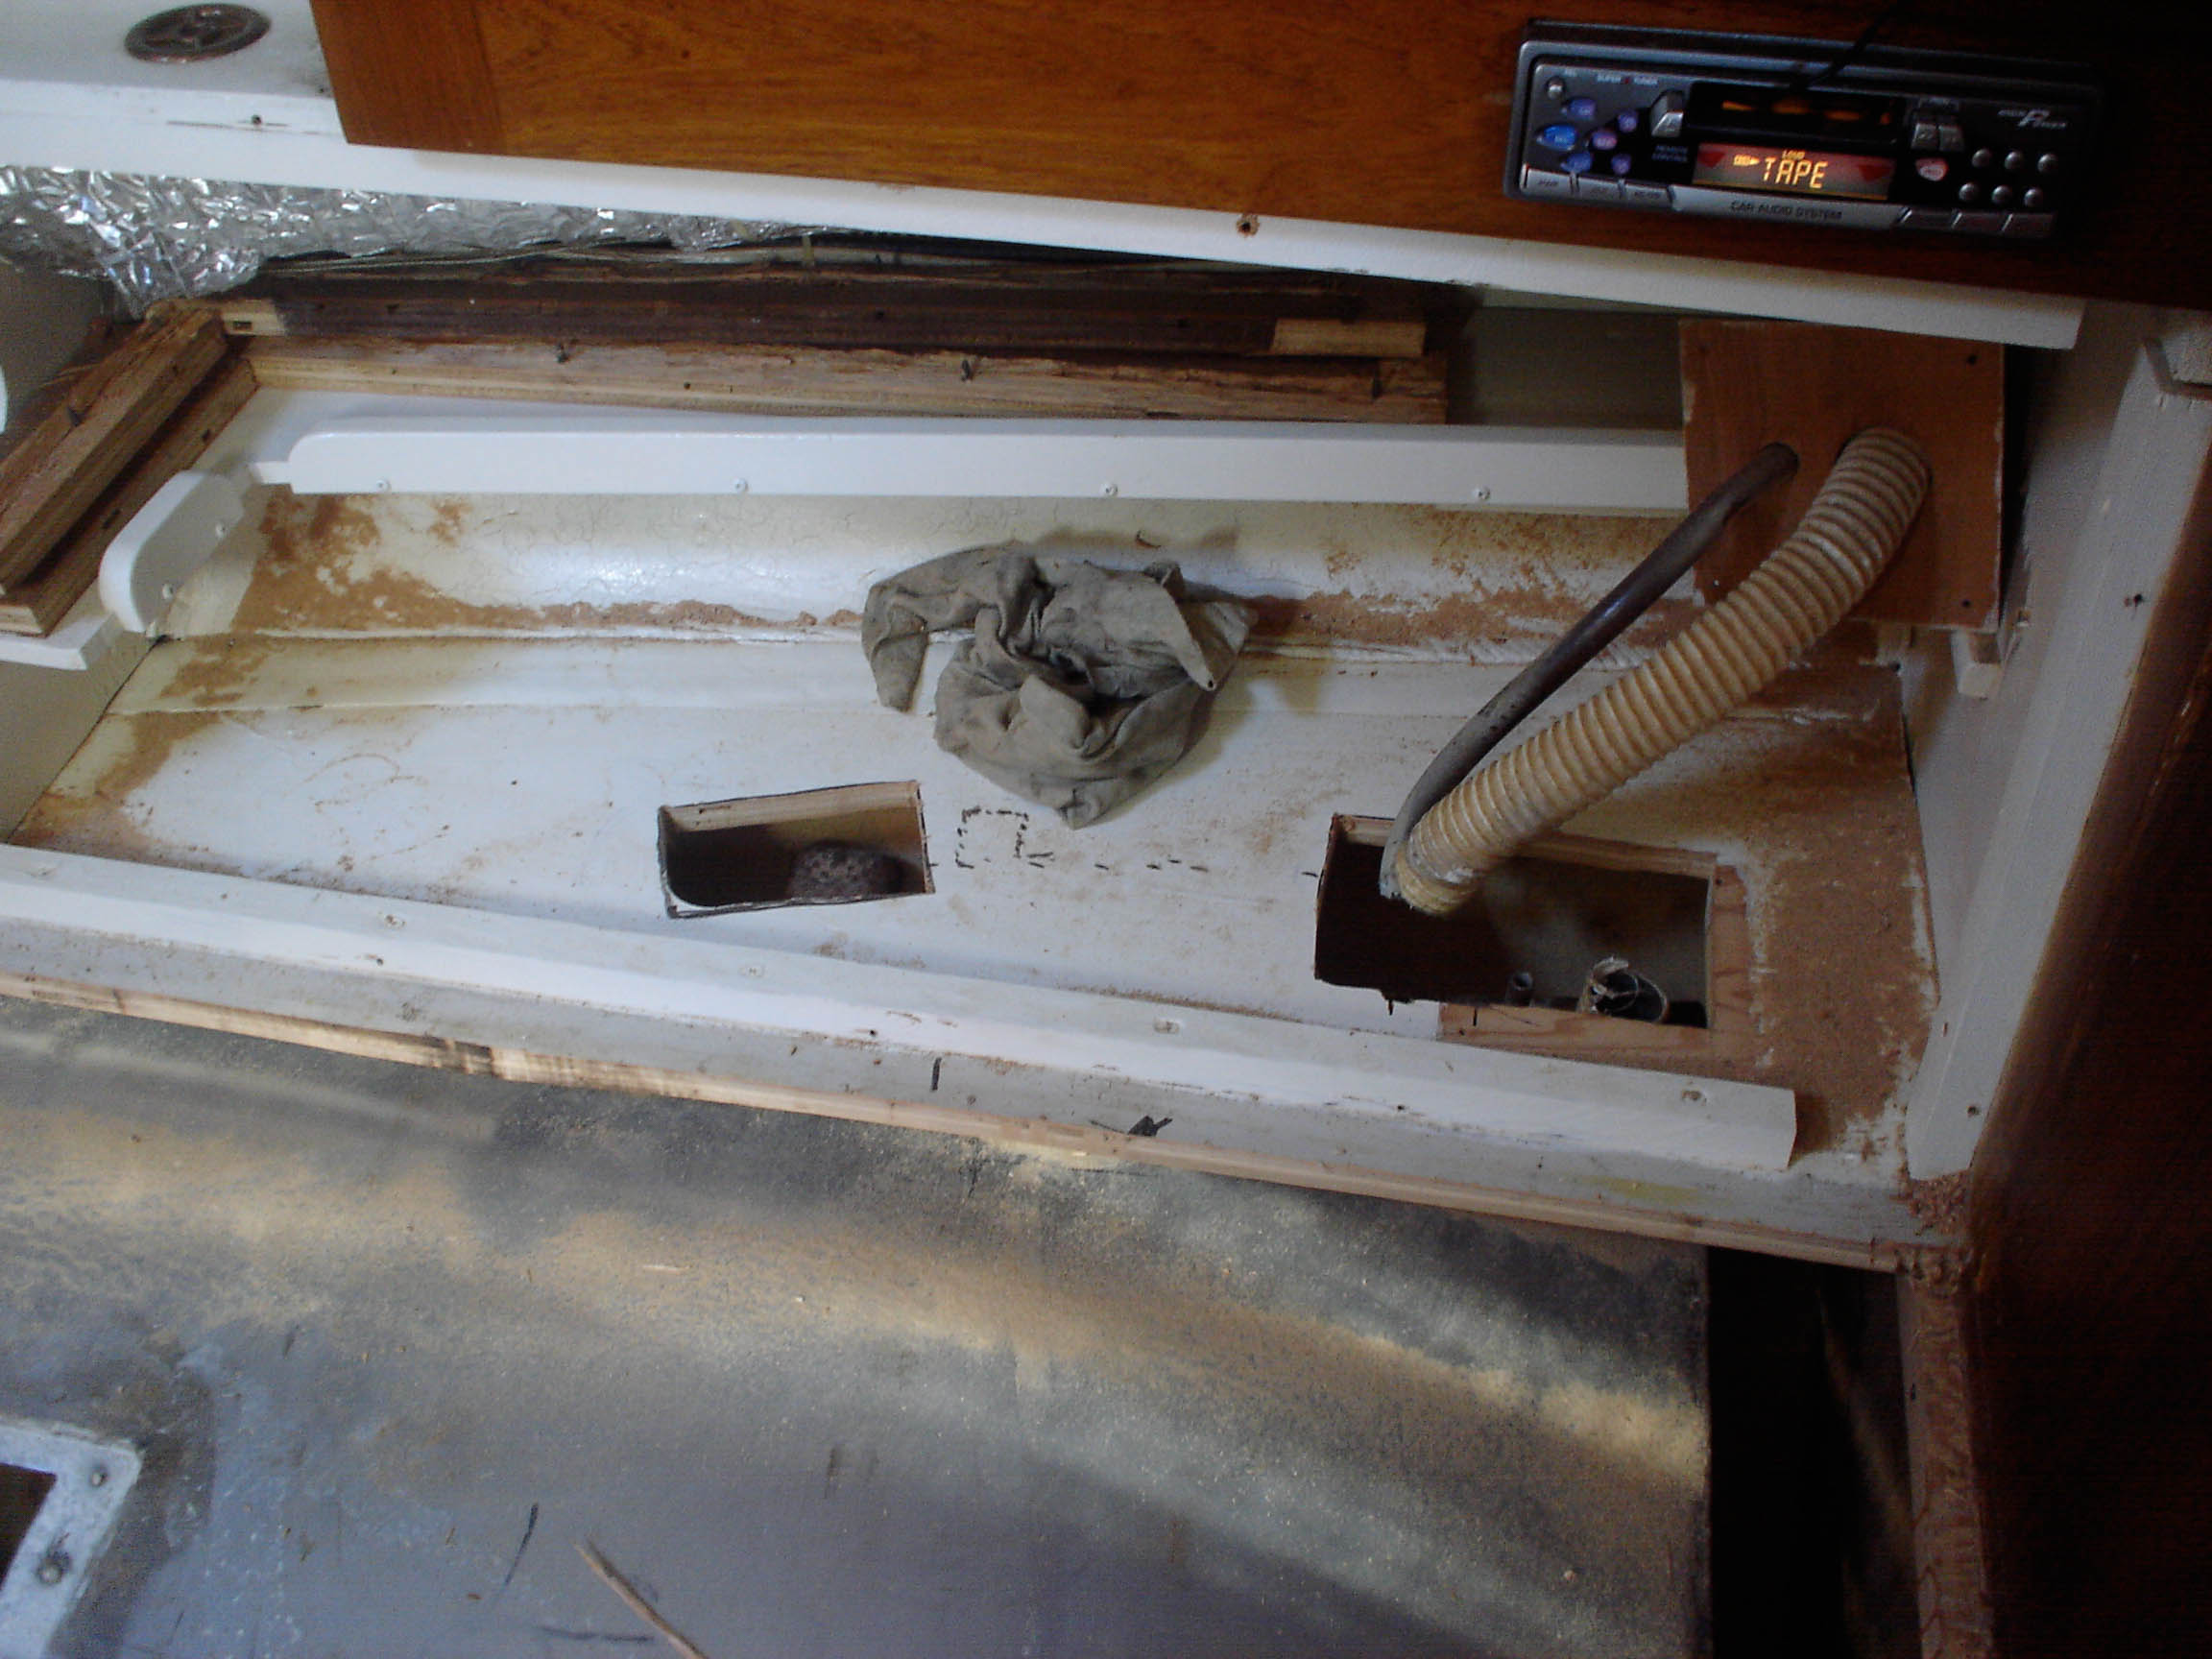
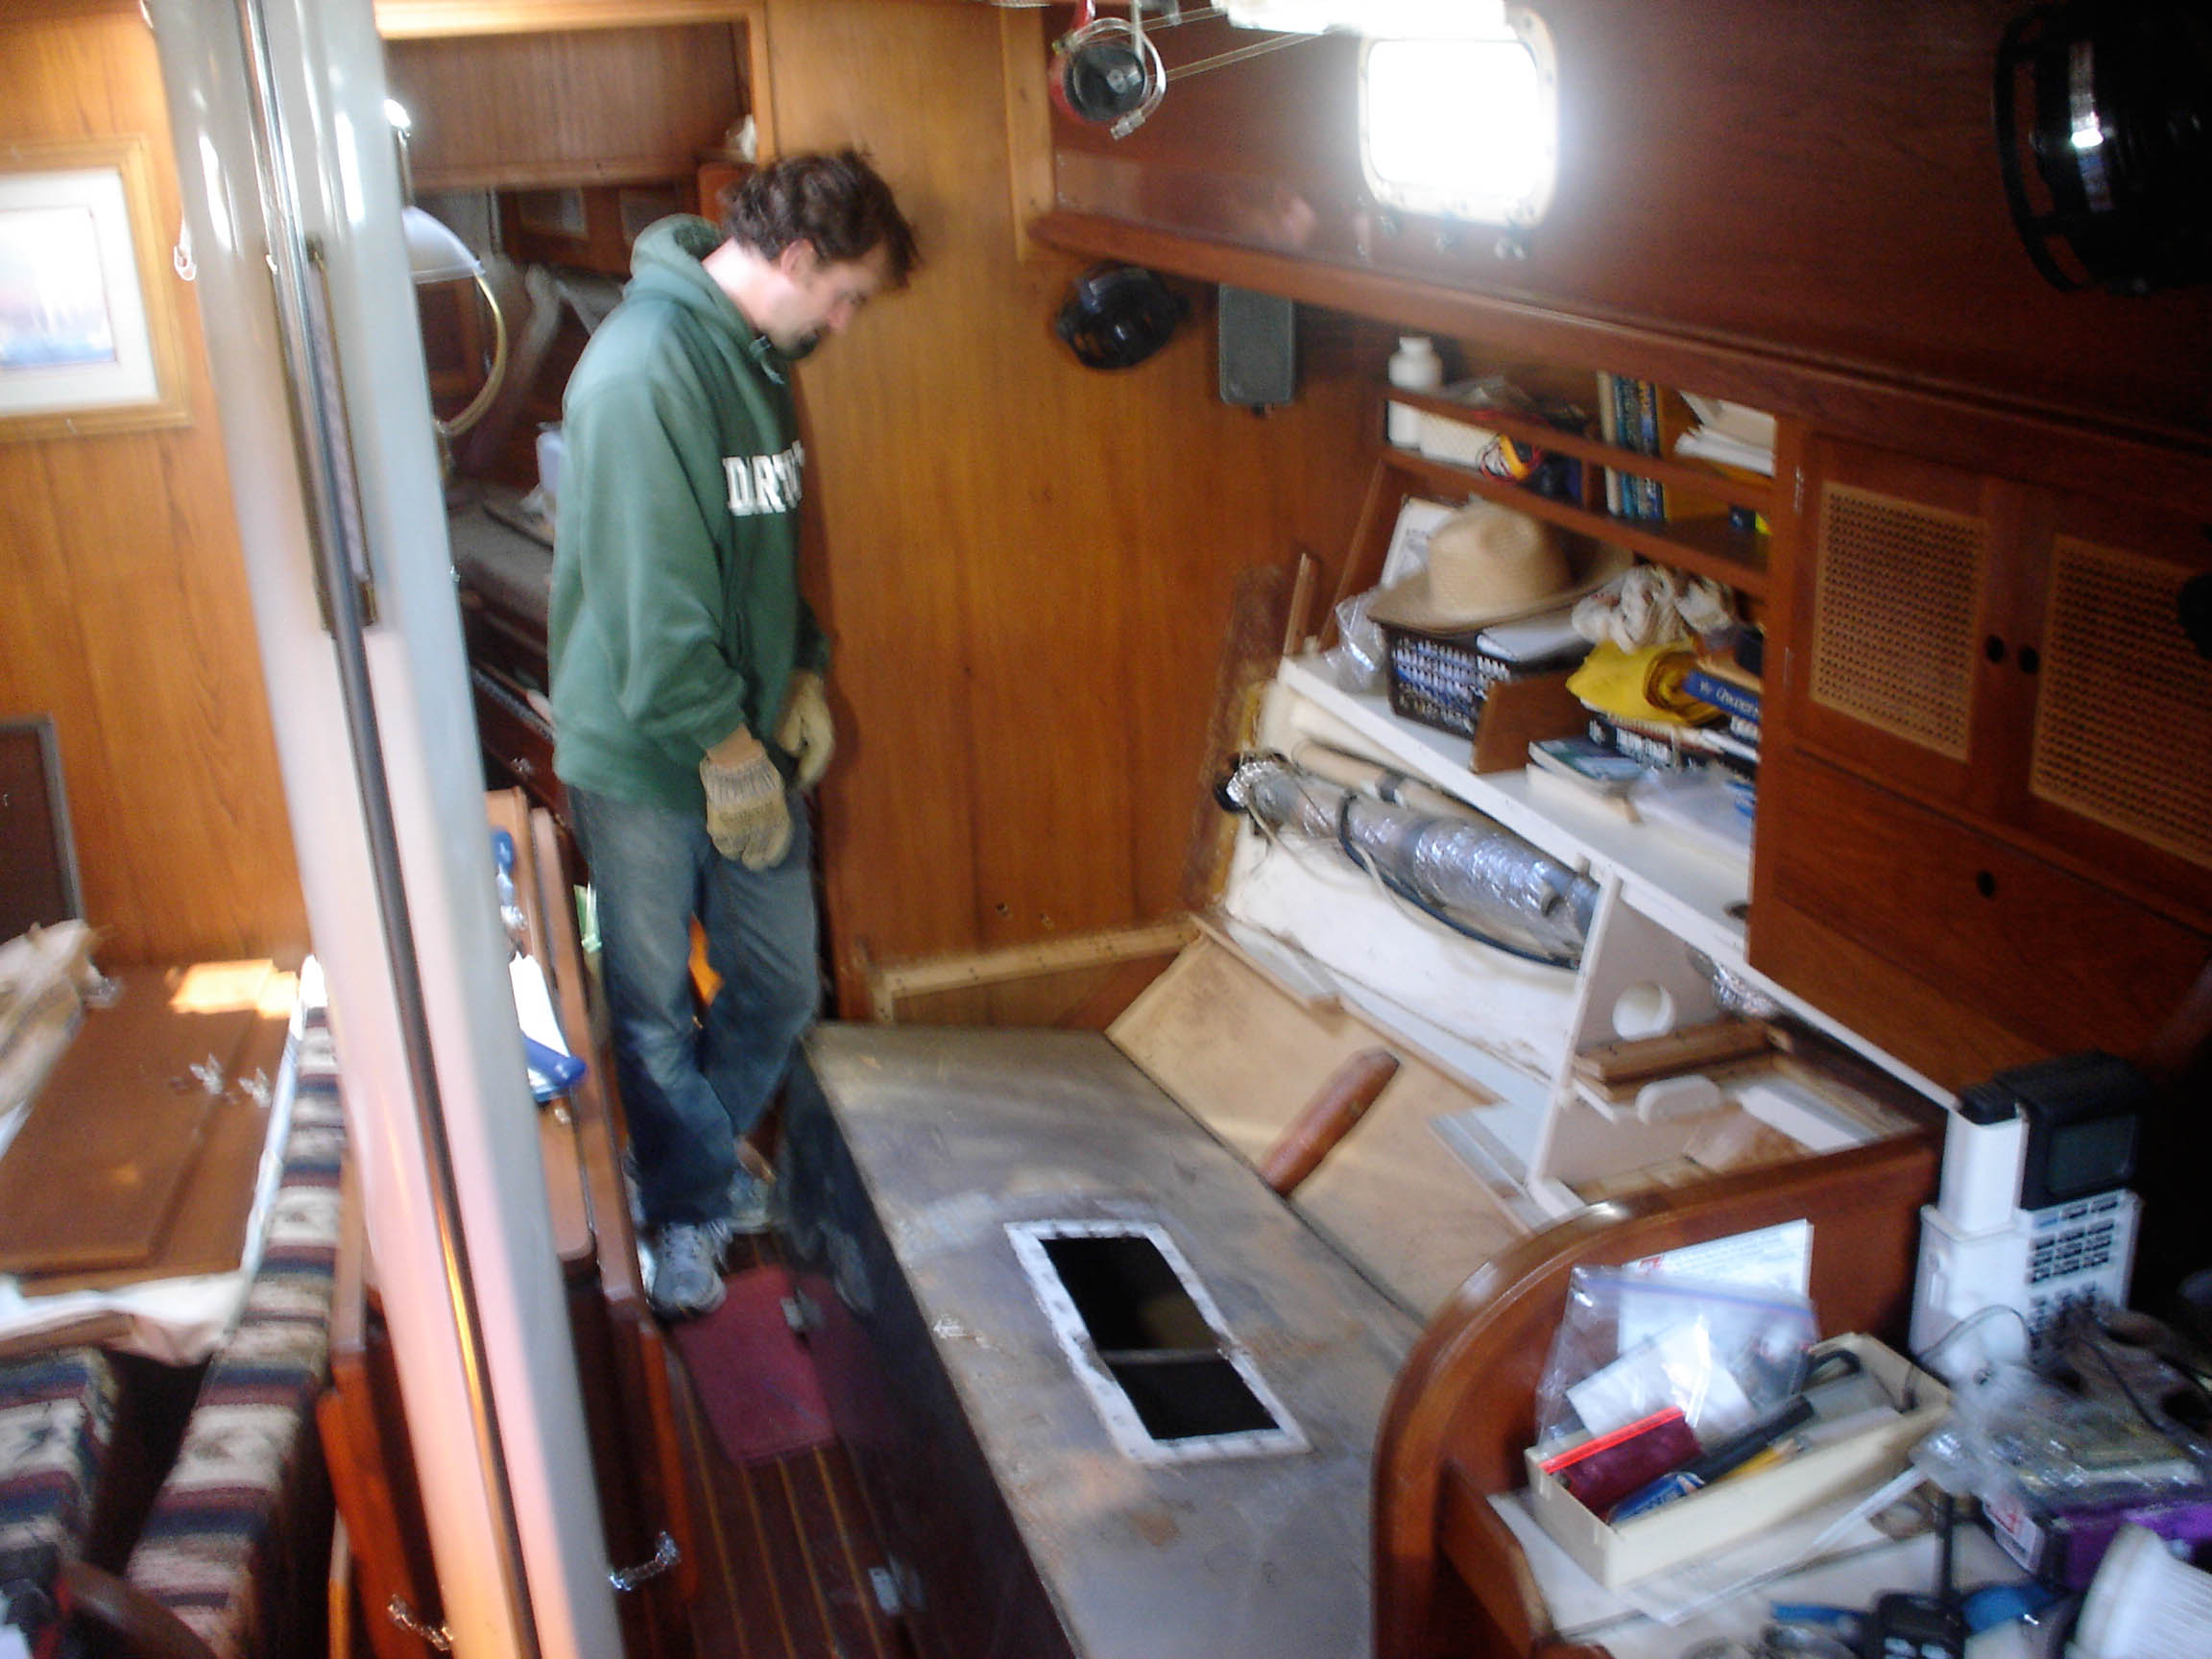
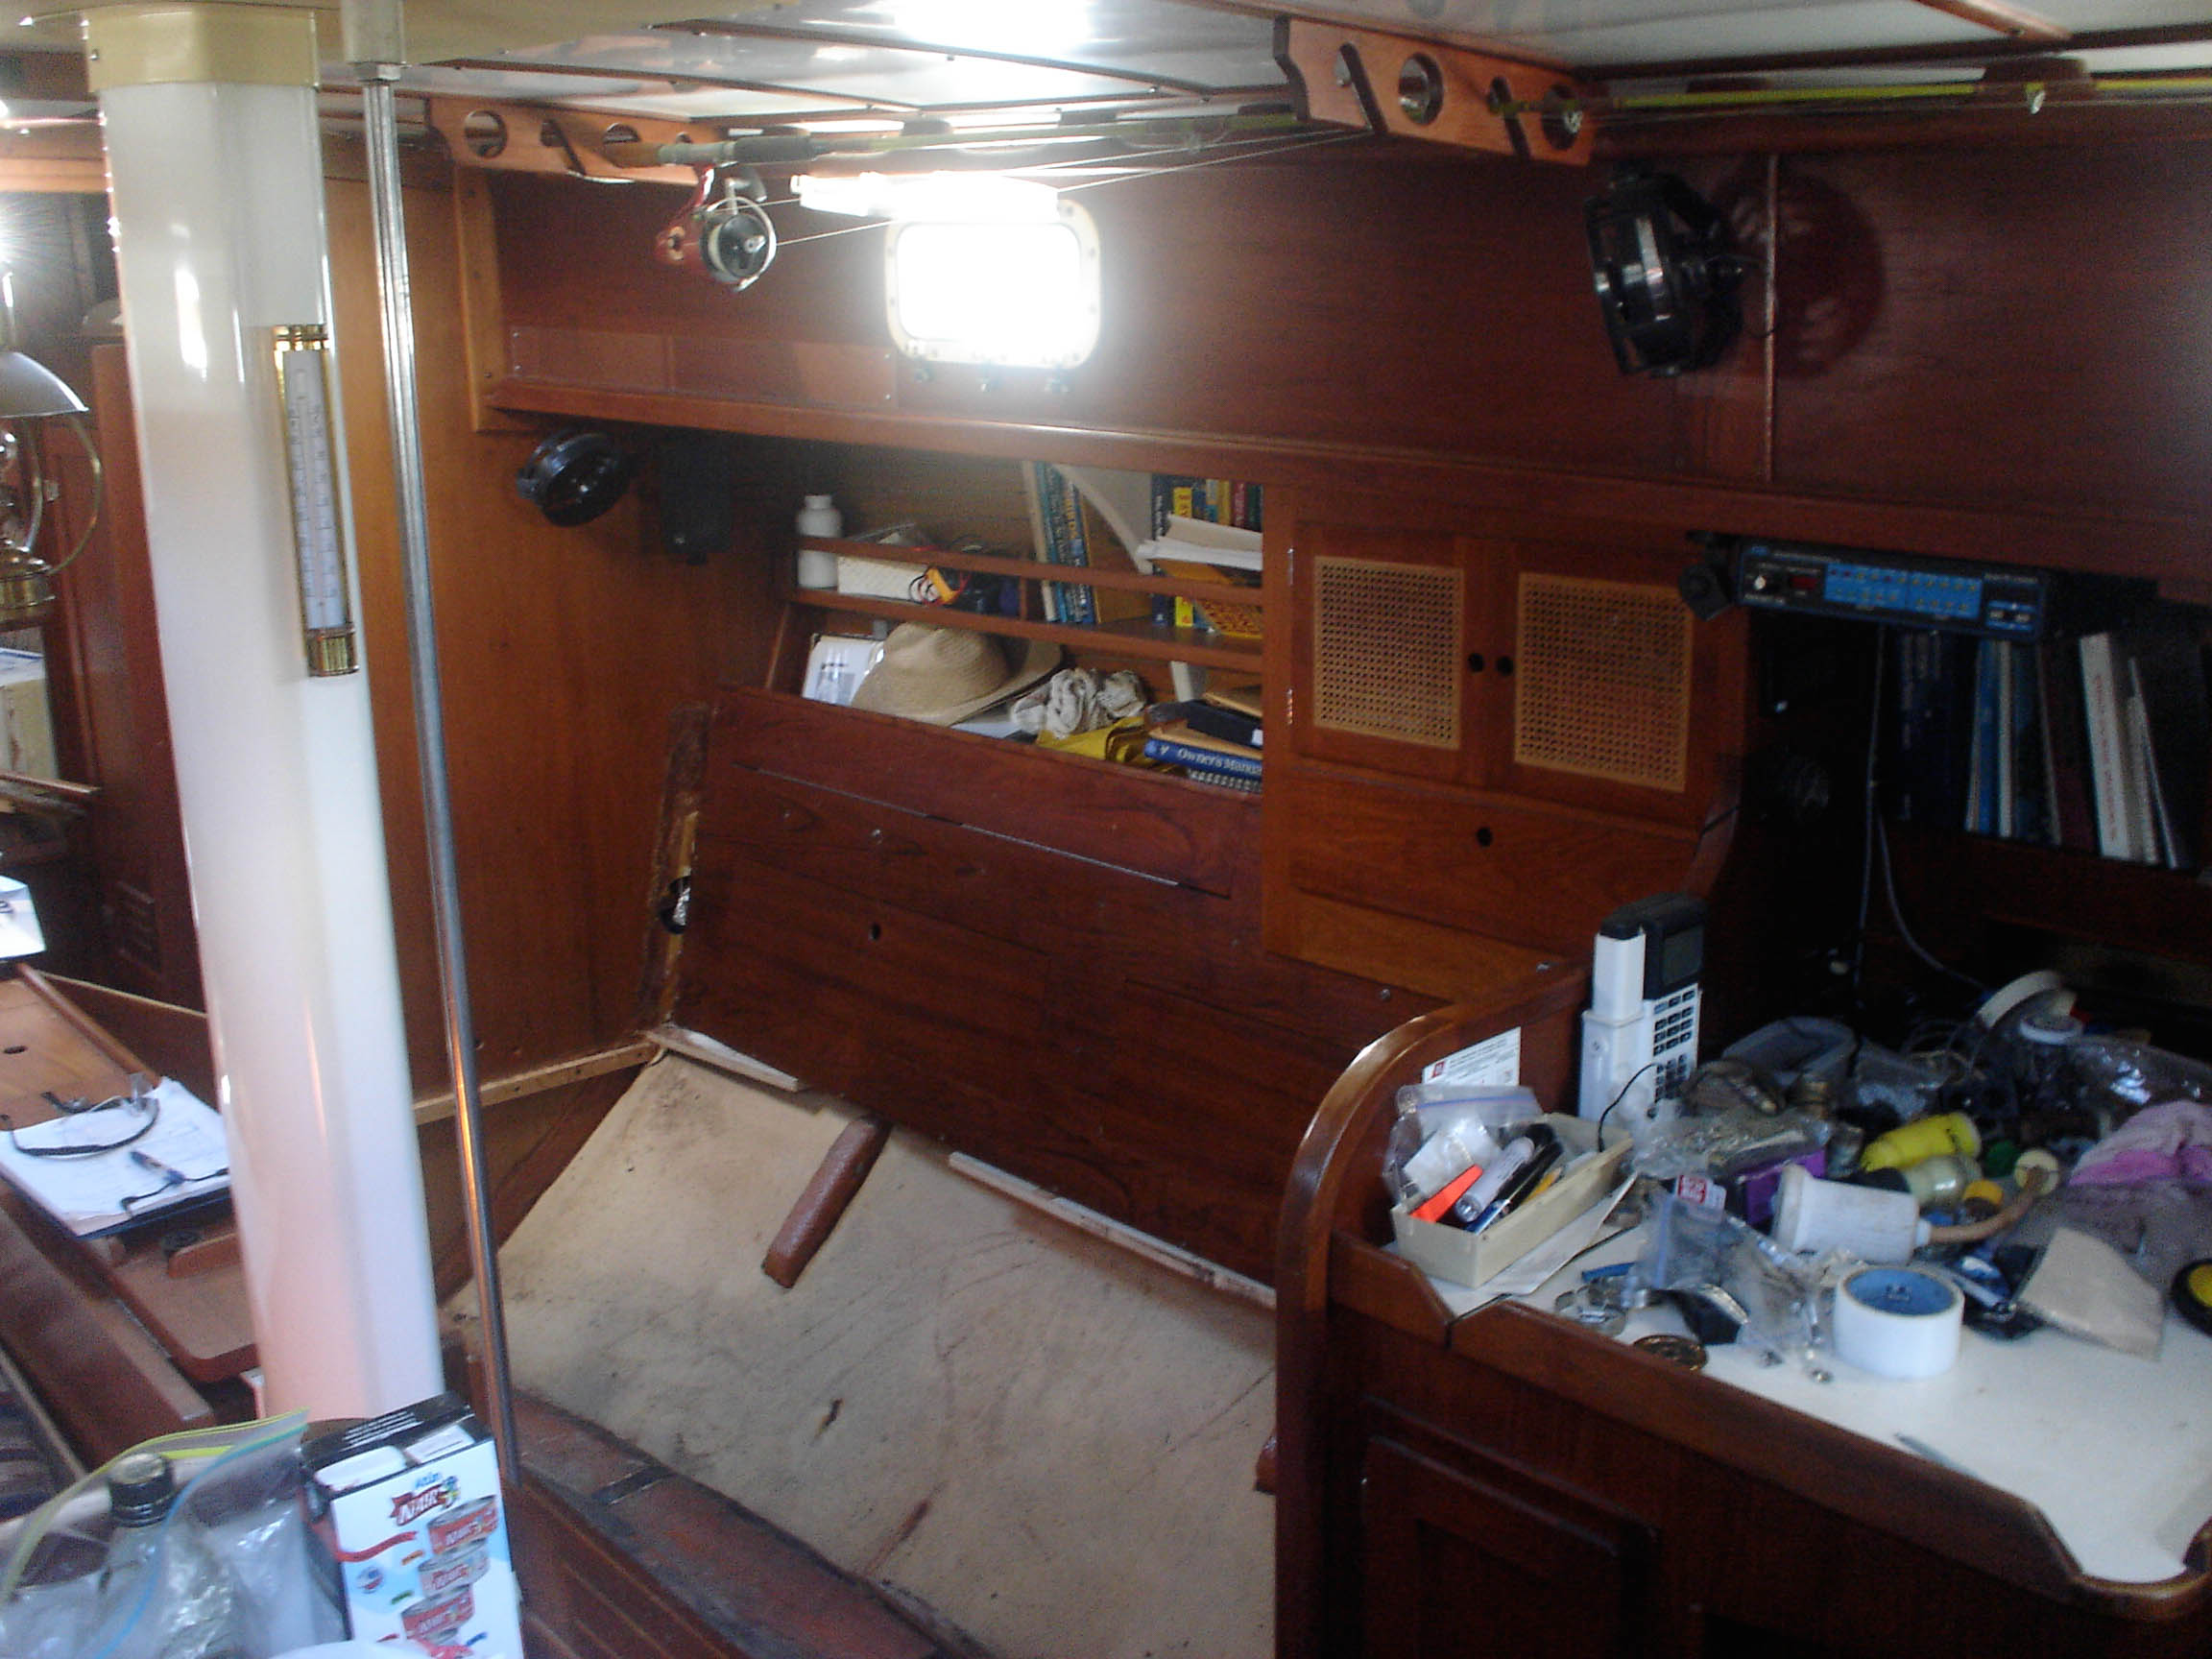
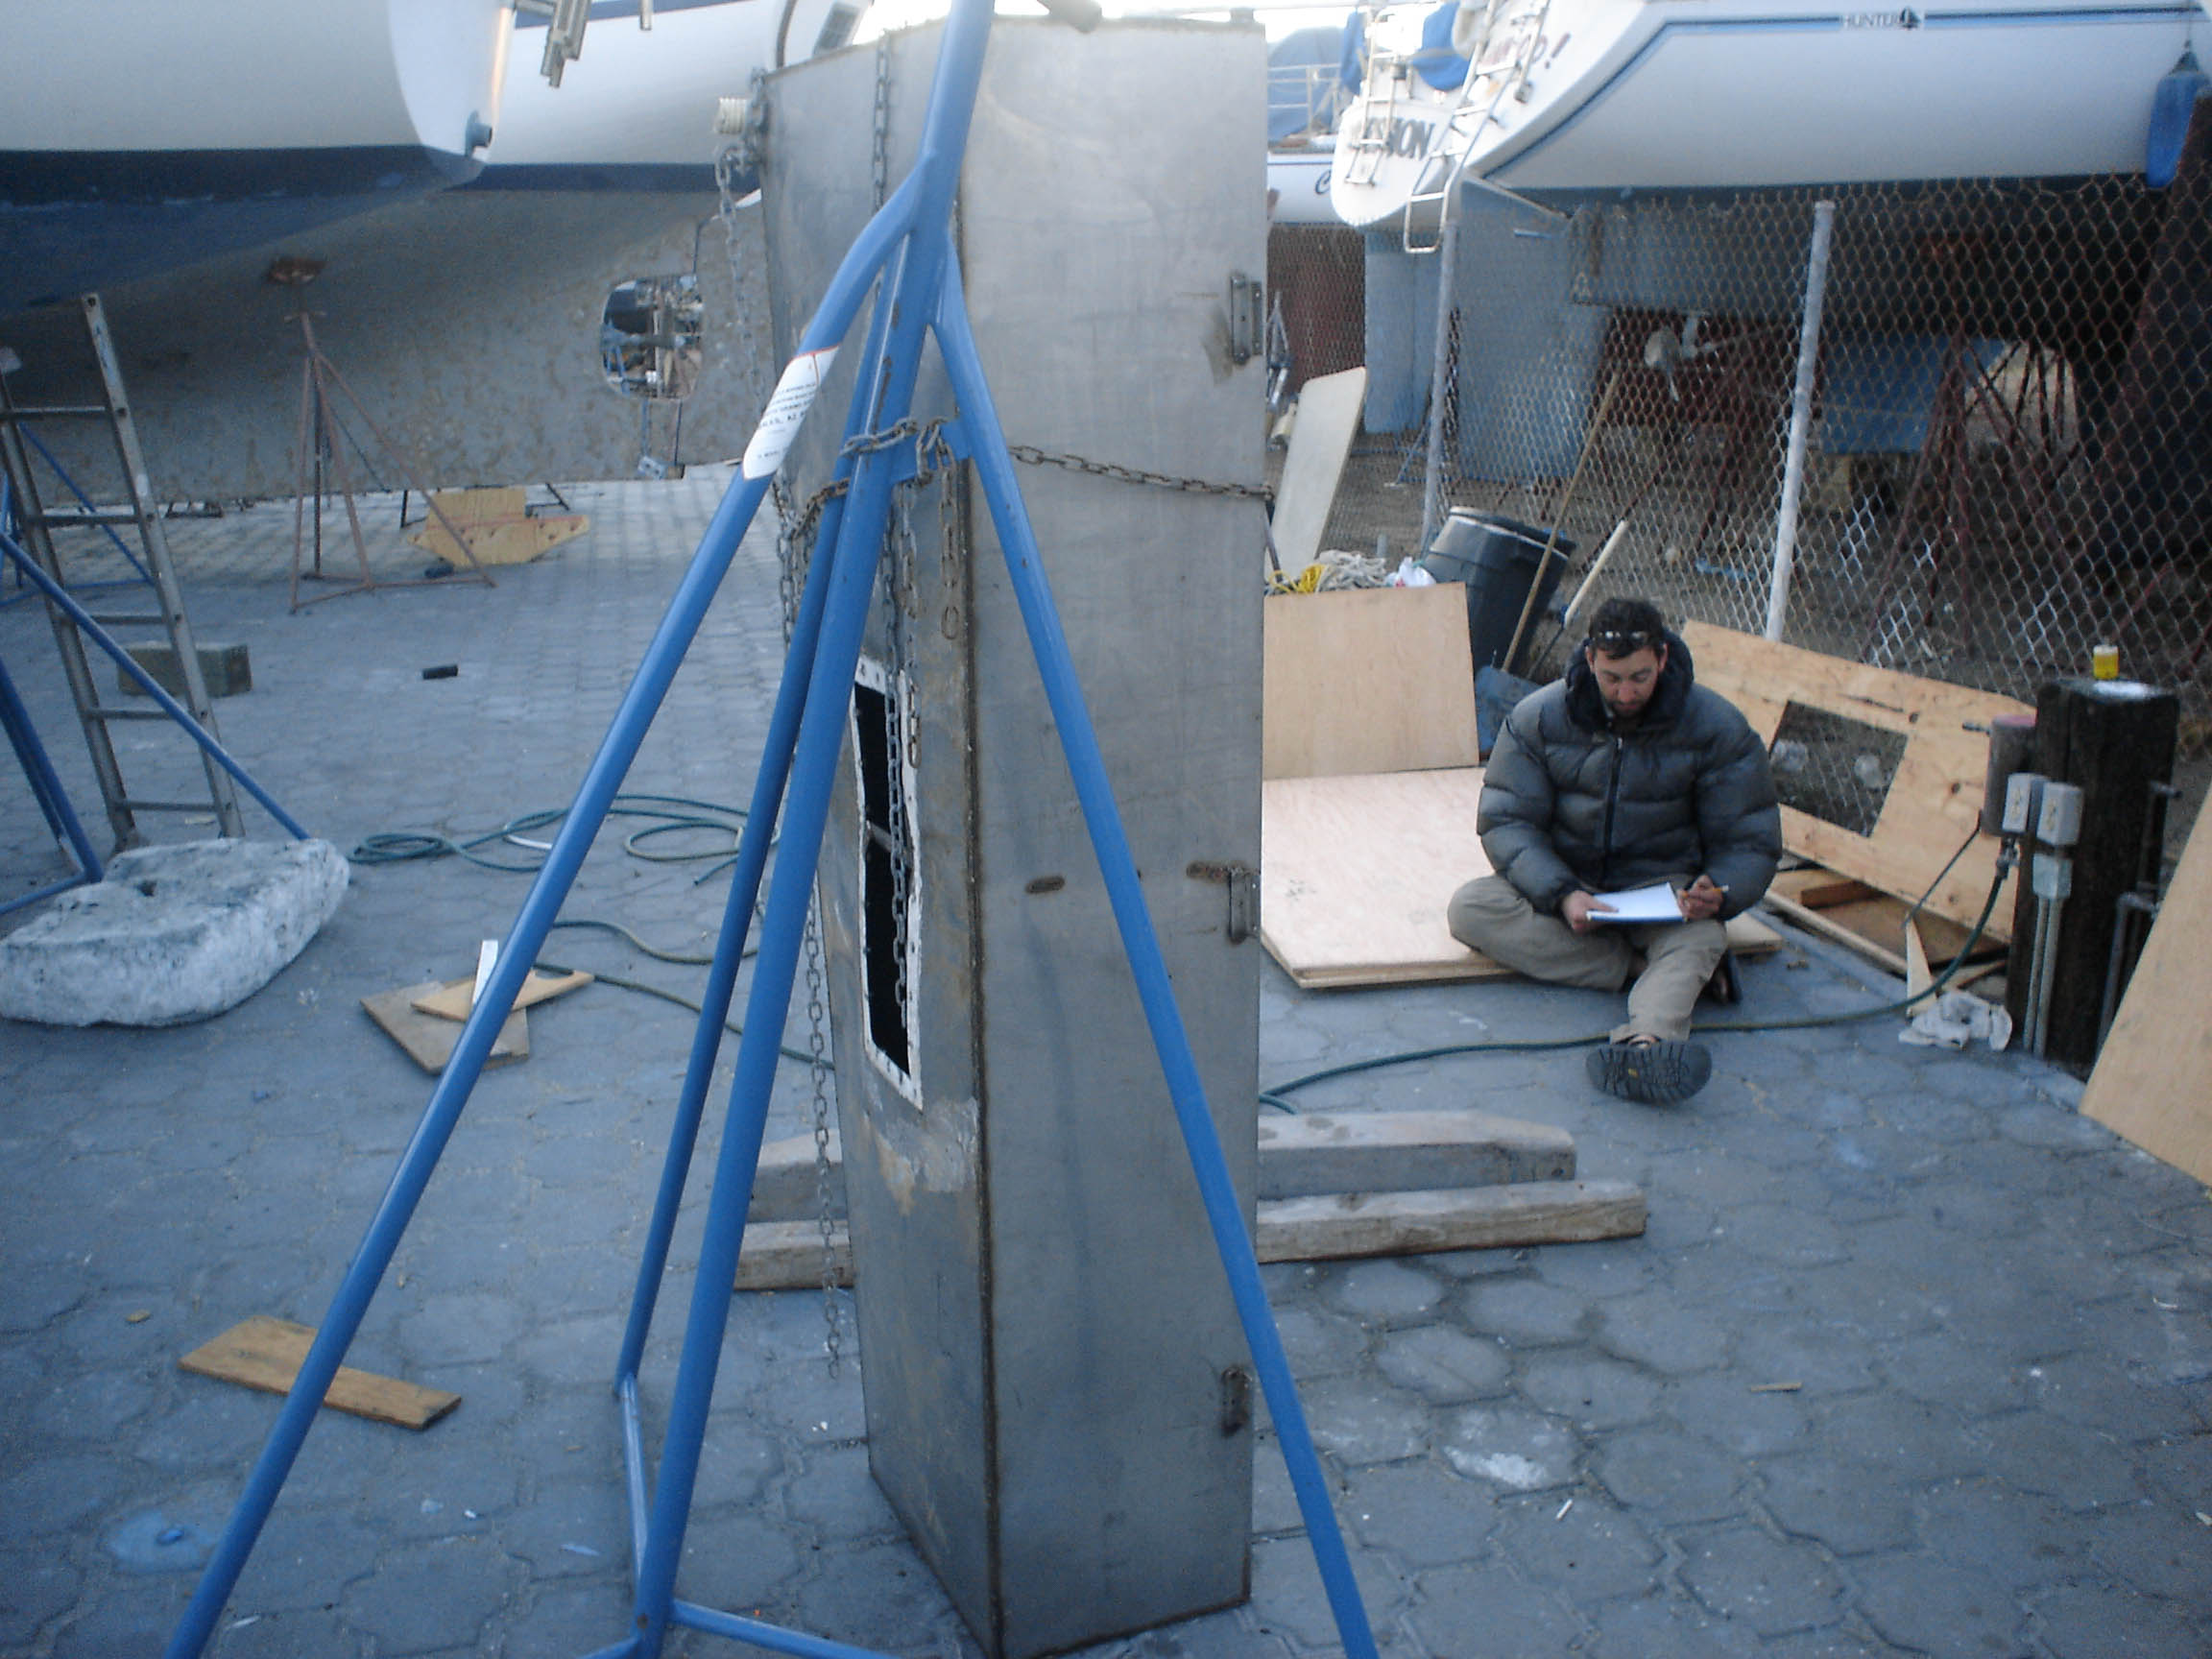
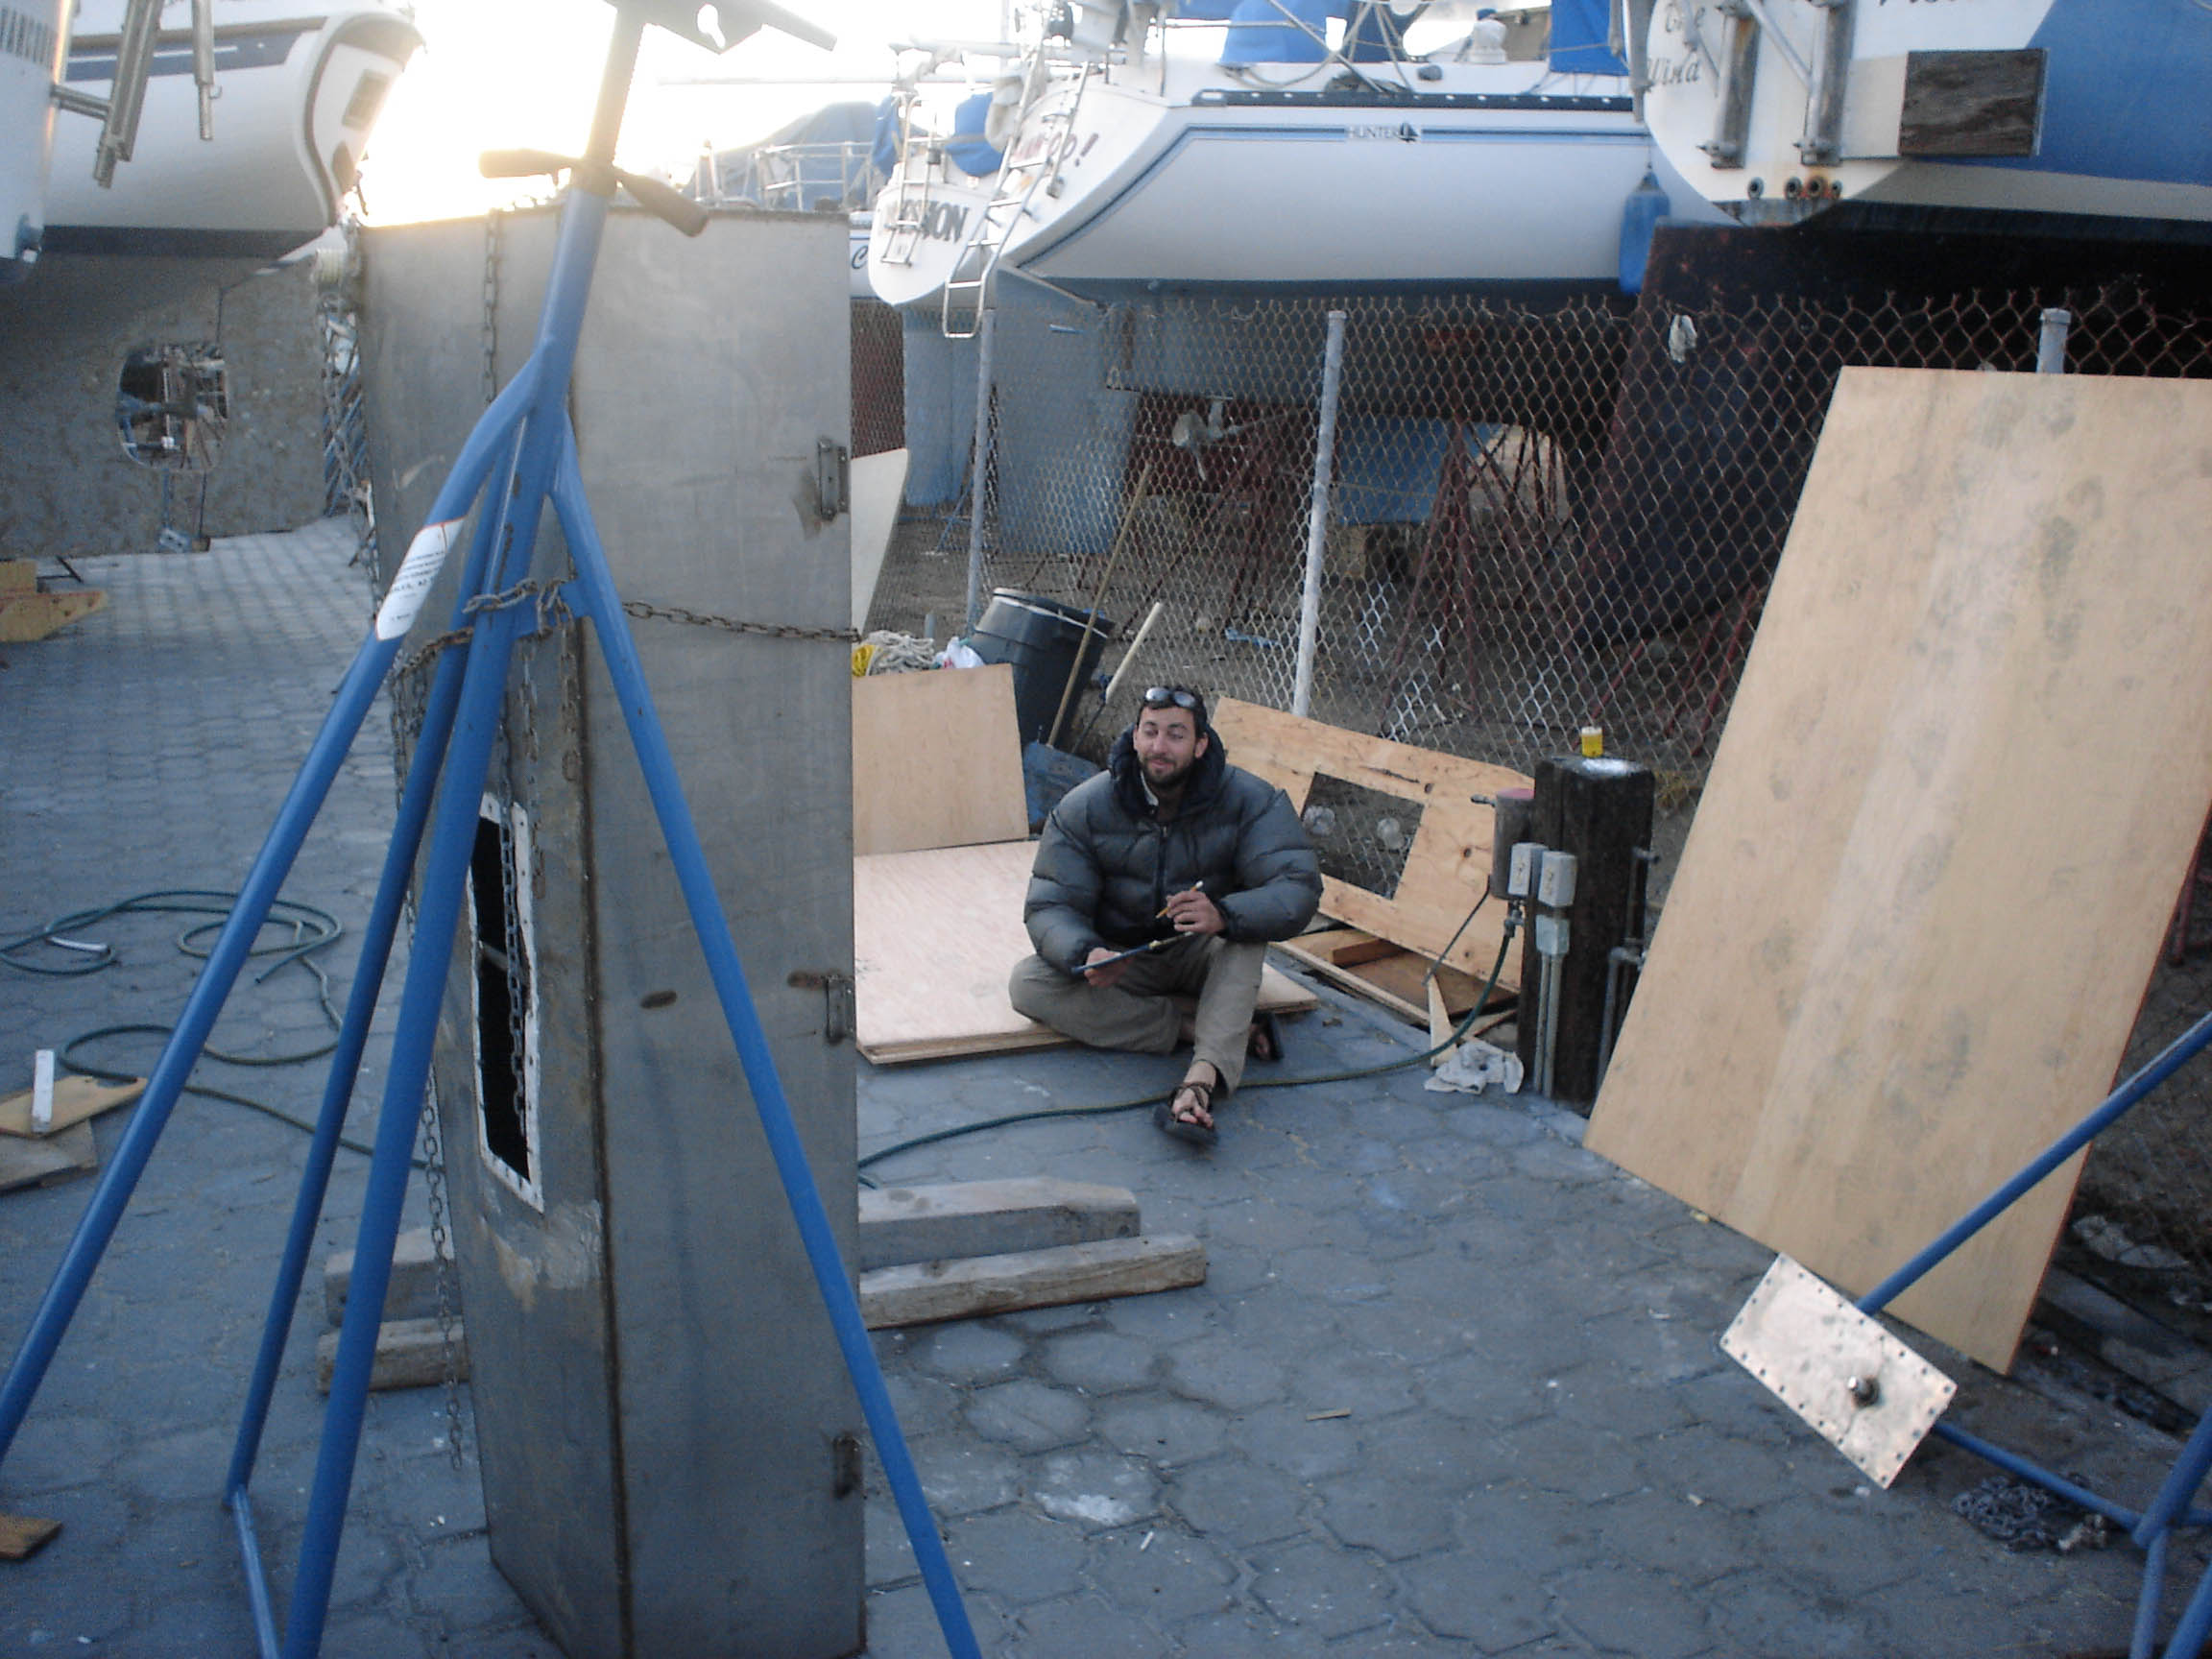
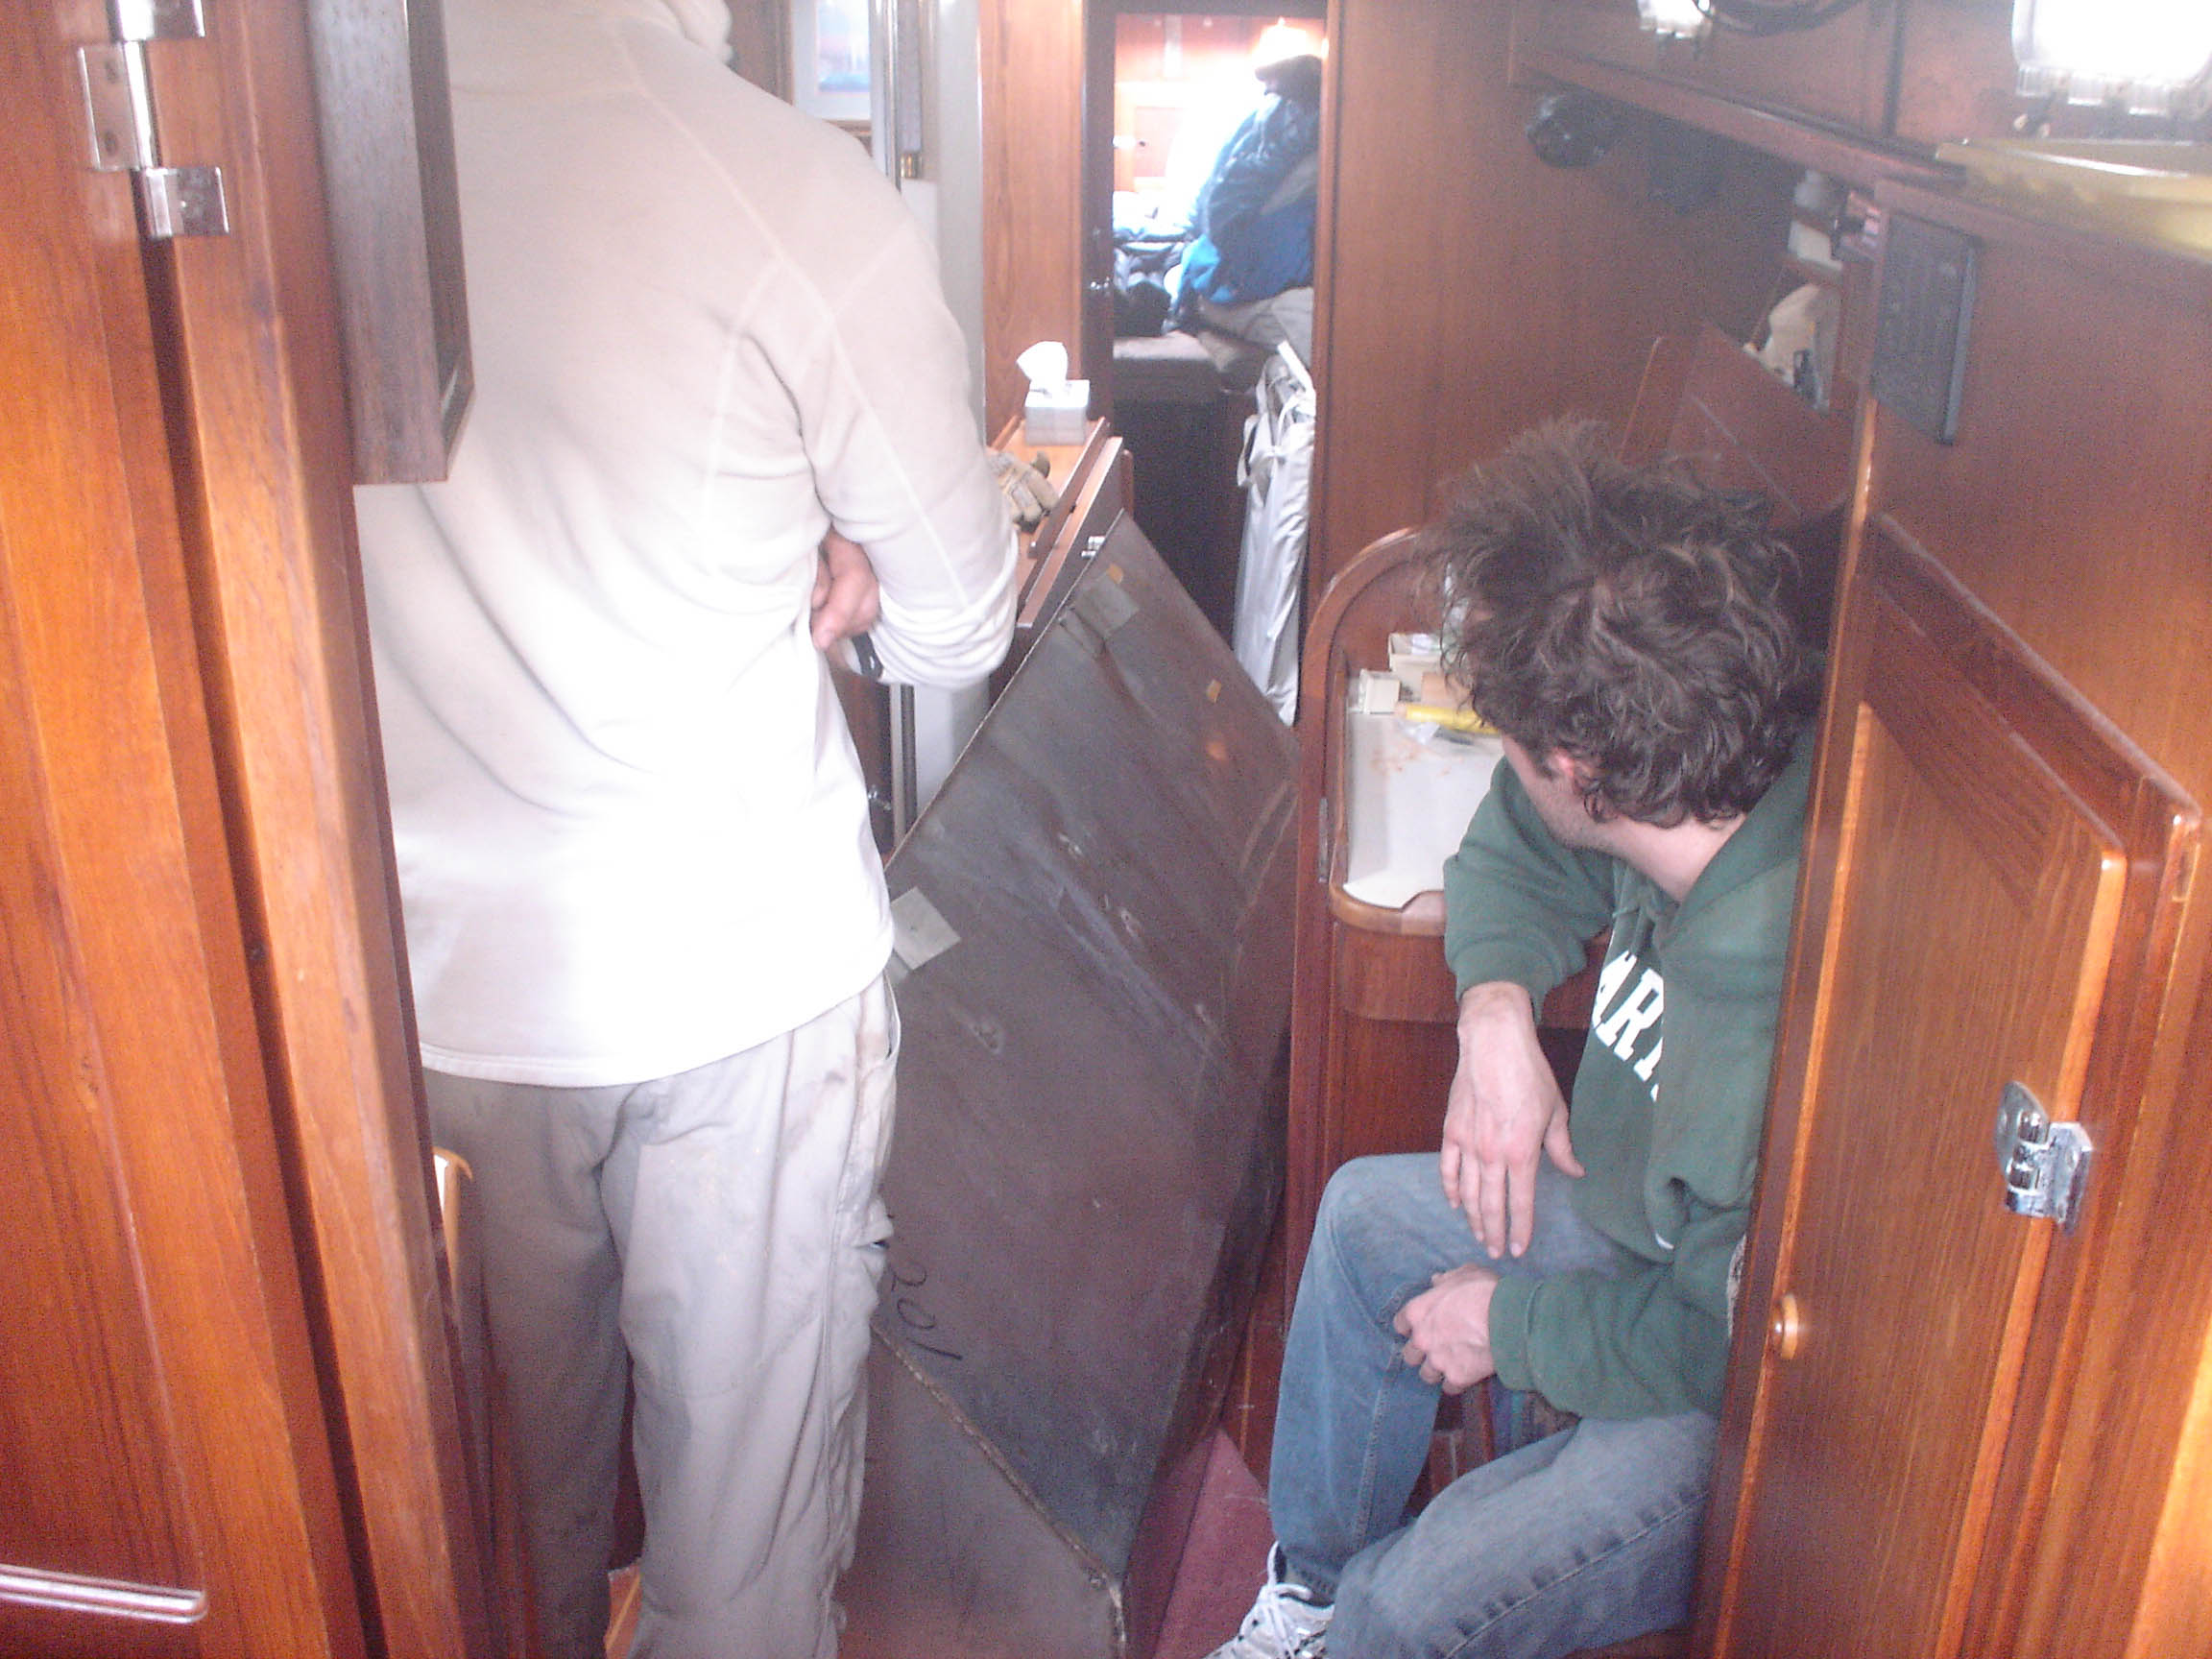
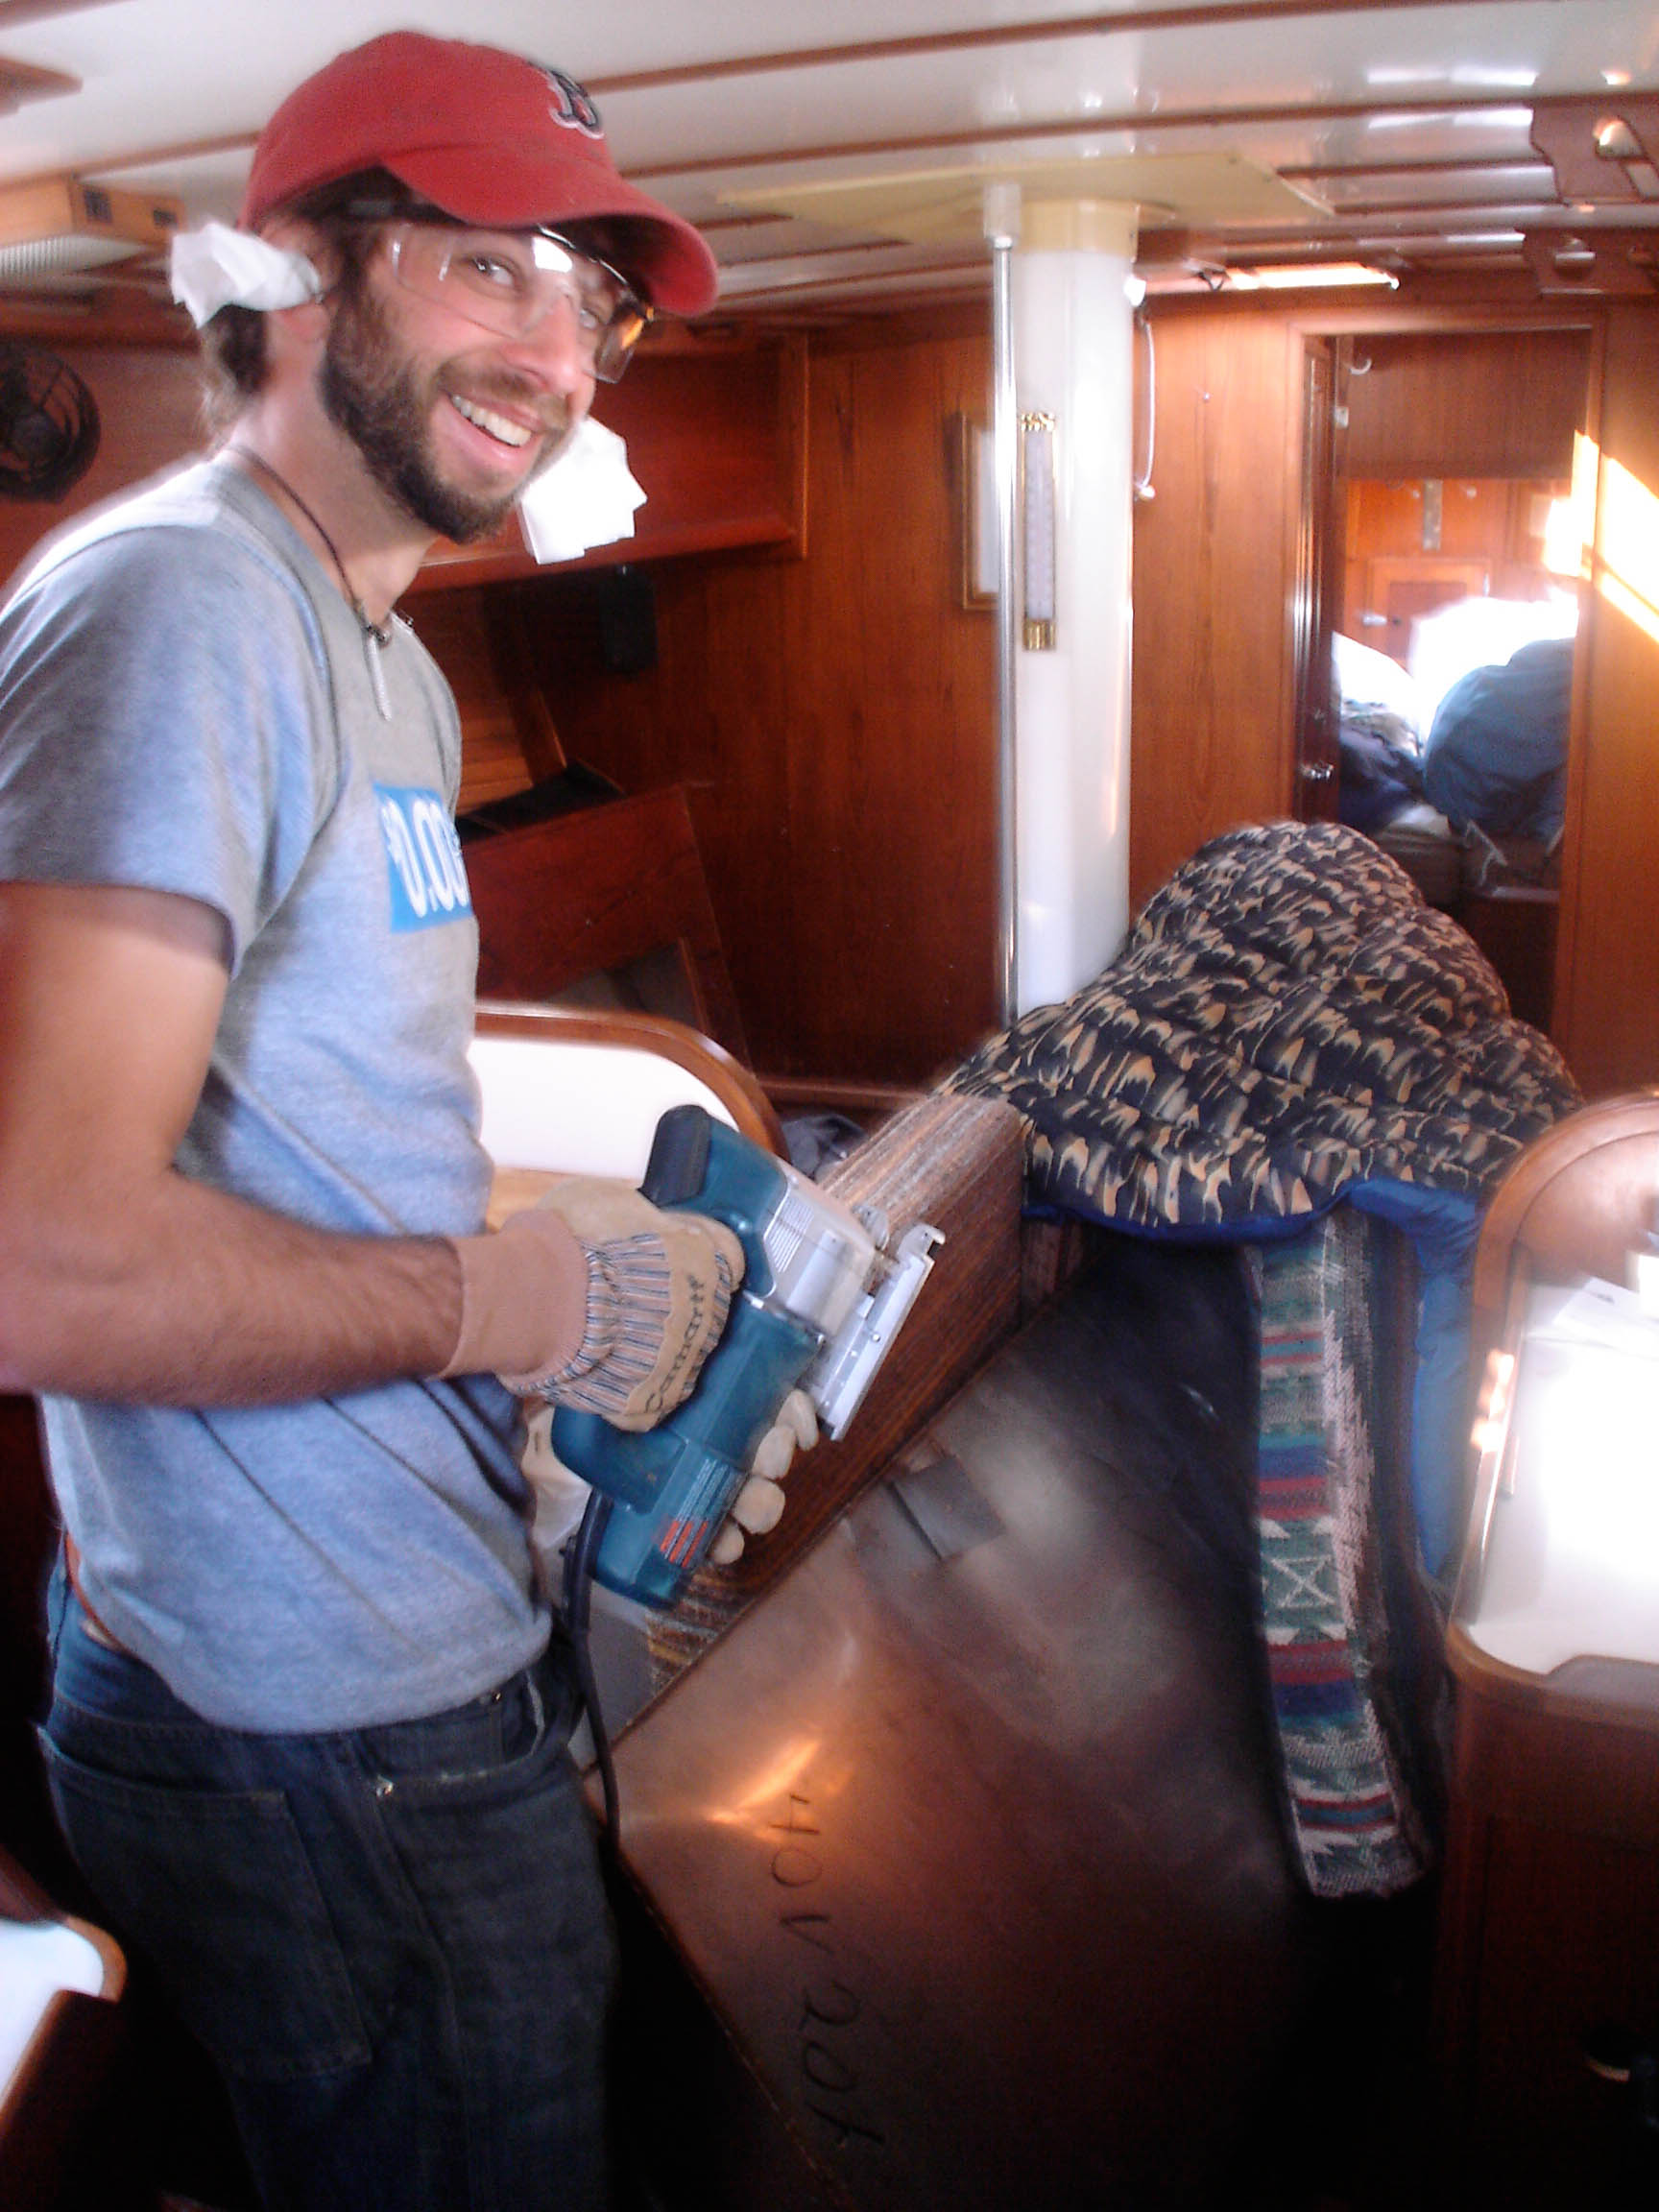
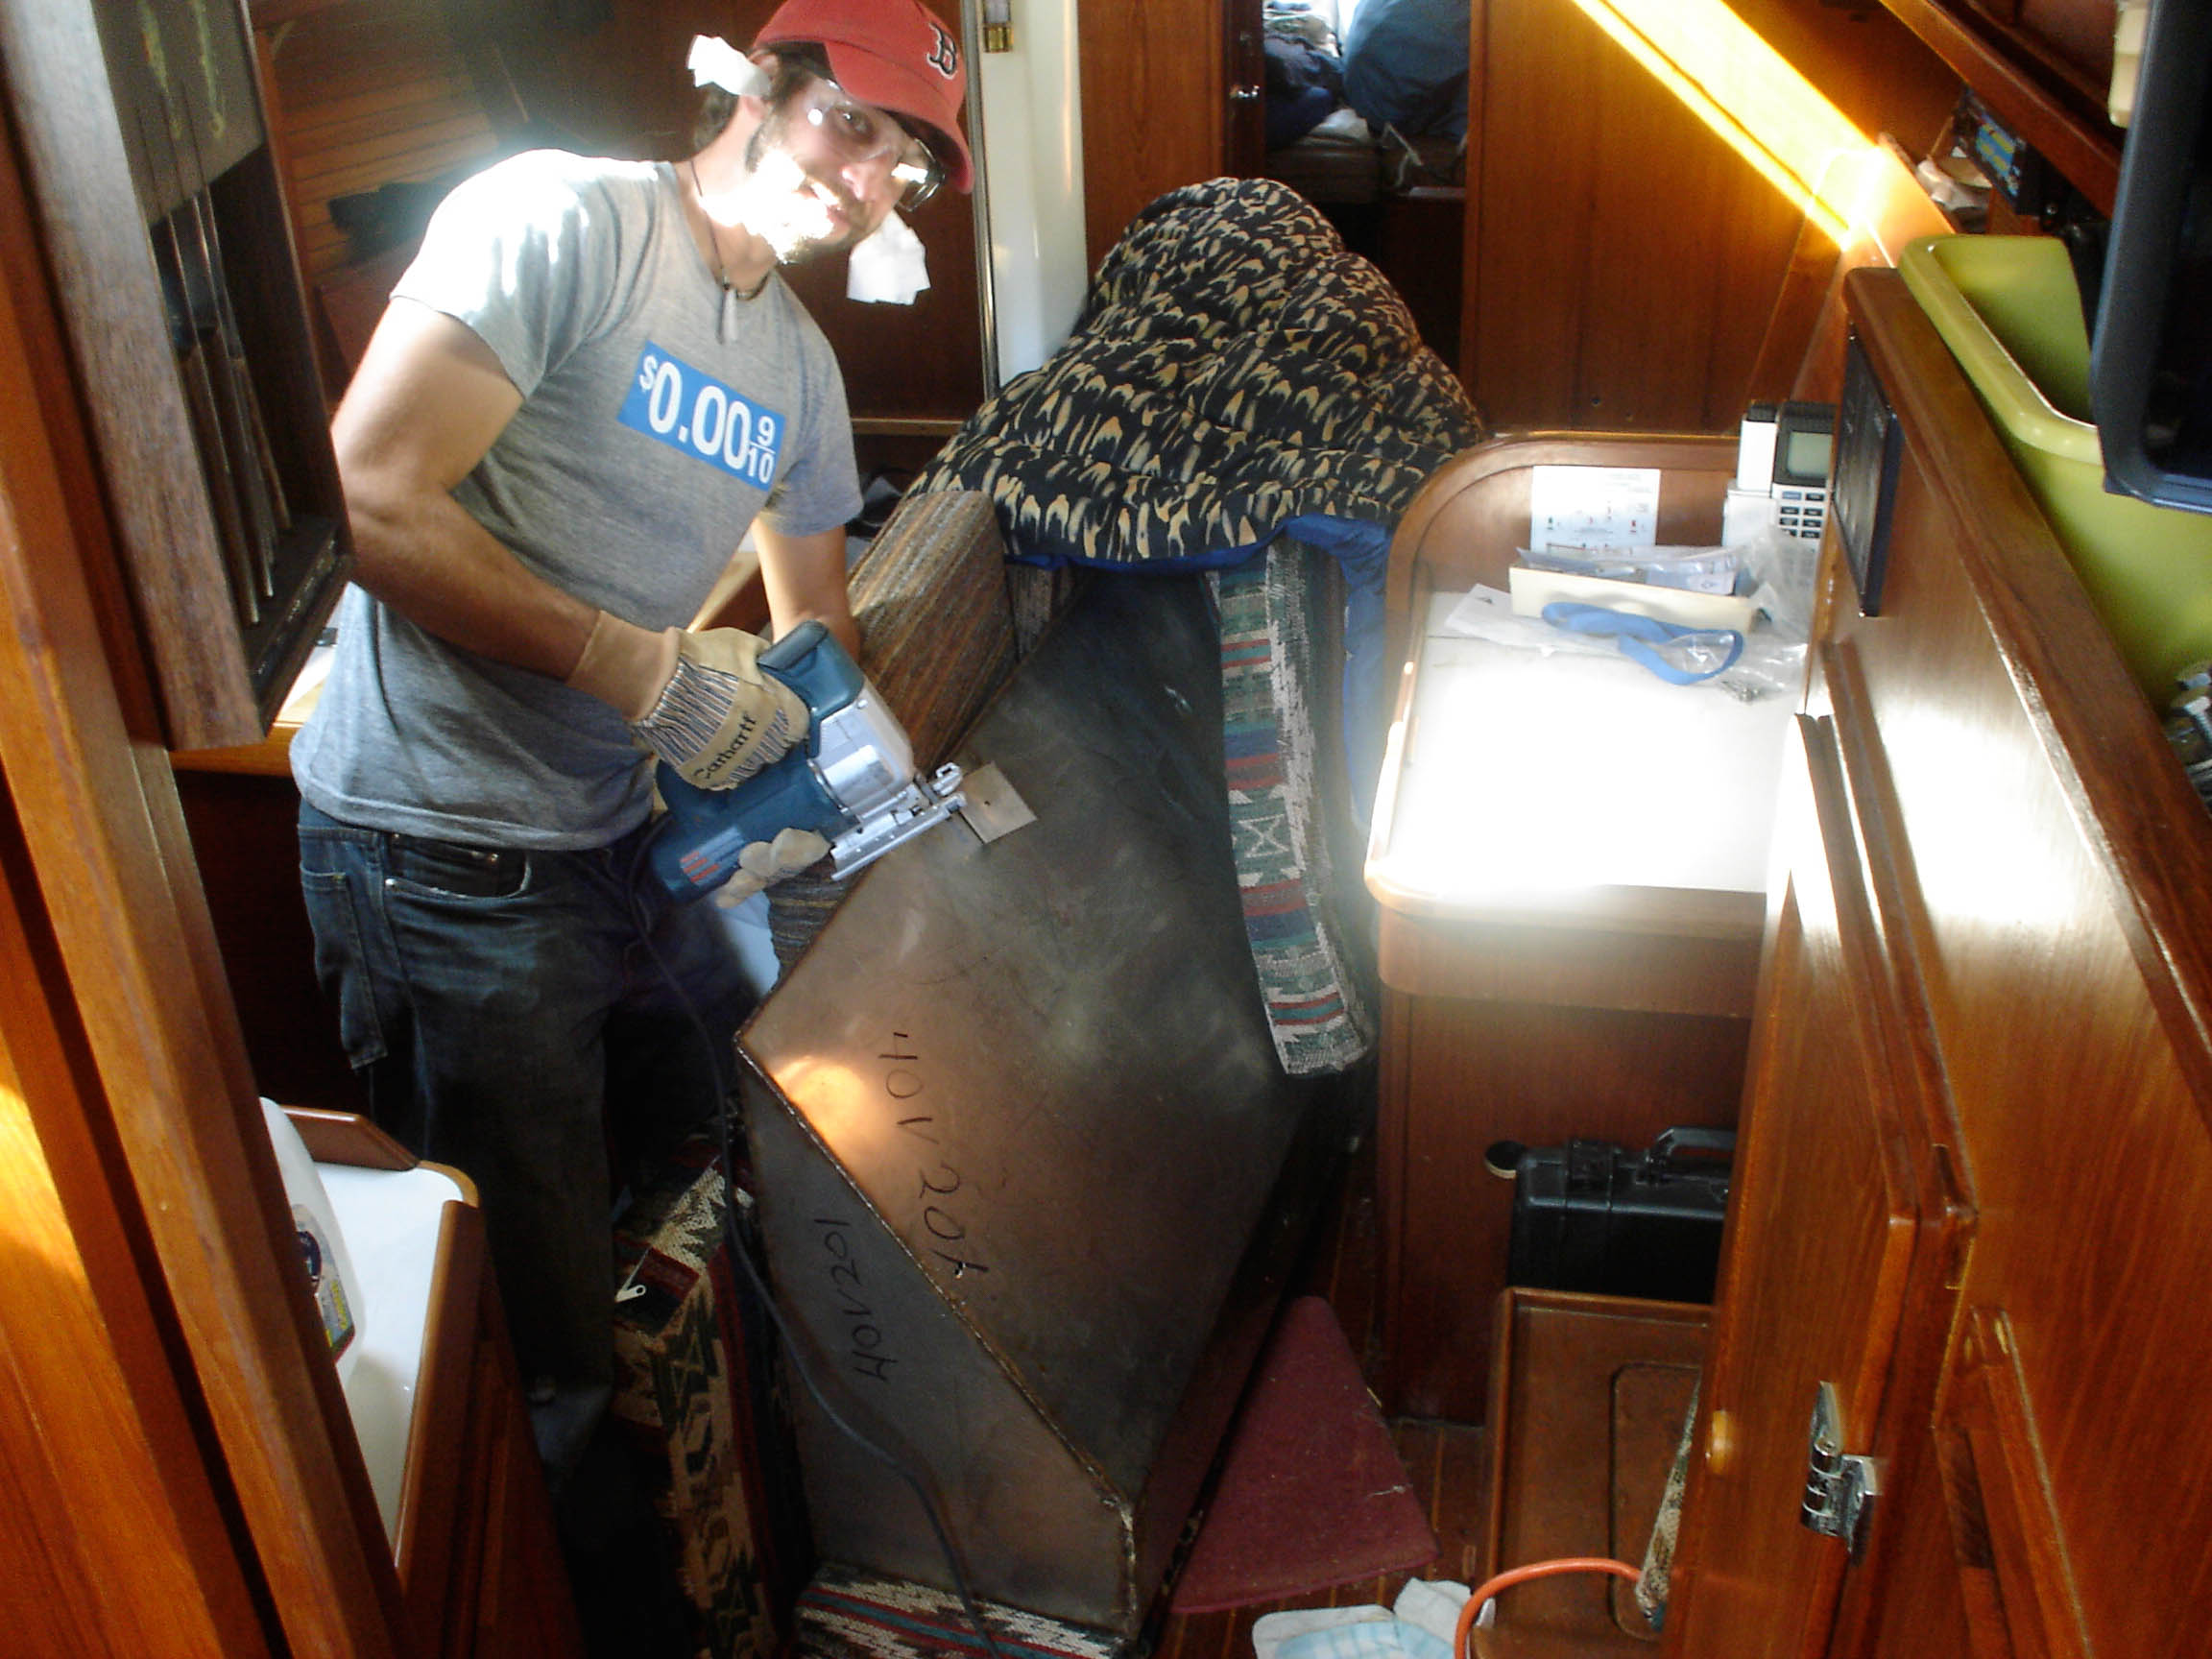
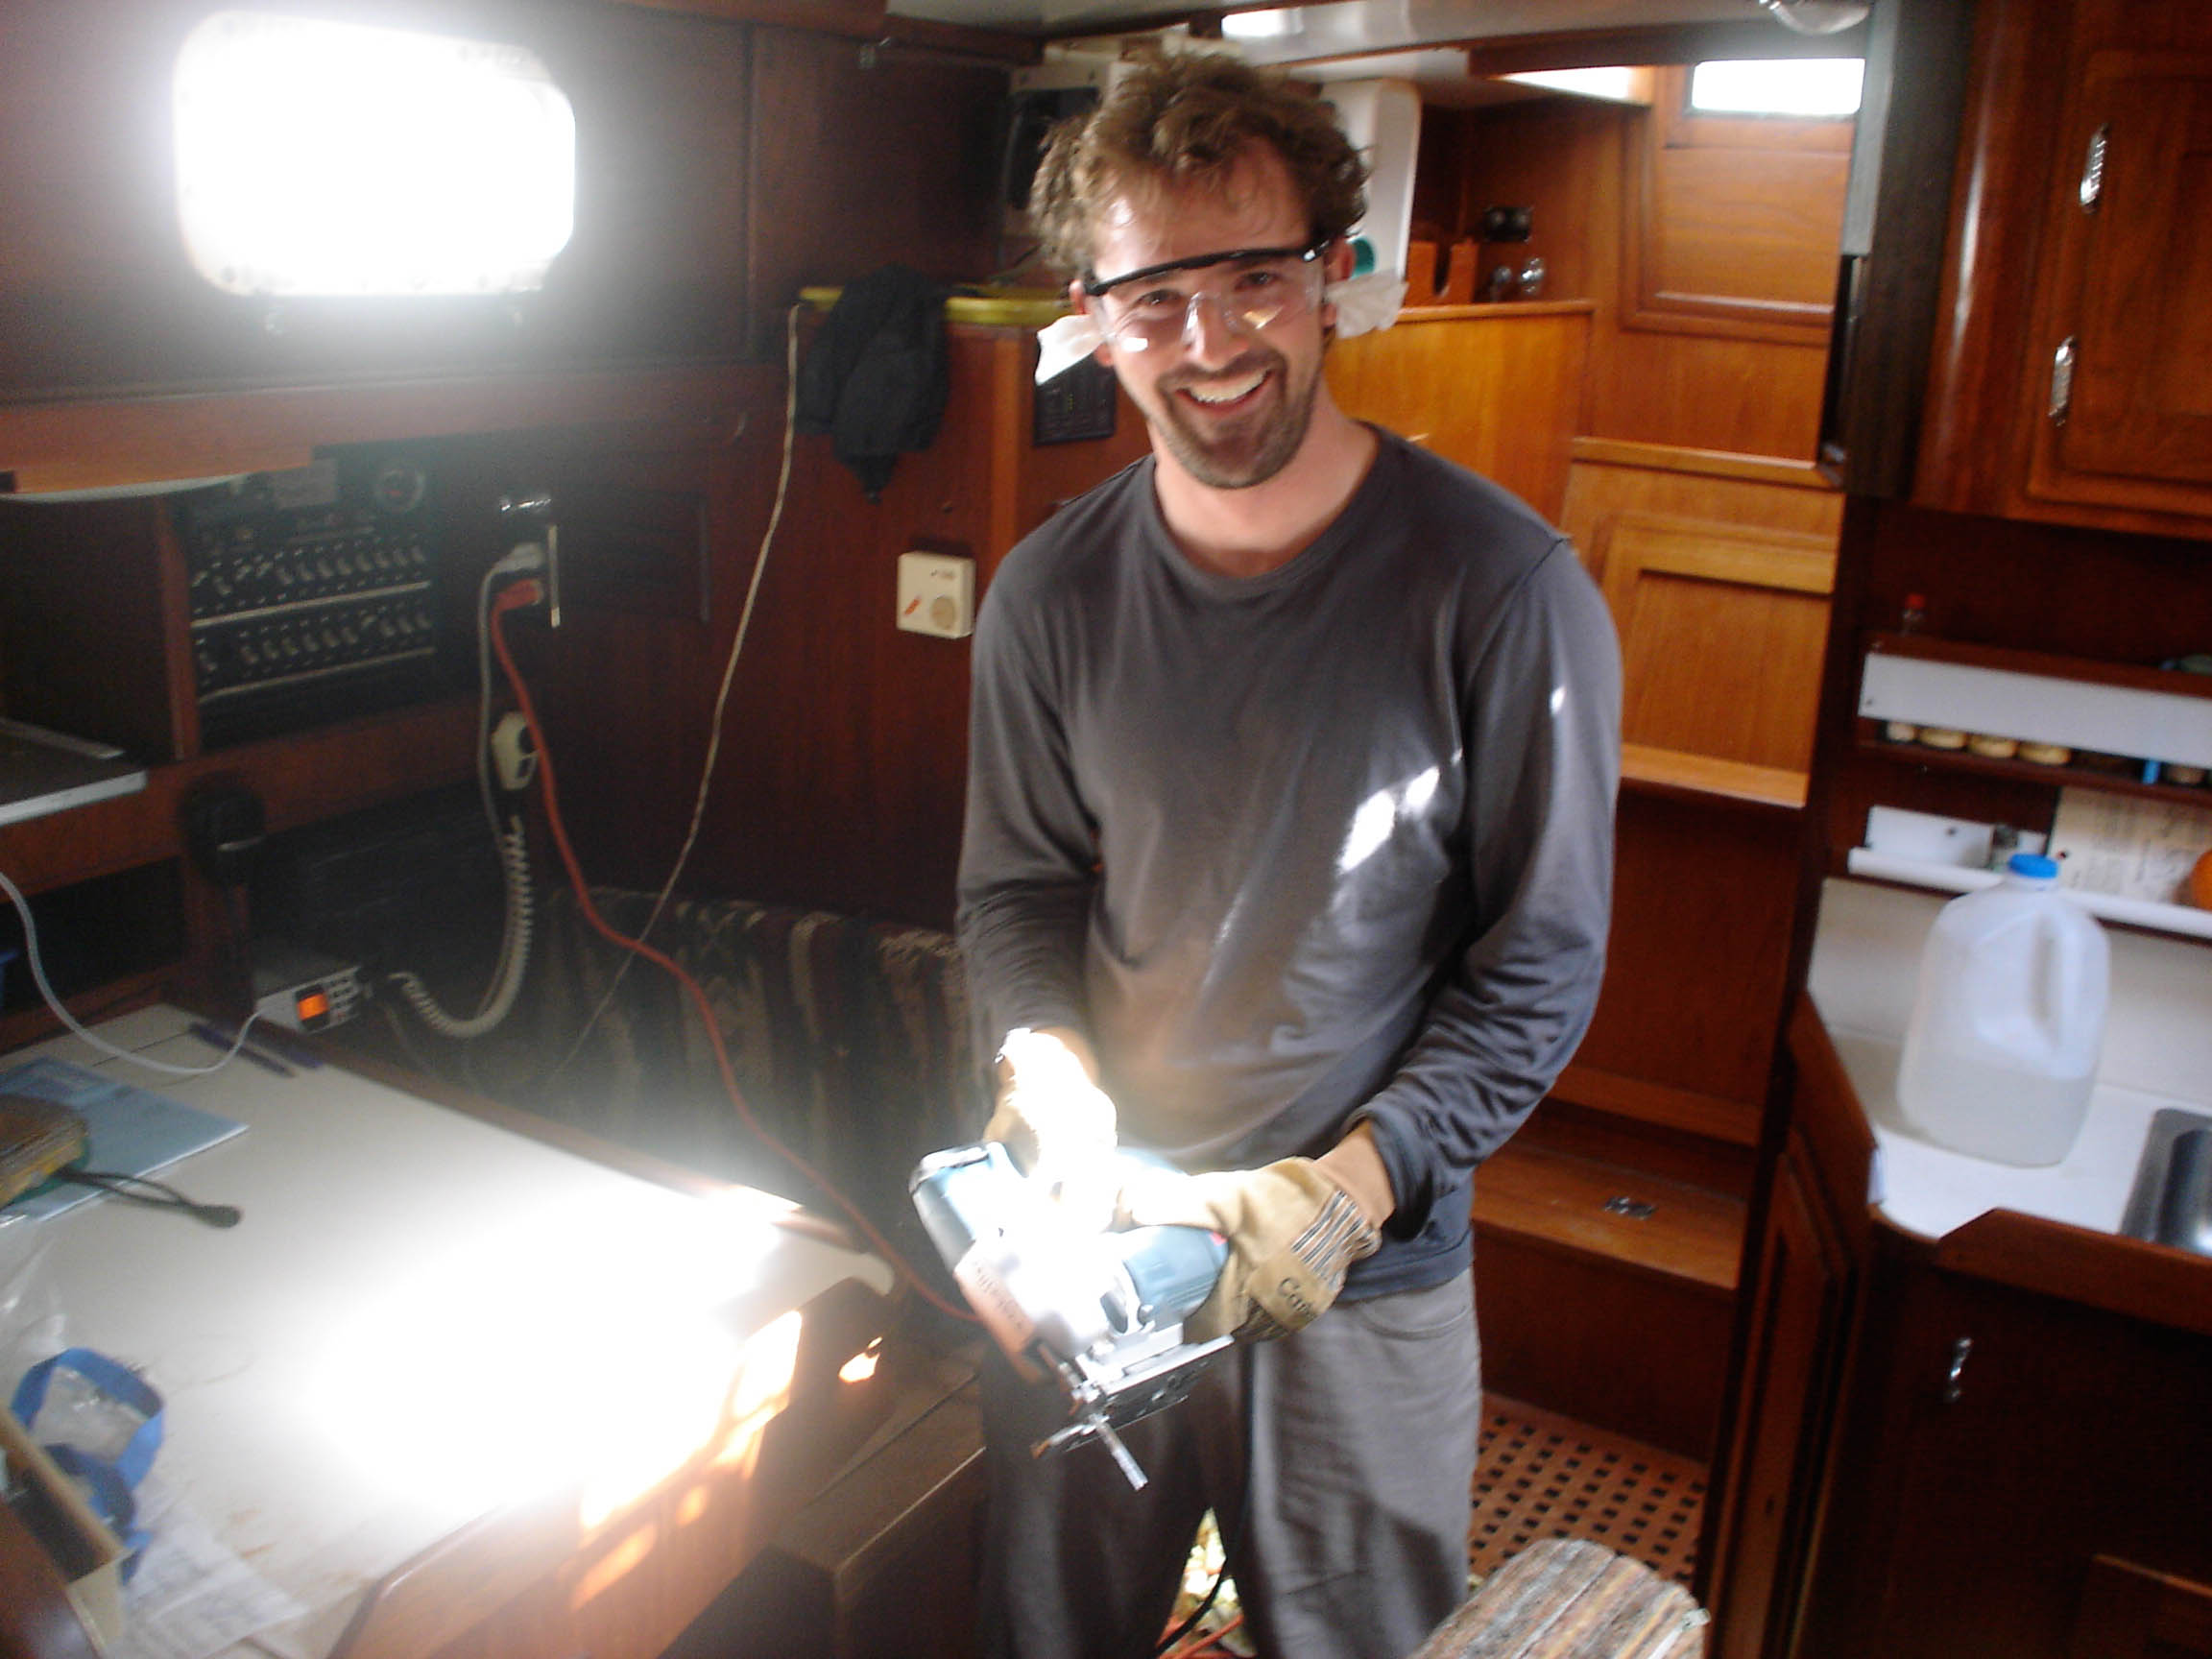
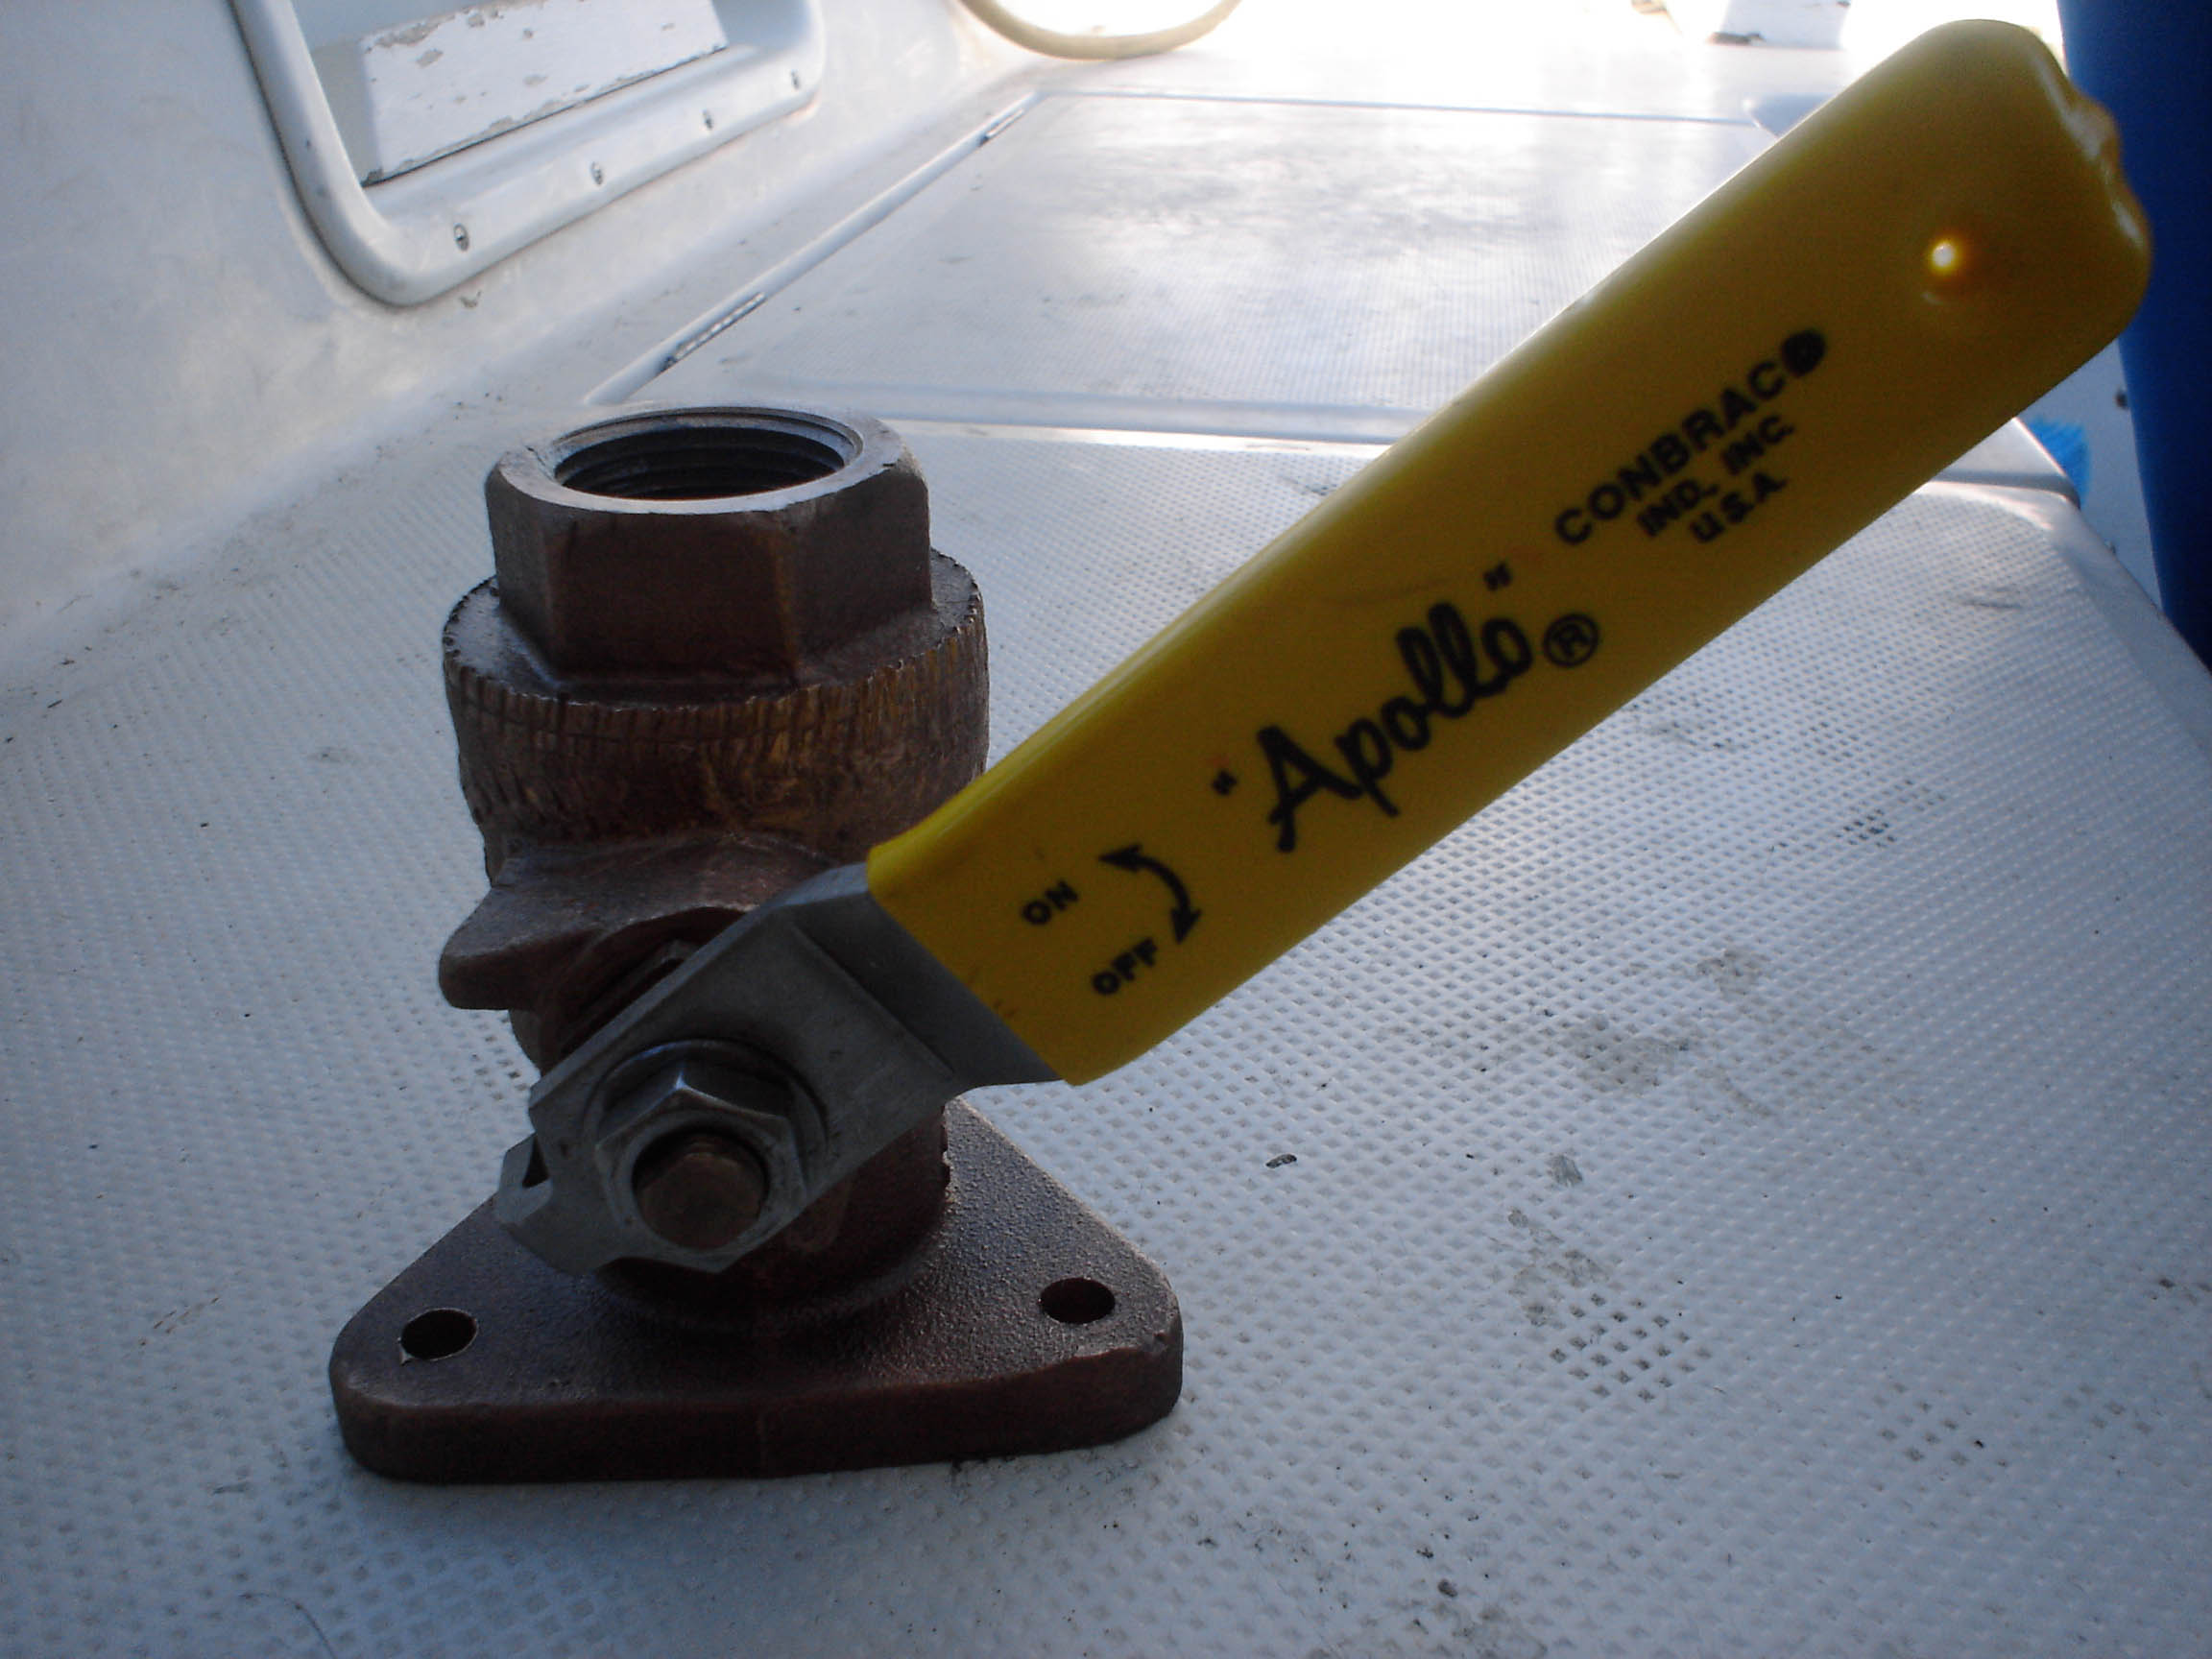
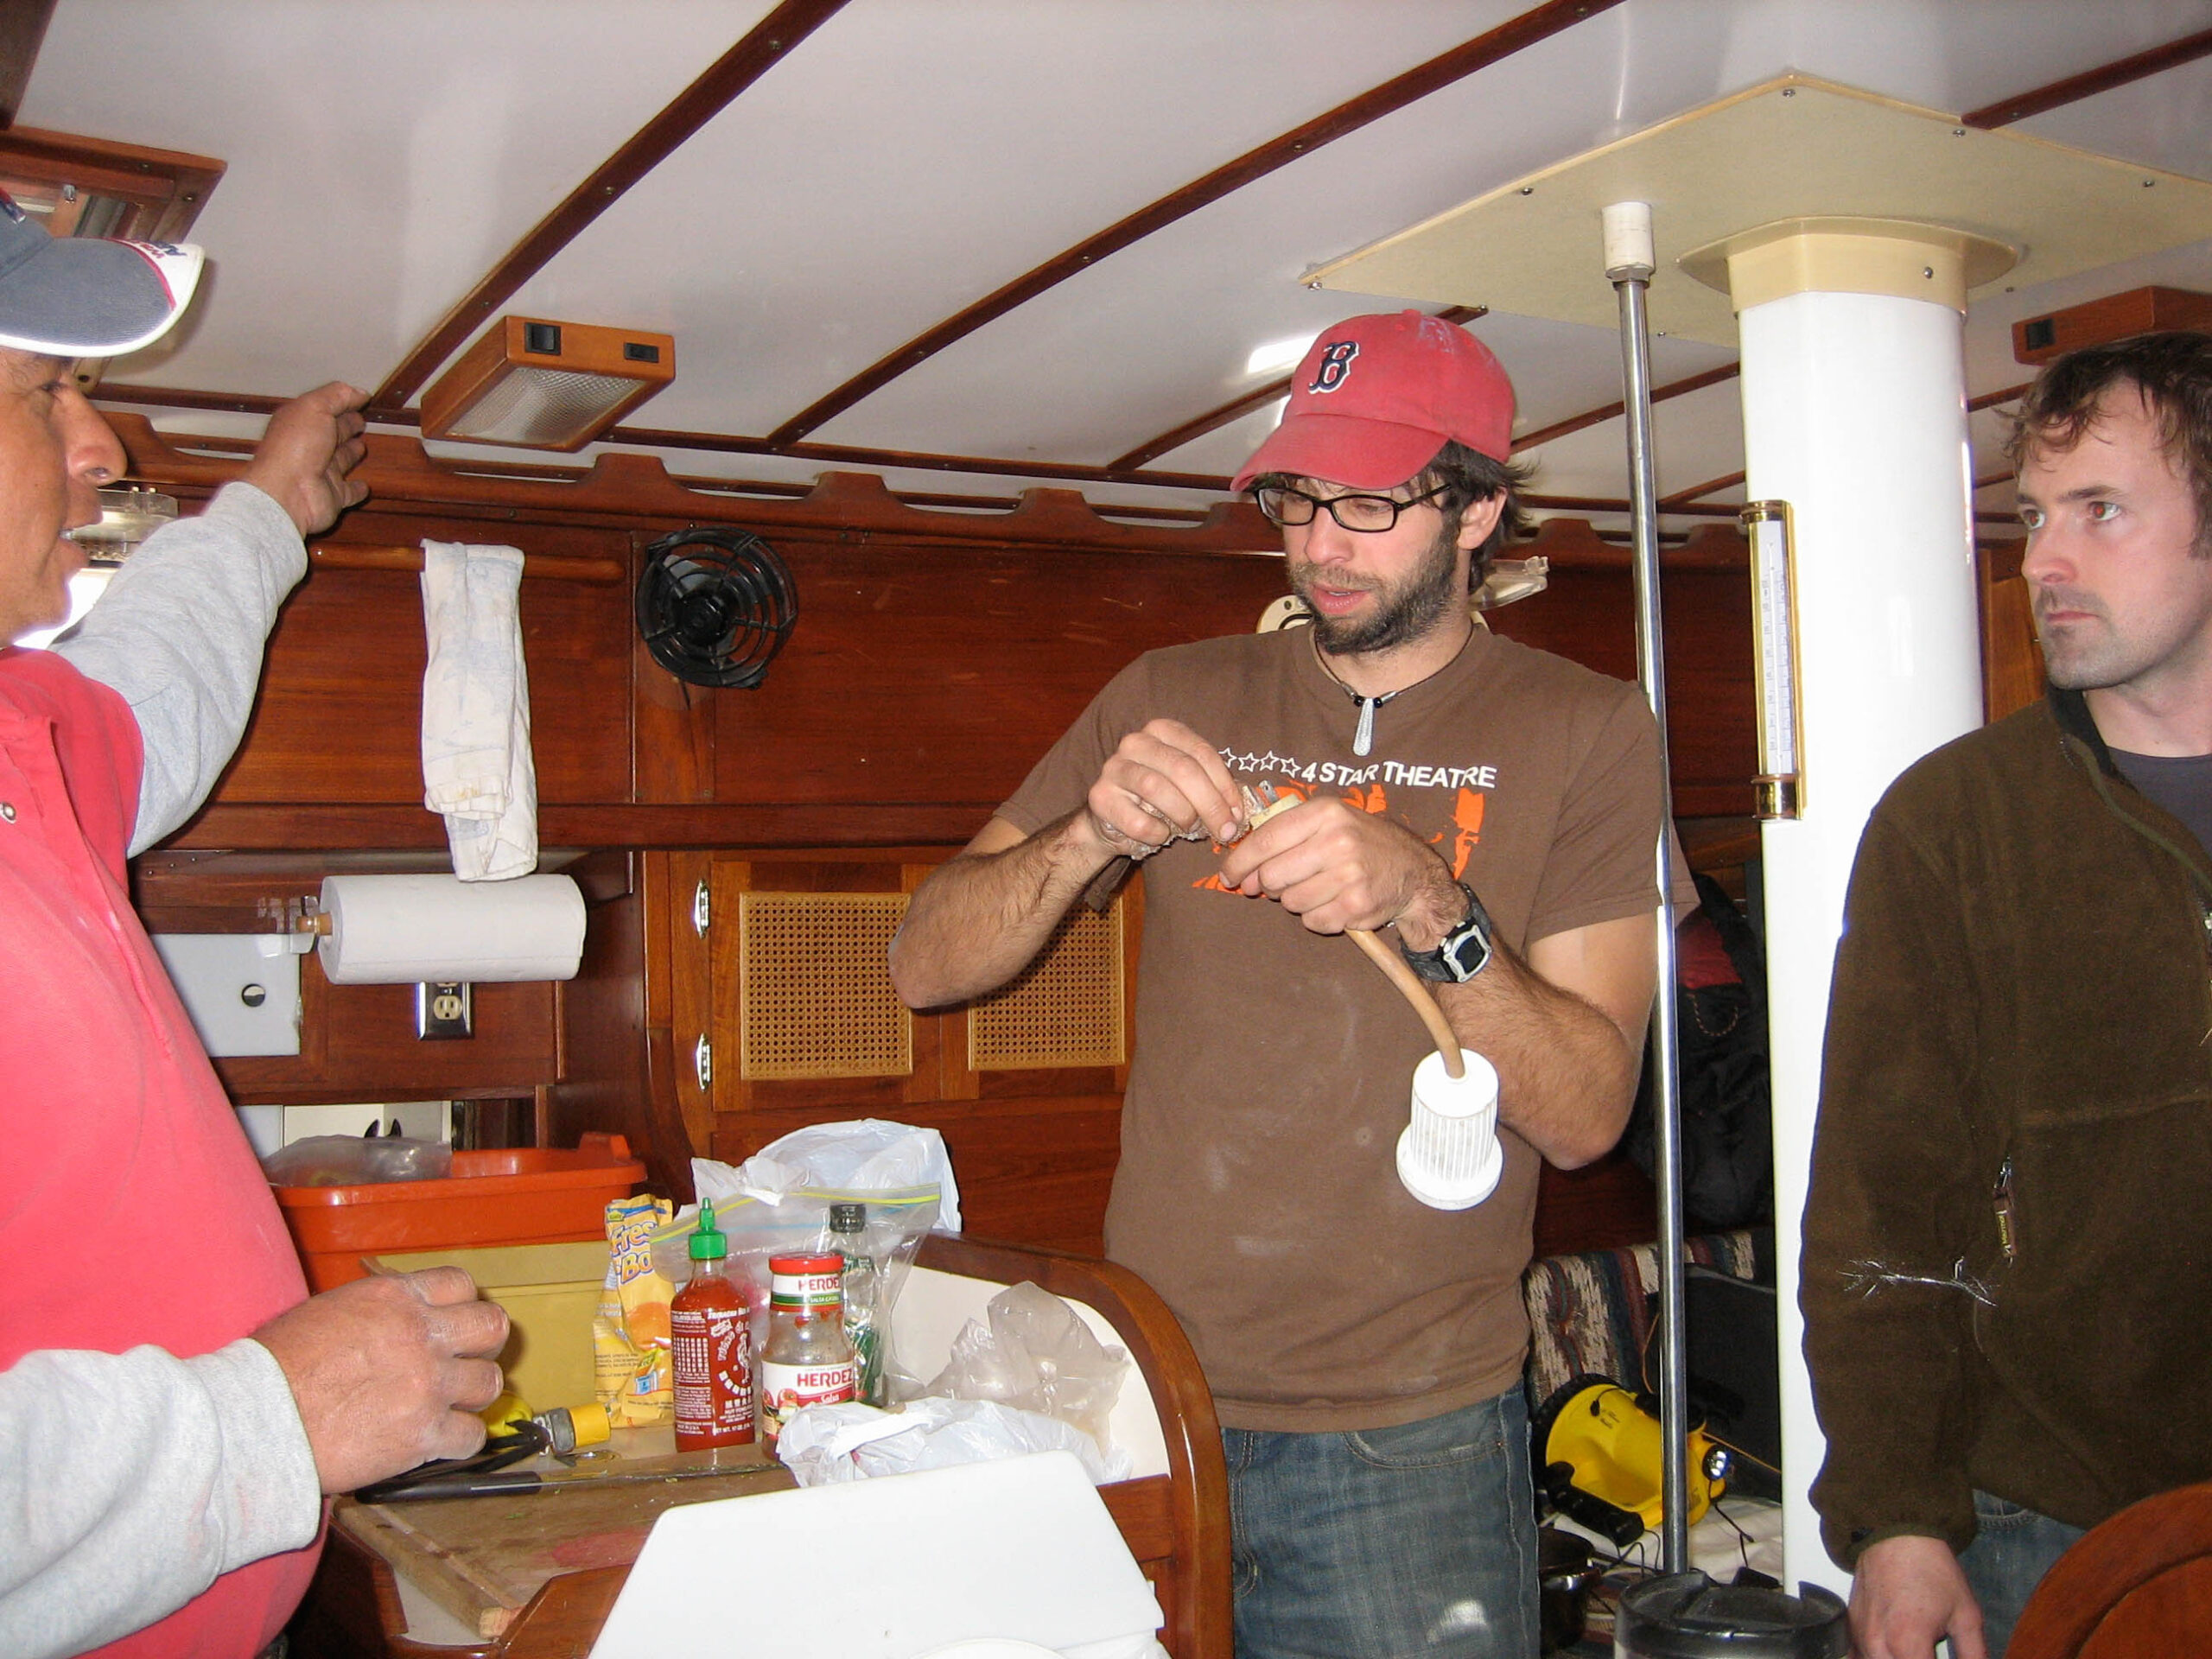
We had replaced all of our standing rigging–the very important wires that hold up the mast–by ourselves. We had replaced the bearings in our supposedly unmaintainable furler (“Profurl bearings are sealed and can’t be replaced,” said the rigger at Svendsen’s) by ourselves. We had sanded and painted the bottom by ourselves. We had replaced the through-hulls and added backing plates ourselves. We had repaired our delaminated rudder by injecting epoxy, ourselves. We had glassed over damaged areas of the keel, ourselves.
None of us had ever done any of these things before, never even seen them done. Without tooting our own horn too much, some of these jobs are a hell of an achievement for inexperienced guys like us. Things like getting the rigging to fit perfectly the first time, and creating beautiful through-hull seacock installations, and replacing sealed bearings are almost always jobs left to the professionals. We did it though, and we are FAR from professionals.
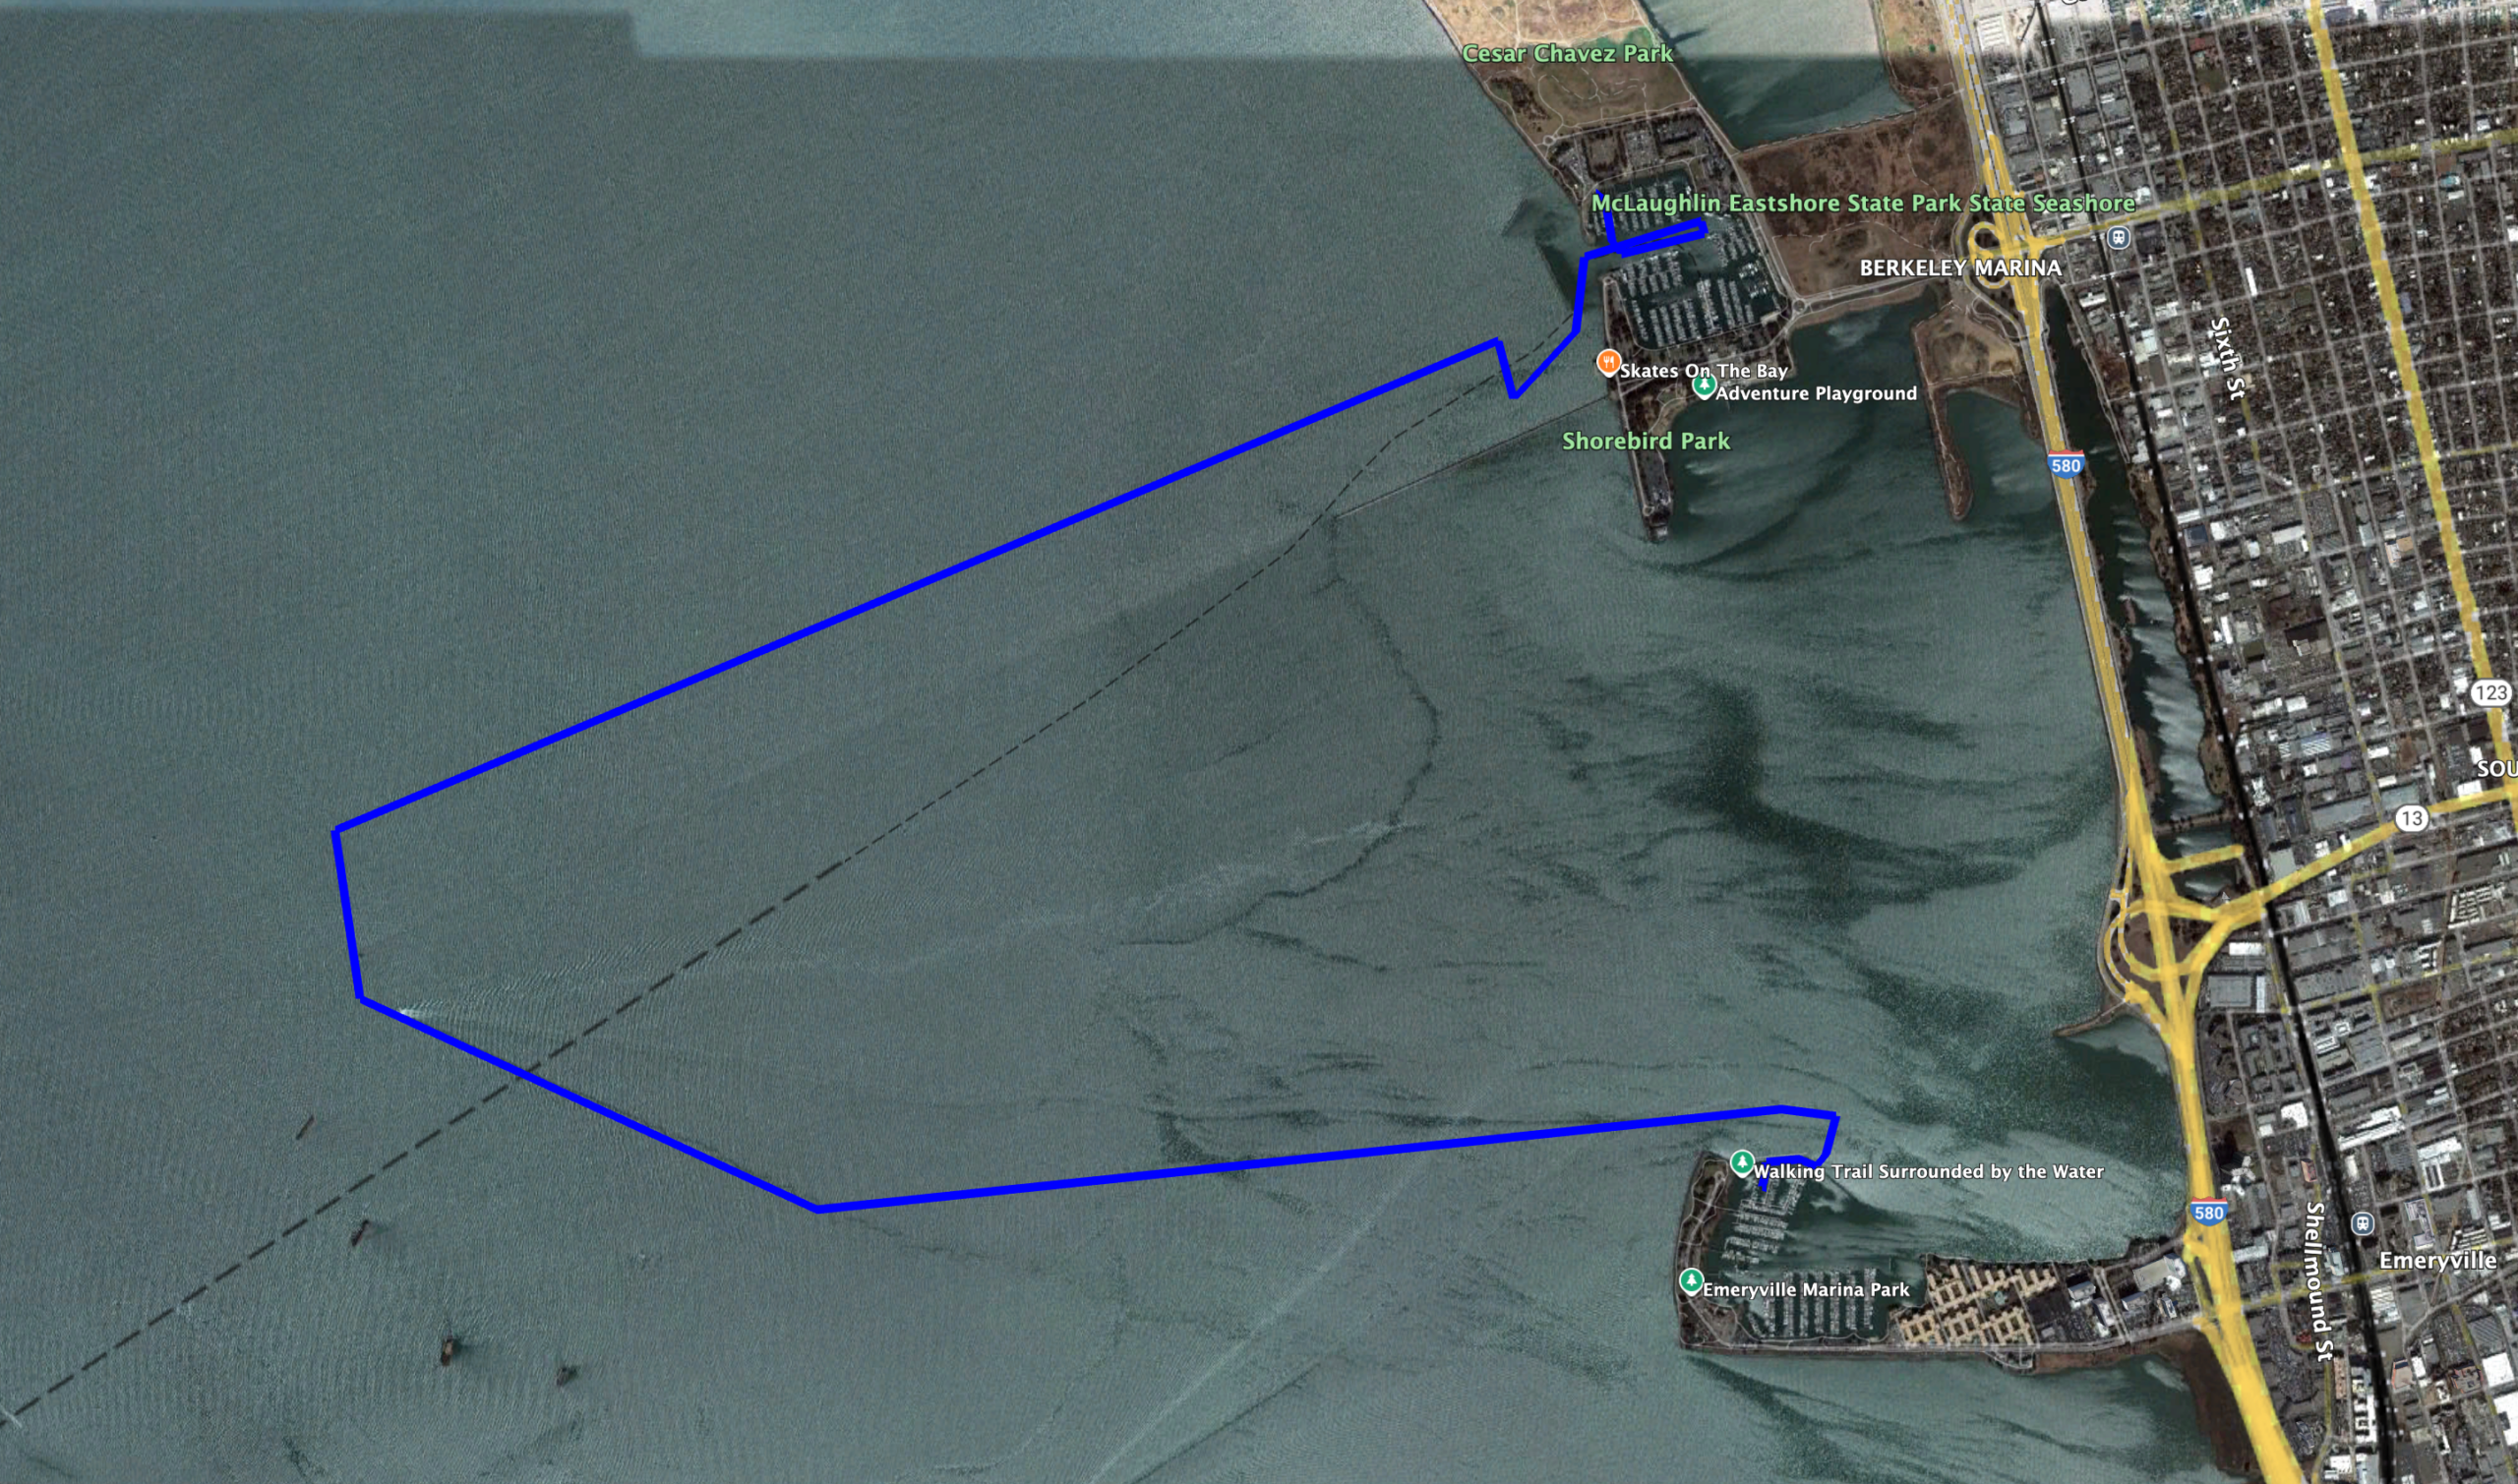
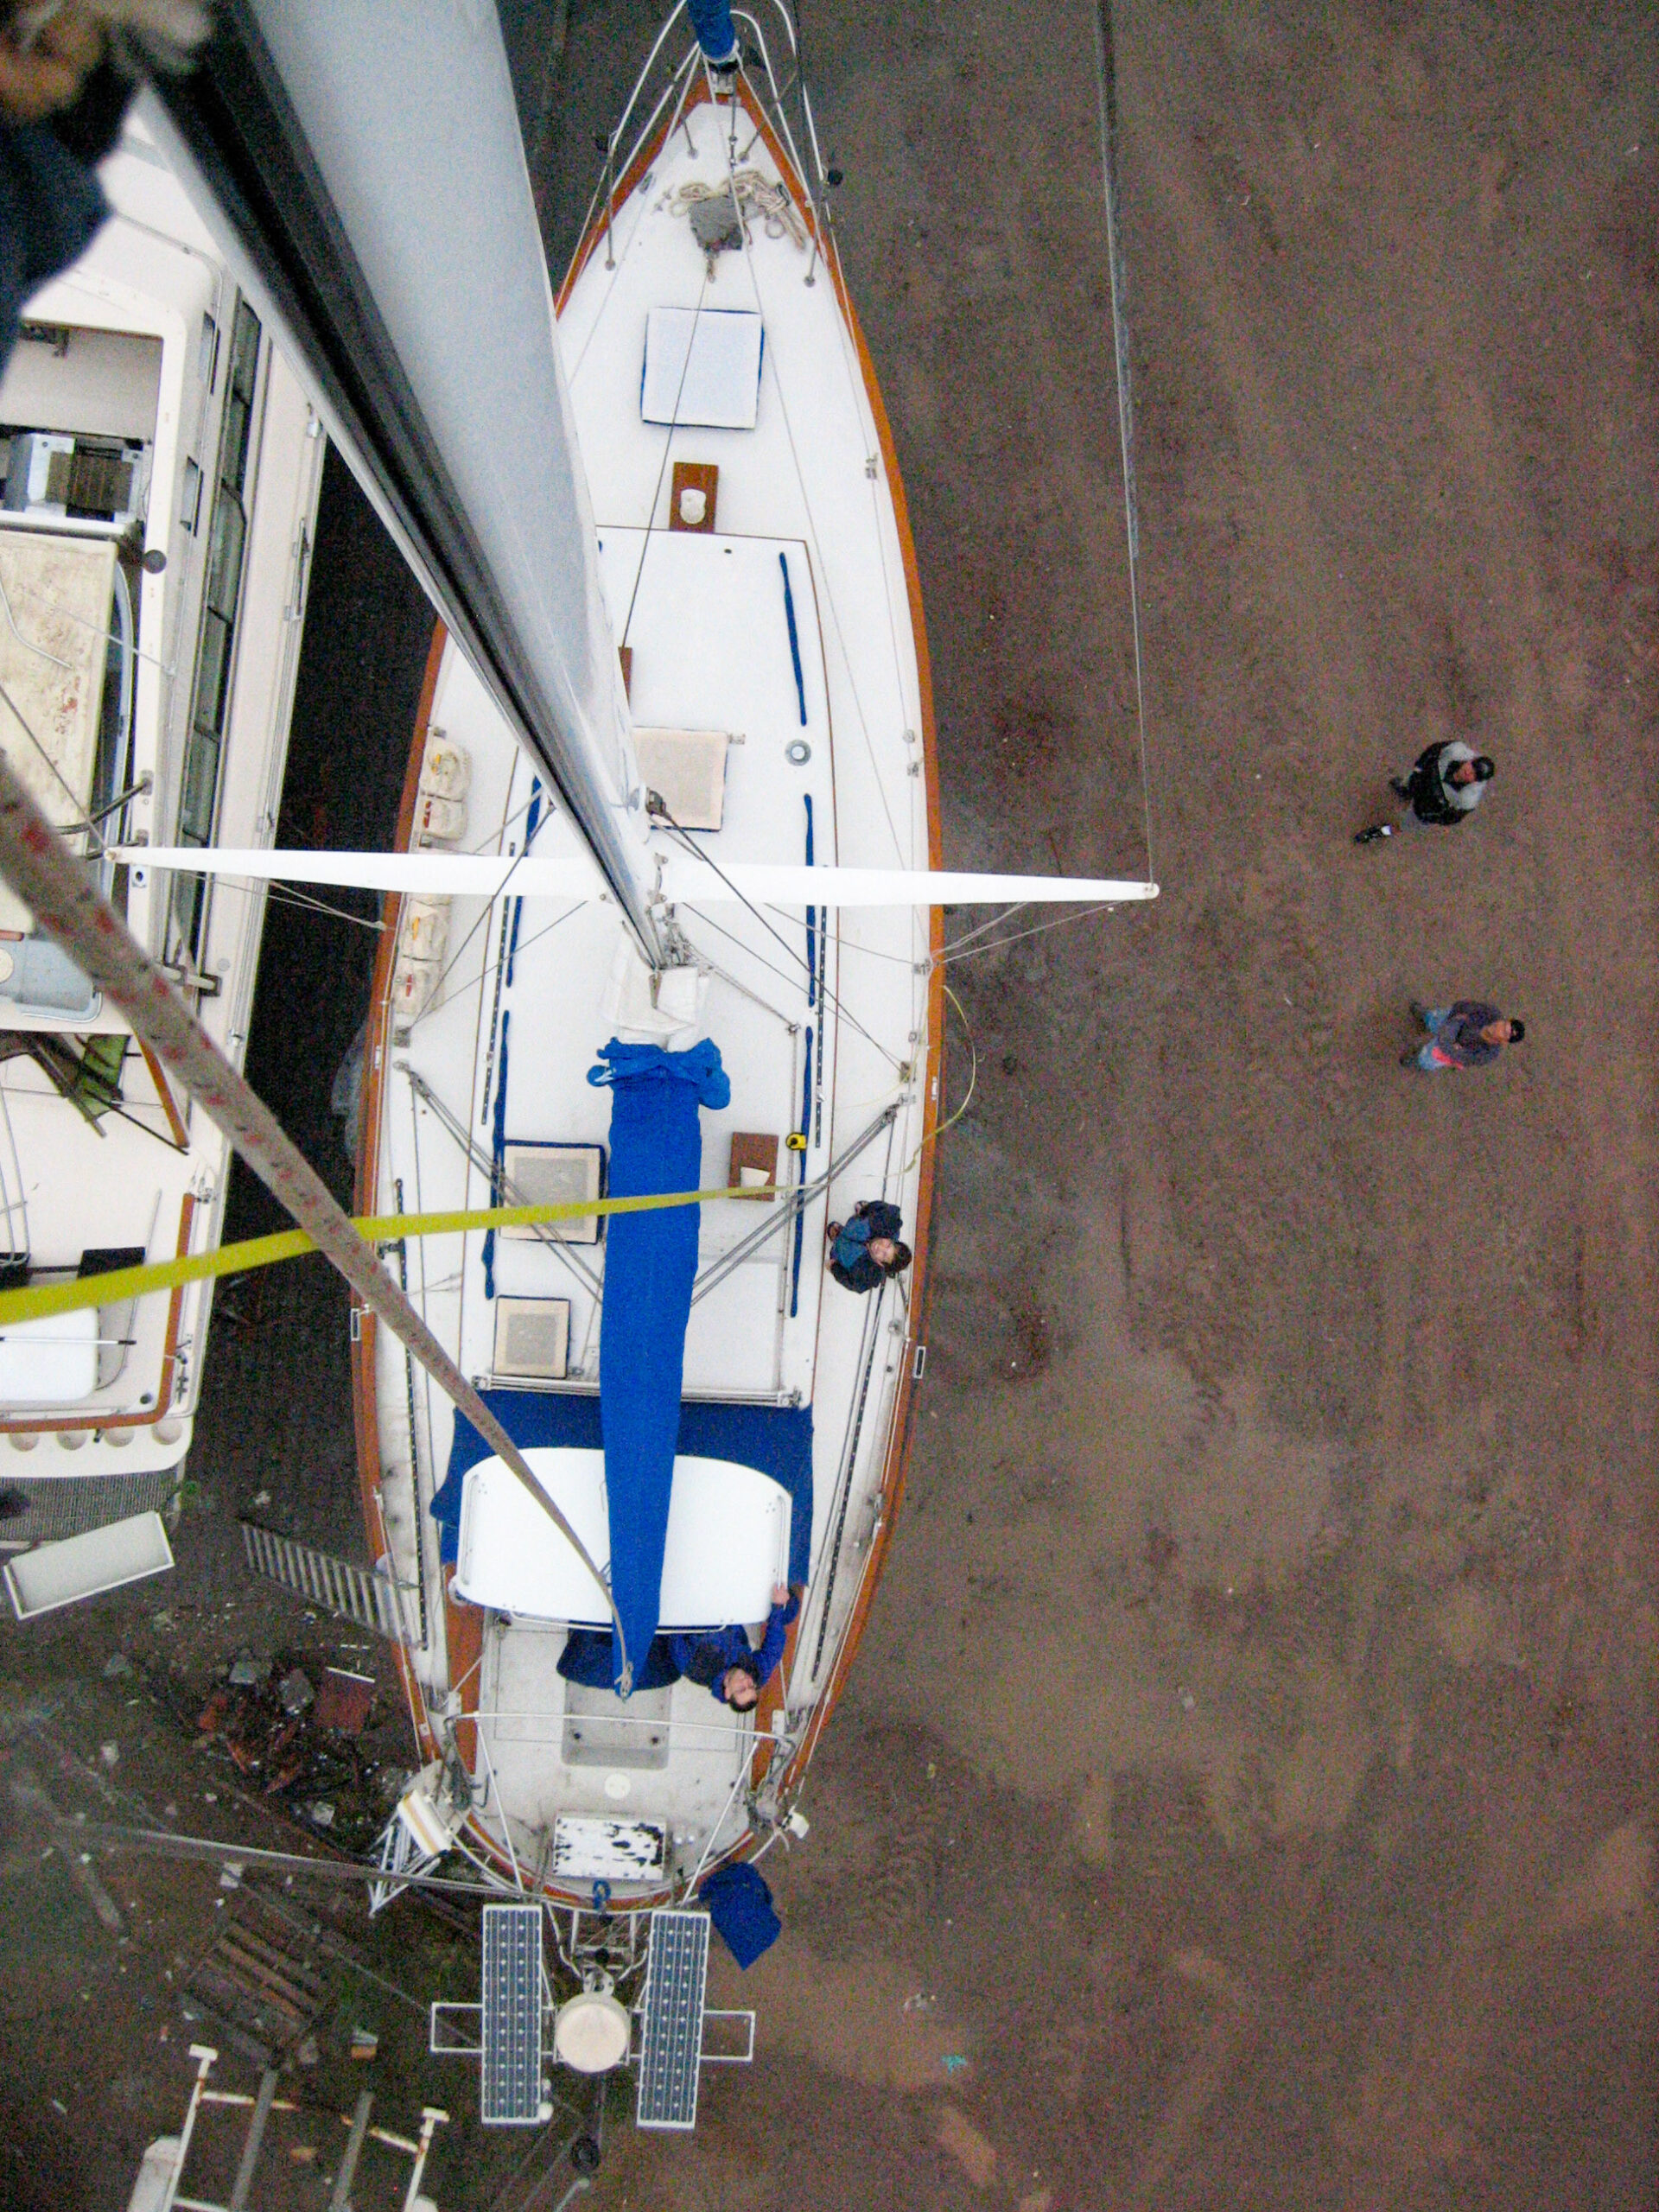
But above all else we felt proud because at 6:30pm on Wednesday evening we were heeled over and hauling ass on a close-reach, pointed directly at the Golden Gate Bridge, just before sunset, in 20 glorious knots of wind with waves splashing over the bow and down the deck. We felt proud because we had done all of our yard work all ourselves, in just two weeks and were already in the water, headed for our slip ready for us in Emeryville.
Now for the slapdown part. Right when you’re feeling on top of the world, like you pulled off some sort of sailing coup d’etat and maybe this whole thing isn’t all that hard after all . . . that very moment is the perfect time for a dose of humility.
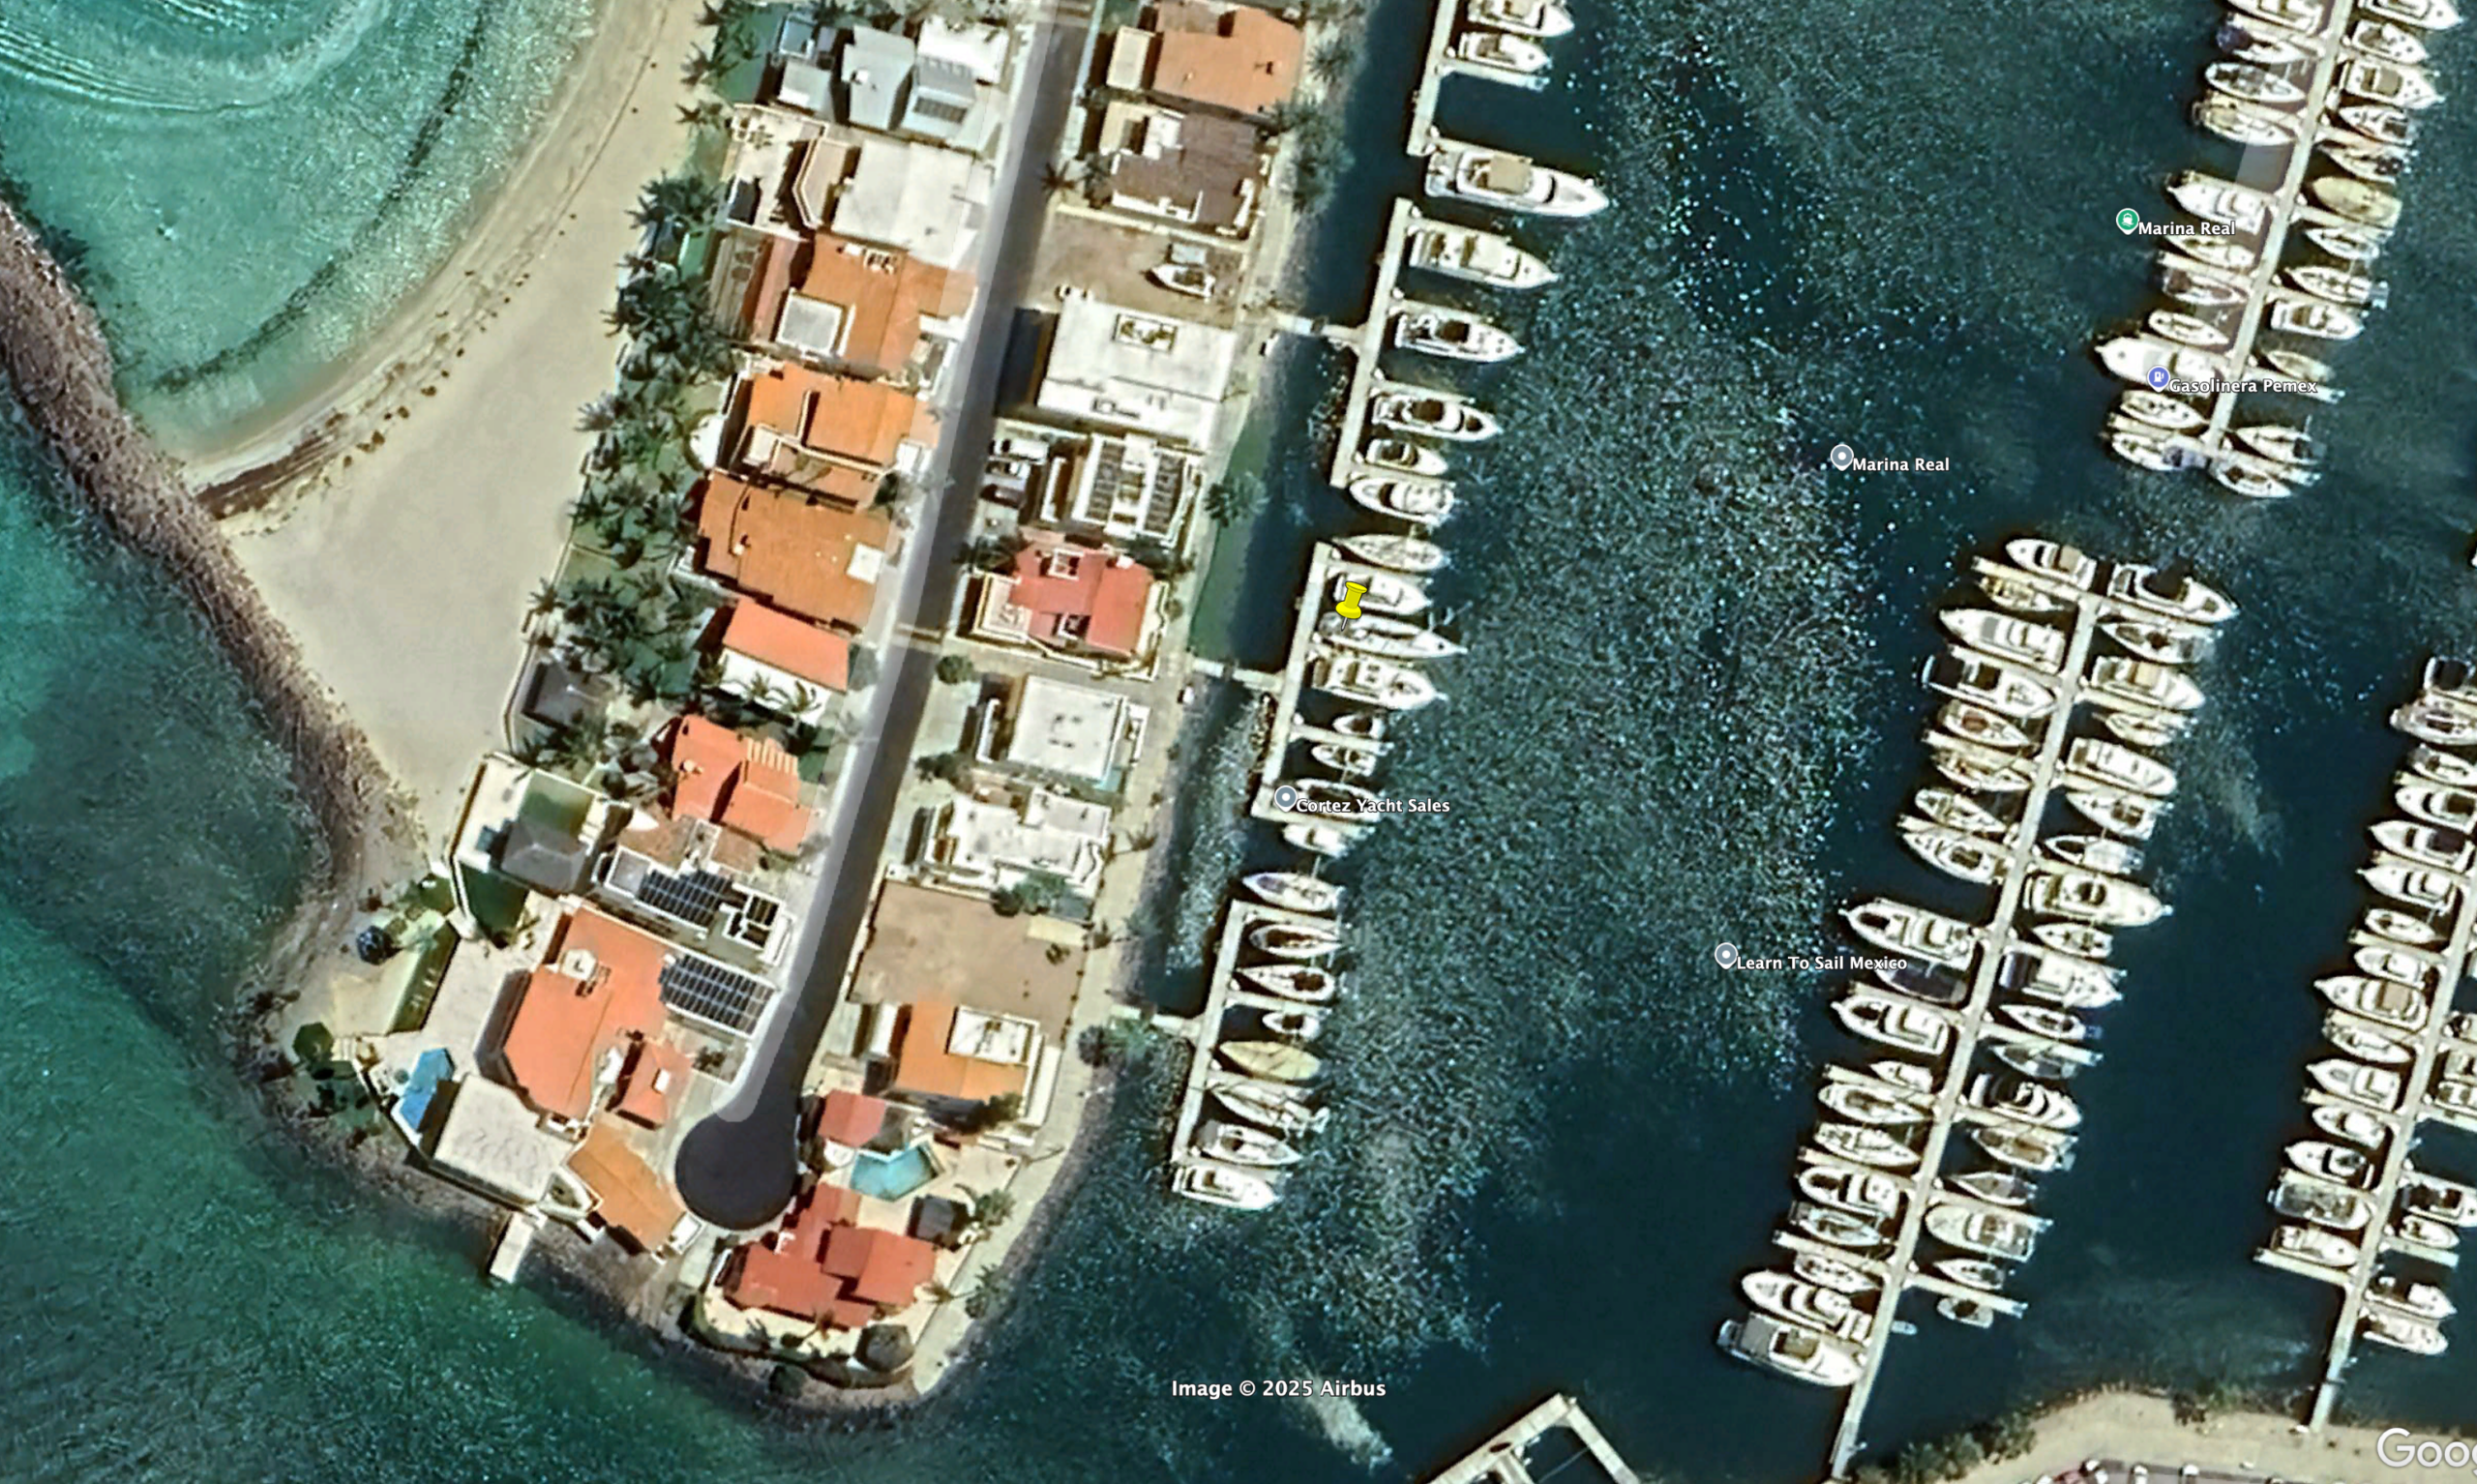
I did not succeed in parking the boat in our slip. As we pulled into the Emeryville Marina a low was moving in, and it was gusting to maybe 15 knots in the marina, which are somewhat challenging docking conditions especially since our slip was downwind but honestly not particularly abnormal. However, I am completely inexperienced motoring our boat around. With her long keel and skeg rudder, she turns like an elephant and backs even worse. As we approached our slip my anxiety skyrocketed–rightfully so, because I was realizing far too late that I had almost no chance of getting us into the slip without damaging a boat. Our boat weighs 22,500 lbs–you can’t hold that off with brute strength–and the wind, not me, was in control.
I barely got the nose in the slip before the wind rotated the rest of the boat right past the slip. To avoid hitting the neighbors boat I threw it in reverse, sending us backward across the narrow fairway and leaving Jonny and Karen on the dock. I proceeded to carve a full circle as I was blown down the fairway, able only to motor forward and backward enough not to hit other boats. Syzygy came to rest, mercifully lightly, on the stretch of dock at the end of the fairway. I didn’t hit any boats, but I also didn’t get in our slip and we were in a tough spot blown up against the dock. Compassionate bystanders came to our aid (I give thanks) and helped with docklines while we formulated a plan. We ended up powering off the dock (a delicate task, with no room to maneuver) and parked in a massive, uninhabited, upwind slip that even I couldn’t mess up. We would move in the morning when the wind had abated.
After the pride I have rightfully taken in our successes, it was important to receive this slapdown–this reminder of how much we still have to learn, and how this isn’t a game in which our failures have no consequences. Skippers all over the marina park their boats without mishap every day–it is no particularly impressive skill. Yet it is a skill that I lack and that I must acquire.
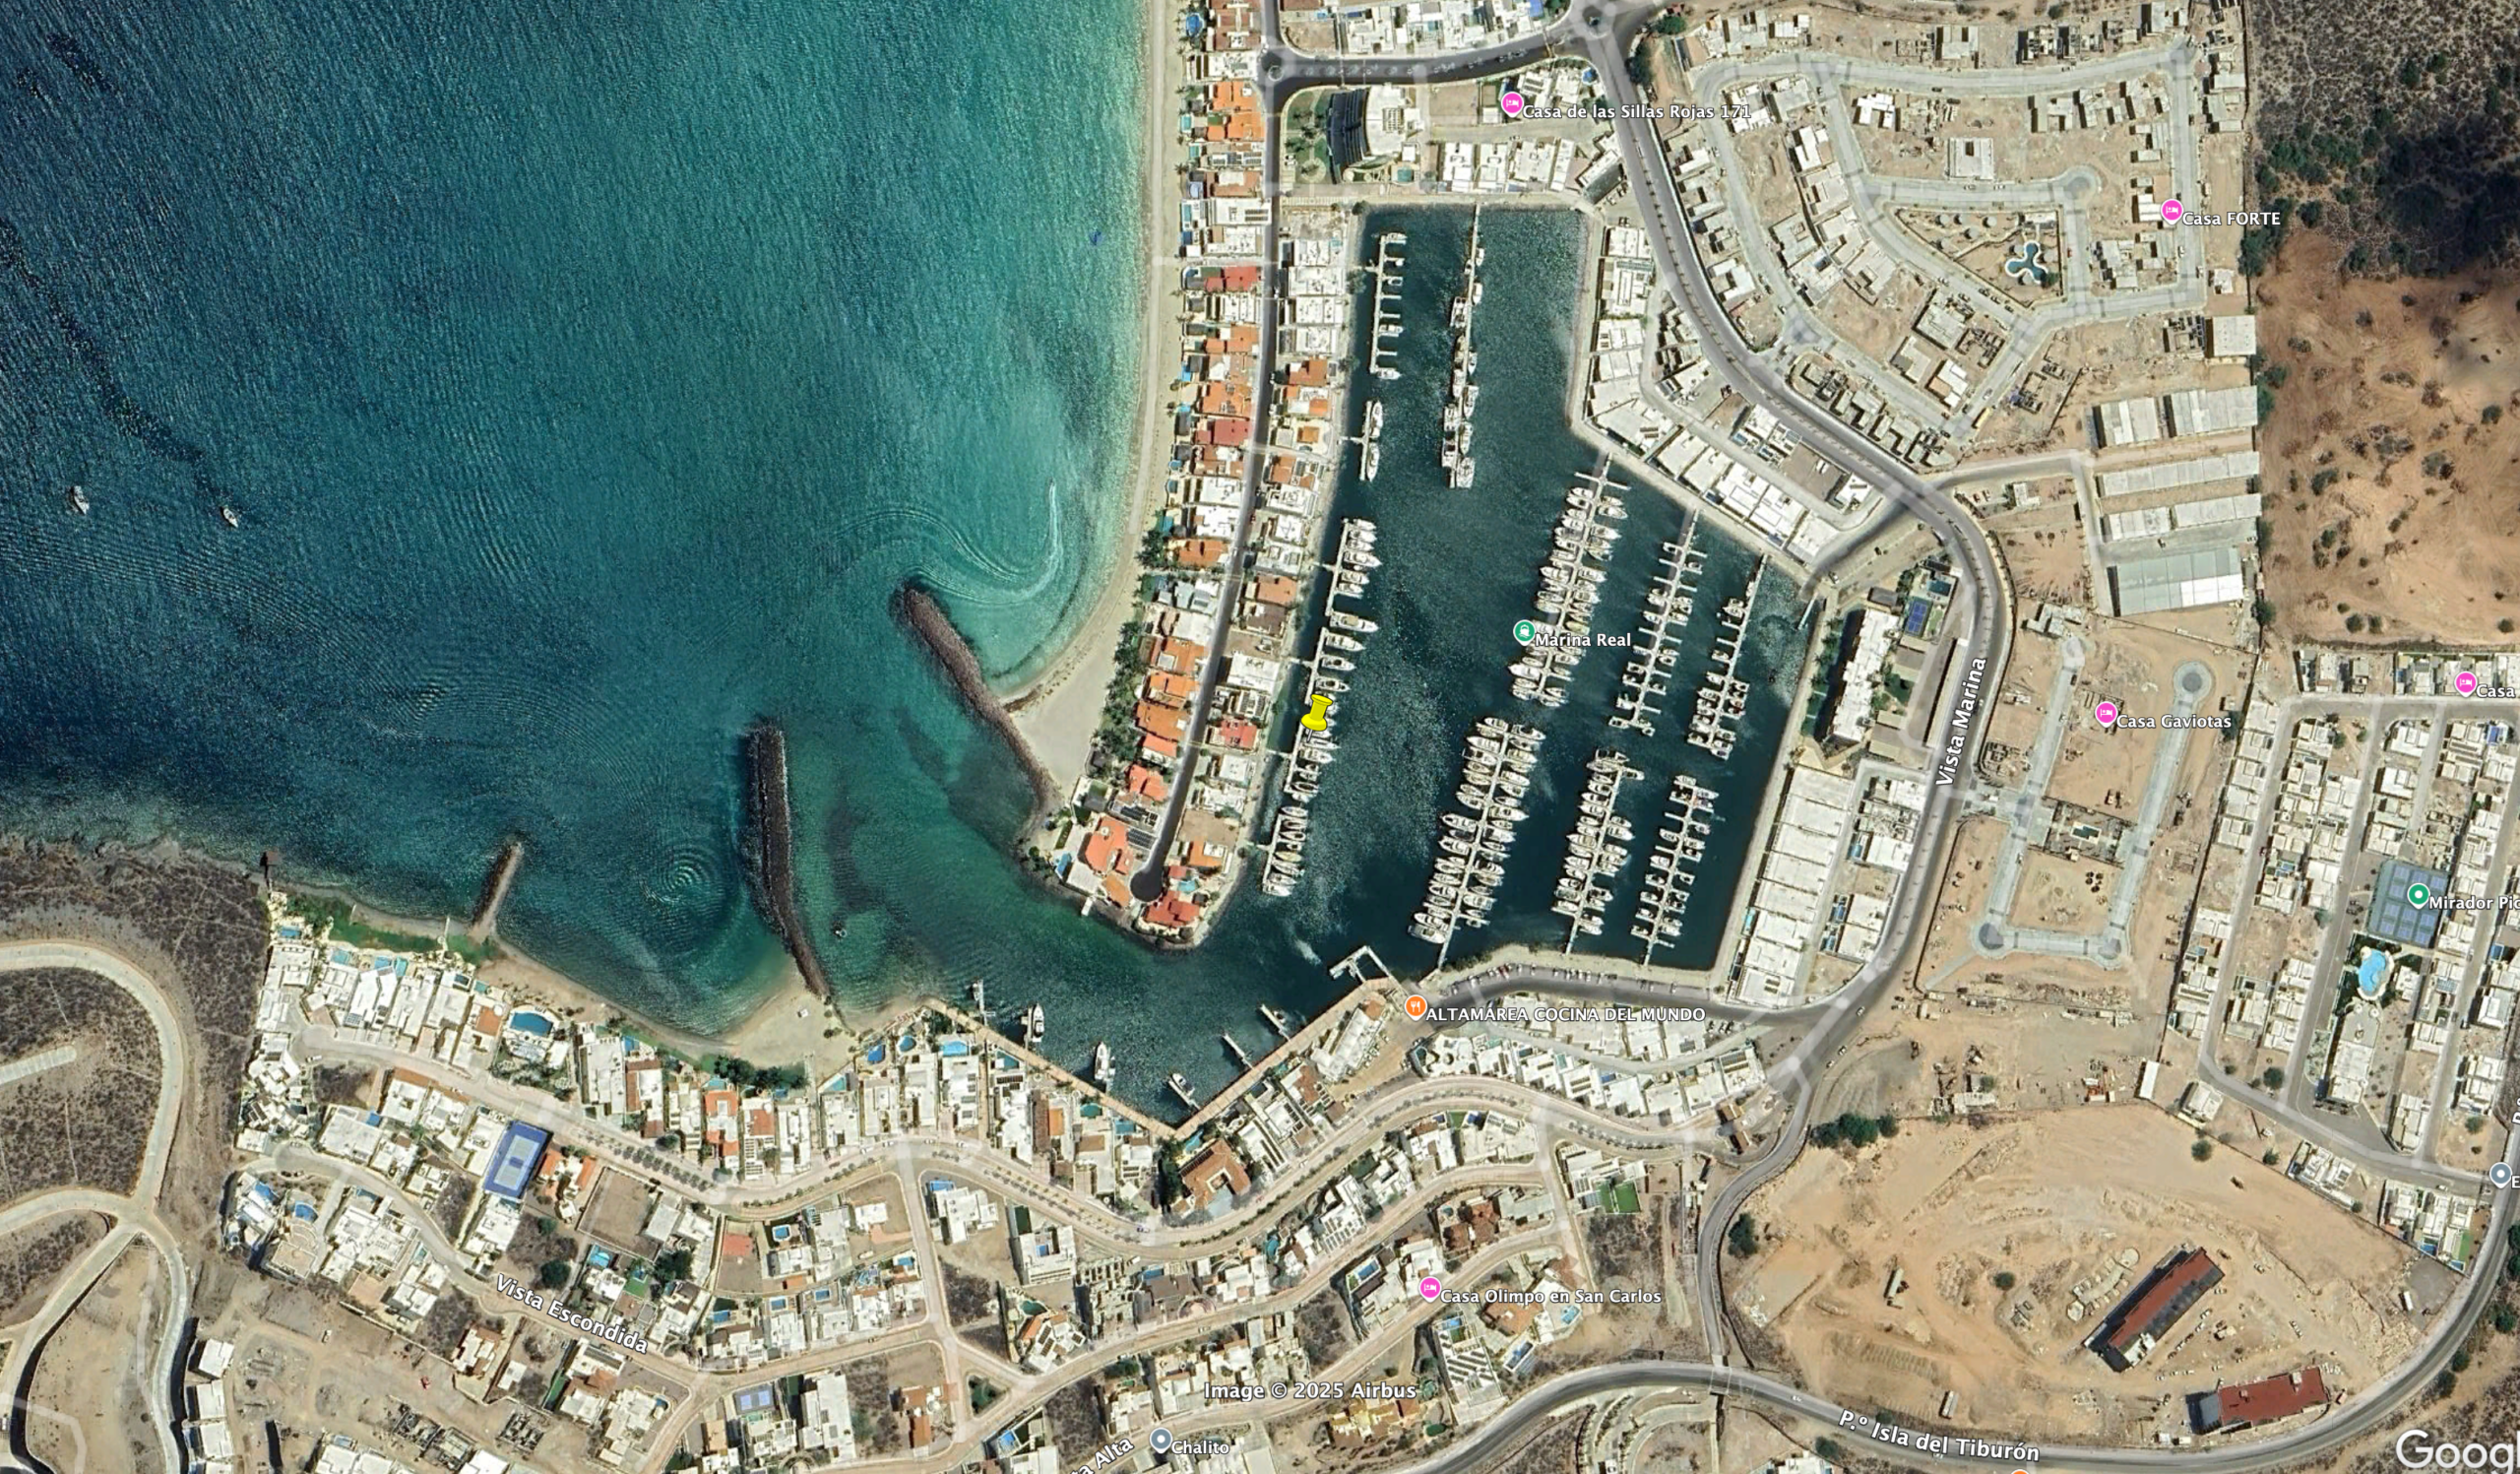
The next morning the wind had not abated at all, but we needed to move out of the slip that wasn’t ours. I cannot tell you the anxiety this caused me. Jonny and I spent over an hour motoring in the empty space of the marina, practicing parking around a downwind buoy, pretending it was our slip. It was horrifying how infrequently I was able to accomplish the job, even around the buoy, and when we finally turned towards our slip to do it for real, I felt more fear of the consequences of my imminent failure than I have in years. I had very little reason to expect that I would accomplish the task any more successfully this time than I had the night before. In truth, I had more understanding of how likely it was that I would fail, given the failure rate while practicing with the buoy. It was as if I was readying myself to go out on the stage for some recital, knowing full well that I couldn’t perform the piece.
Well this time I got us into the slip without damaging anything. I felt immediate and overwhelming relief–of the sort that makes you want to hug everyone in sight and makes you feel like you could exhale for a whole minute from all the pent-up air you were holding. Not pride though–I’m not proud of it because I have no right to be proud of a success that resulted from luck more than skill–and even if any of it had been skill, it is a basic skill that a dozen other skippers a day perform all over the marina.
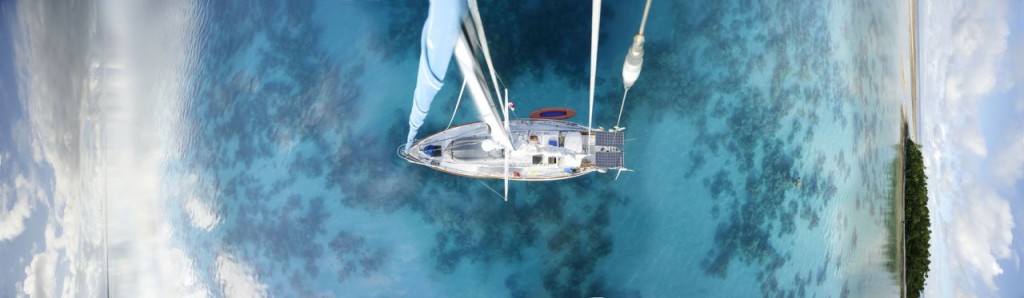
So Syzygy is finally resting safe in her home, her slip. For now. I have as much curiosity as the next person about what will happen the next time we take her out and try to bring her back!